Lessons from the first practice kit
March 10, 2022
Lessons learned from my previous attempt at building a practice kit.
This practice kit from Vans Aircraft would be my second kit to build. The first one turned out to be okay, but definitely not airworthy.
Here are some of the mistakes I made that I will try to avoid on my next attempt:
While drilling the trailing edge wedge, I did not clamp it enough, and it moved during the drilling. I only noticed it in the end. I decided to continue the build, with an understanding that if it was a real part, it should have gone into the scrap bin. Not sure what my approach would be in the future. Thin sticky tape of some sort?
Contributing factor was that I did not use center punch before the drilling. When using thin aluminum as a template (for example, pre-punched holes in a skin), it works okay if drilling perpendicular to the skin through other relatively thin aluminum parts. However, with trailing edge, you drill at an angle into a relatively thick piece of aluminum so drill bit has tendency to wander away. Next time I will try to use a center punch.
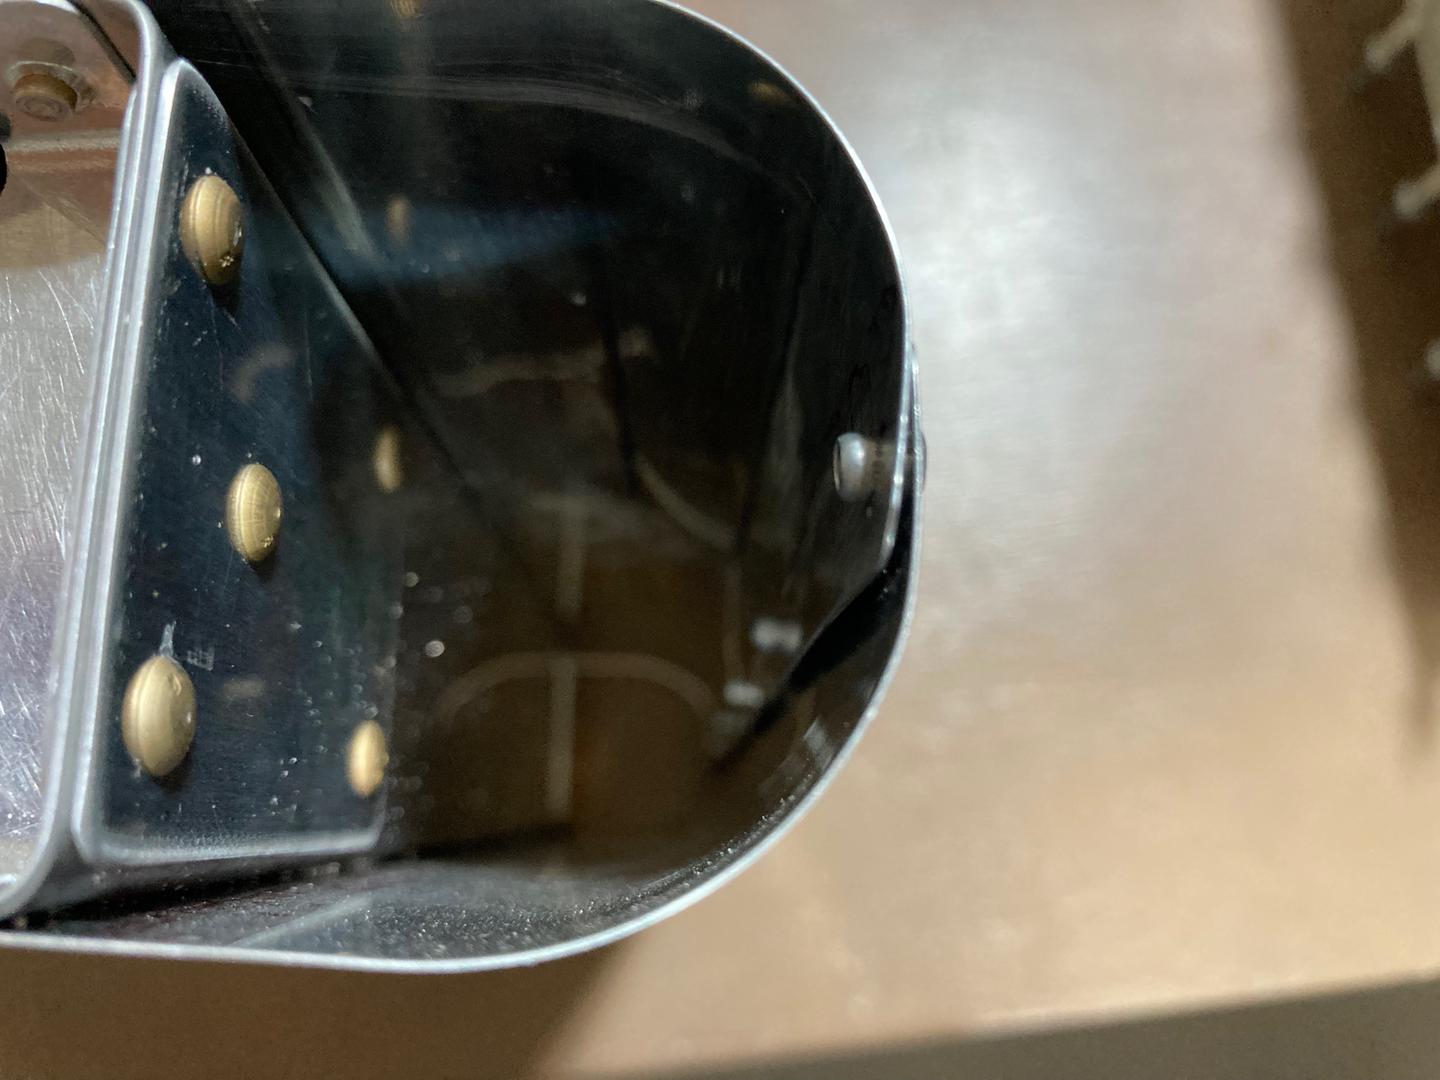
In the end, final holes were horrendous. Few of them were really elongated because of drill bit movement. Surprisingly, rivets still did squeeze okay (I used a flat squeezer set from Cleaveland Aircraft Tool).

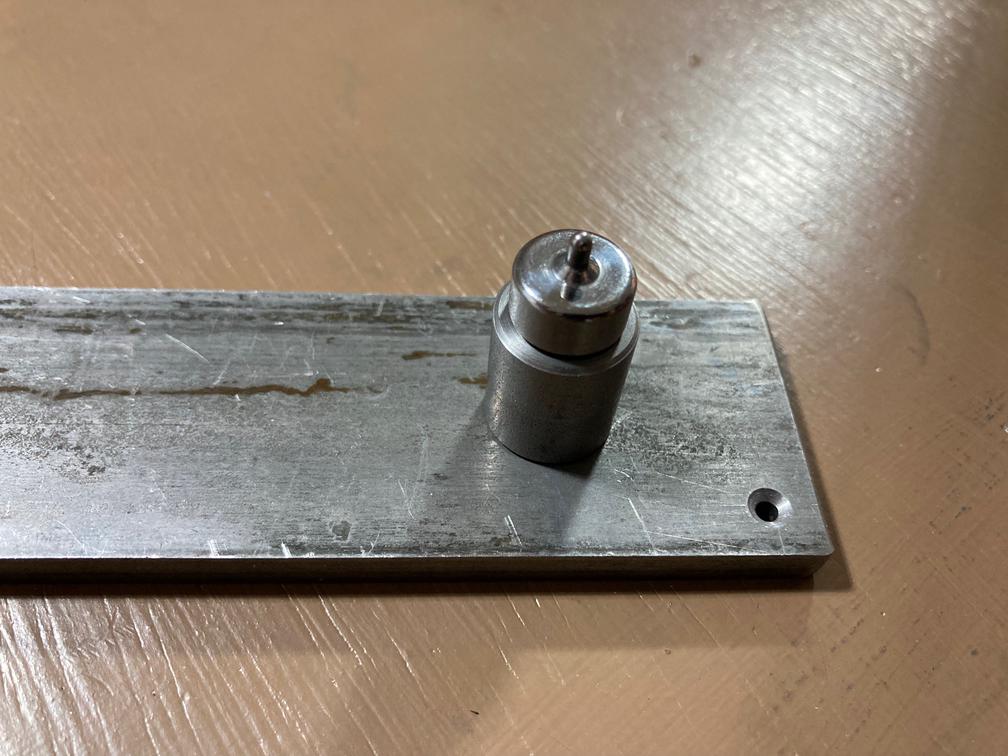
While dimpling with the pneumatic squeezer, I accidentally punched an extra hole in the rib flange. The reason was that due to a very tight spacing, I was not able to align male punch guide into the hole. Instead, I was relying on my ability to bring dies together slowly by slowly advancing the trigger. It worked few times, but then one time it didn't, I squeezed the trigger too hard and it poked an extra hole. Next time I will use my custom-made dimpling bucking bar which worked fine for the tightest rivet (two rivets on the rib which are closest to the trailing edge).
Pull rivets (AD-41-ABS) on the leading edge did not set properly. The leading edge rolled okay (to my assessment), but skins were not tight to one another when I pulled the rivet. I hoped that pulling the rivet would bring both skins together, but this did not happen. I don't know if this is normal and I should have clamped skins tight or I am not using my pull riveter correctly (I mean... It seems like it should be hard to use it incorrectly, but maybe I was applying side pressure which caused rivet stem to break prematurely?). I might get a cheap pneumatic pull riveter.
Trailing edge wedge interfered with the stiffeners (perhaps, wedge moved inside a bit).
After I finished the first kit, I ordered three more. The reasoning was that it would provide me something to work on while I am waiting for the empennage kit. My plan is to build a second kit to the "airworthy" standard (no serious blunders), using spare kit for parts, if necessary. Then, once I get closer to the empennage build, I plan to build yet another practice kit, but this time, I will do all the priming the way I want to do it for the real project.