Deburring, dimpling and countersinking 1.5h
1.5h
March 15, 2022
Today I was deburring/dimpling all the parts and also countersinking the trailing wedge.
For deburring, I used a small drill bit. Small twisting motion (one or two turns) and burrs are gone! For holes where I wasn't able to reach with a drill bit (interior holes of the ribs and the spar), I deburred by dragging a file across the holes. This does leave some scratches, though.
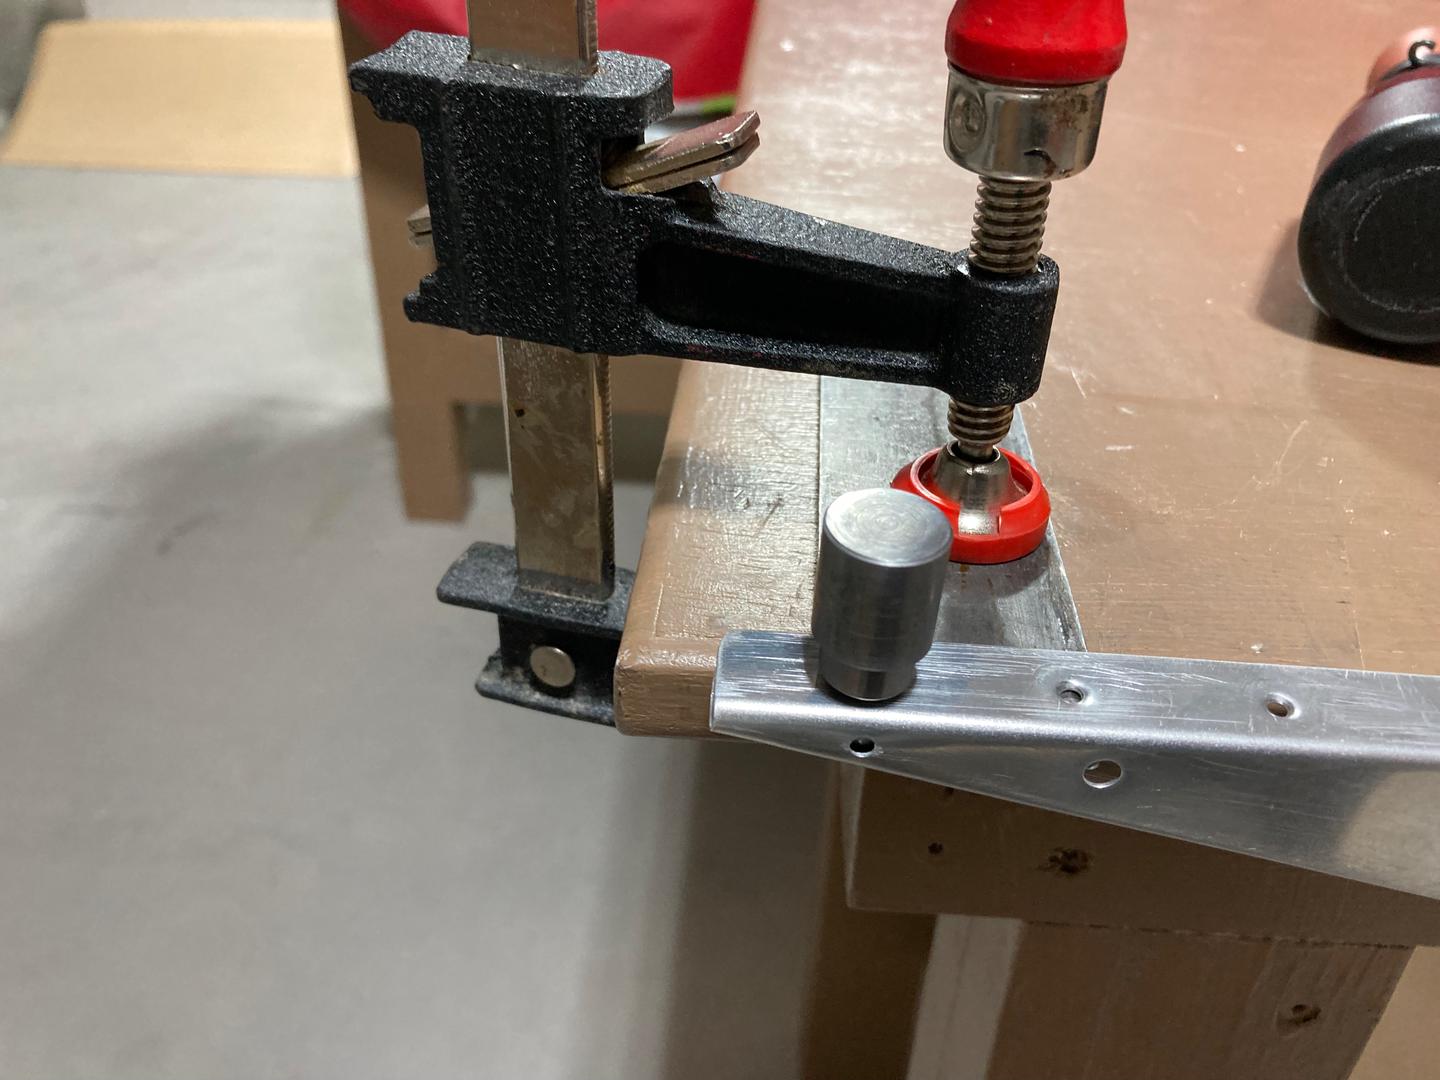
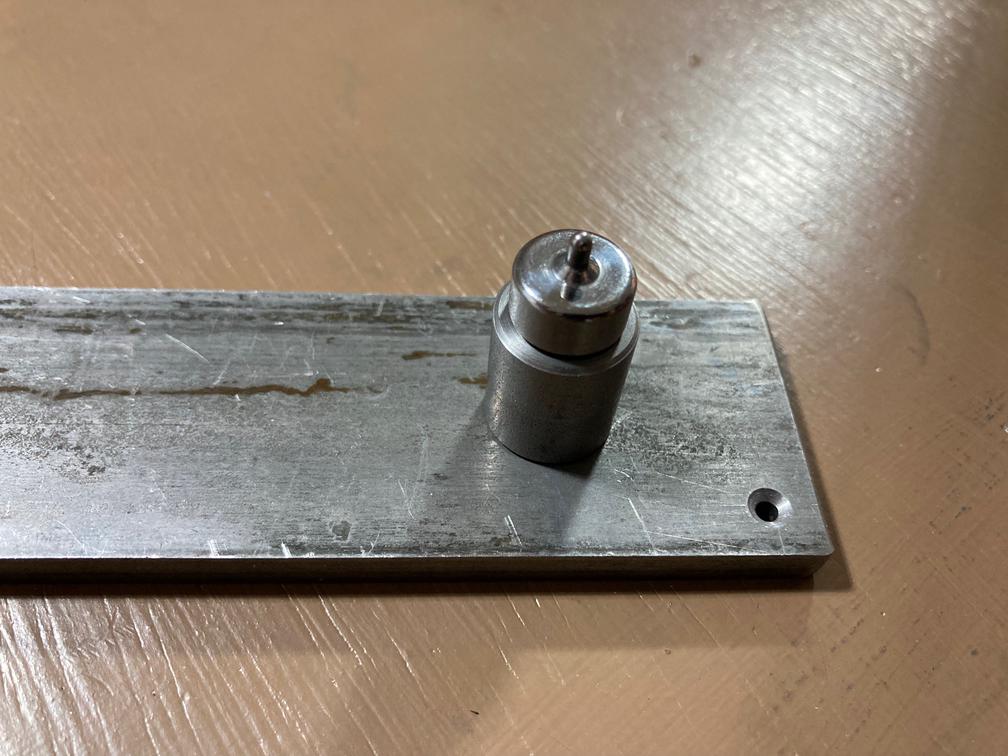
In the final step, I countersinked the trailing wedge. I used countersink jig for RV trailing edge.
In my first attempt, I was drilling by hand and all the holes were quite inconsistent. This time, I did everything in my small milling/drilling machine where I have more control over the pressure and more consistent support for the work.
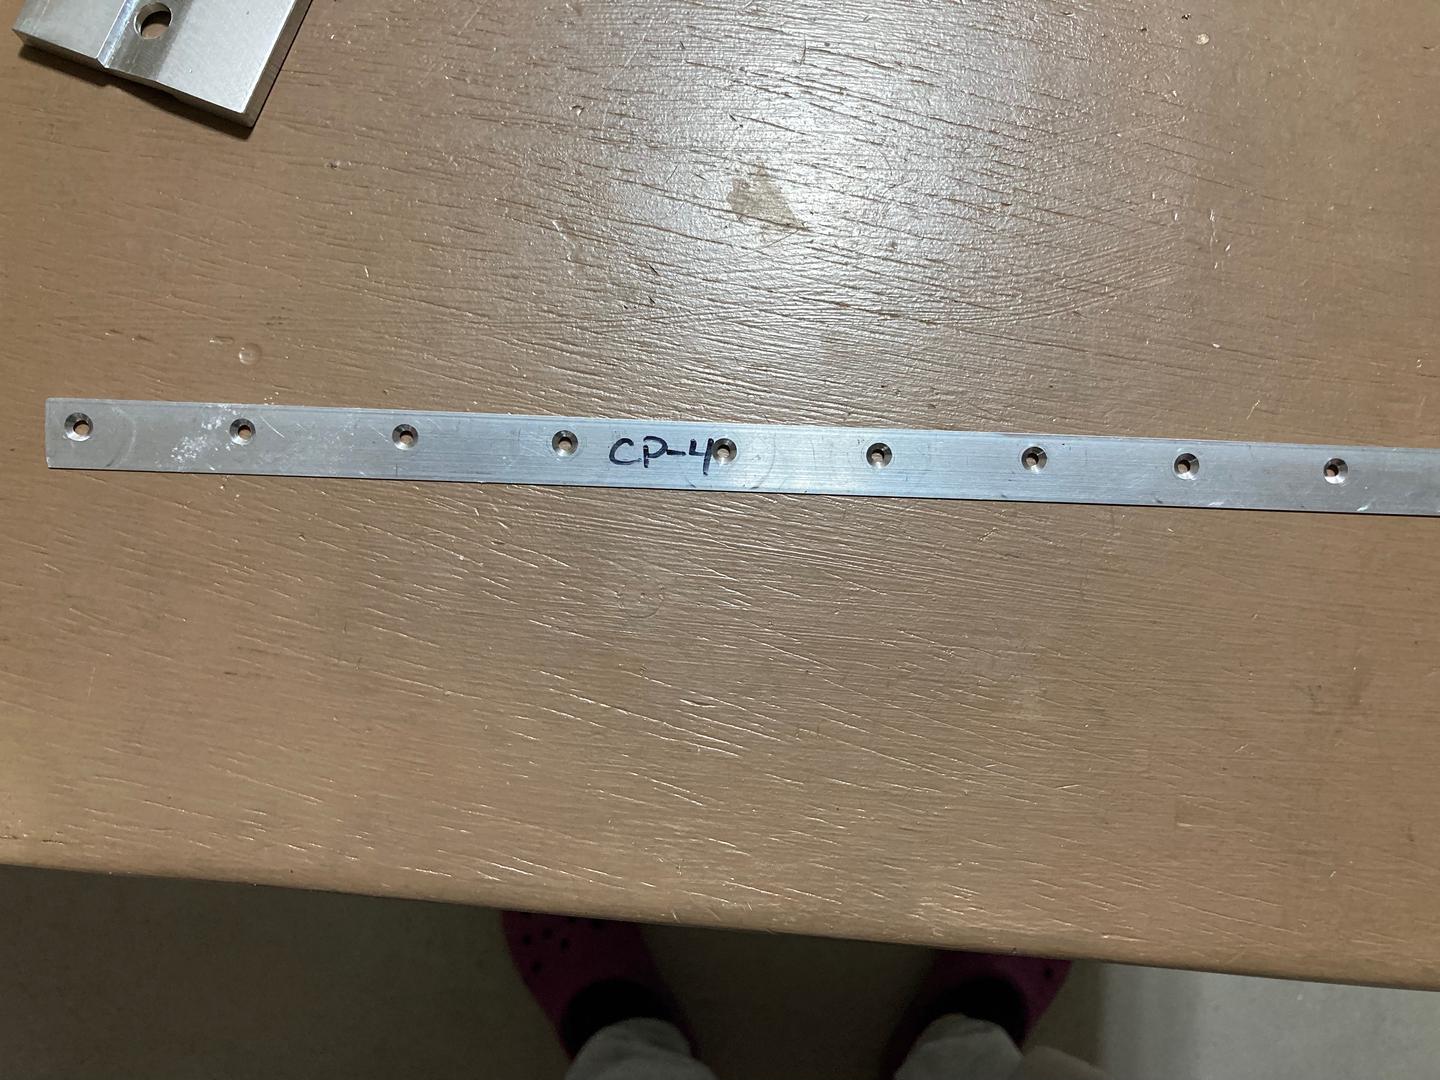
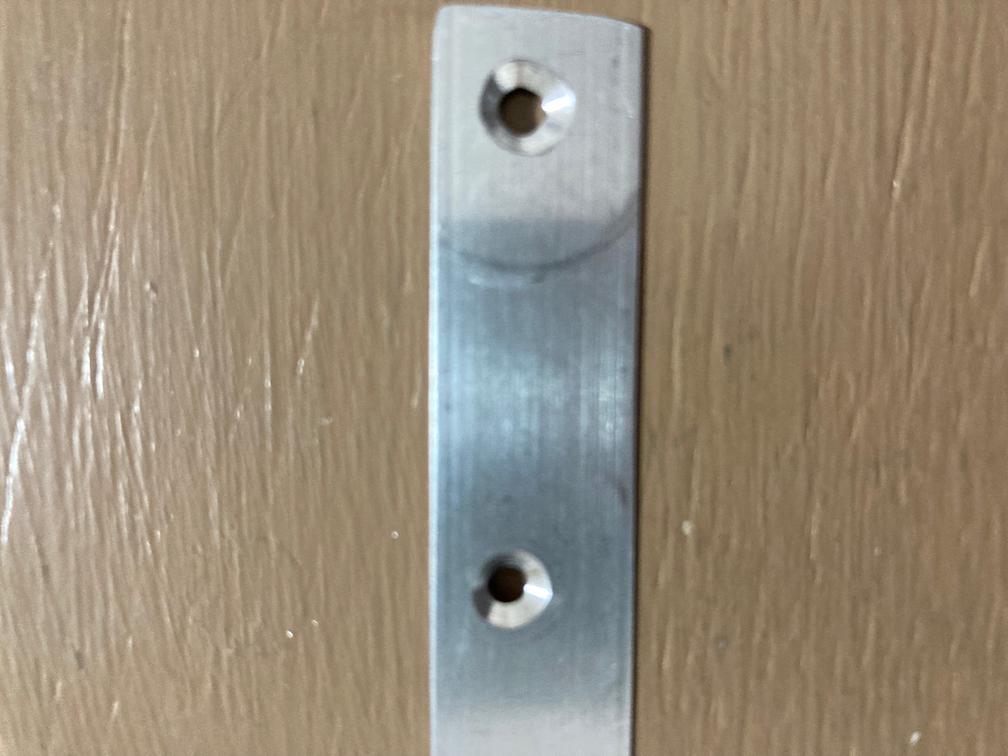
Still, the last hole I countersinked got waaay too deep. Not sure what happened there. It seems like it chattered, maybe, I was running the tool too fast (~800 RPM).

You can also see that holes don't align exactly -- this is likely because I was not keeping exact 84°. The fixture I used was just a piece of cardboard with the angle.
This video (and comments) from Missile Twenty Nine YouTube has some good advice on countersinking.
Dimpling ribs was pretty straightforward, except for the last one. For the last one, even the flat squeezer yoke does not fit, so I used a dimpling bucking bar, as per instructions.