Riveting together 2h
2h
March 17, 2022
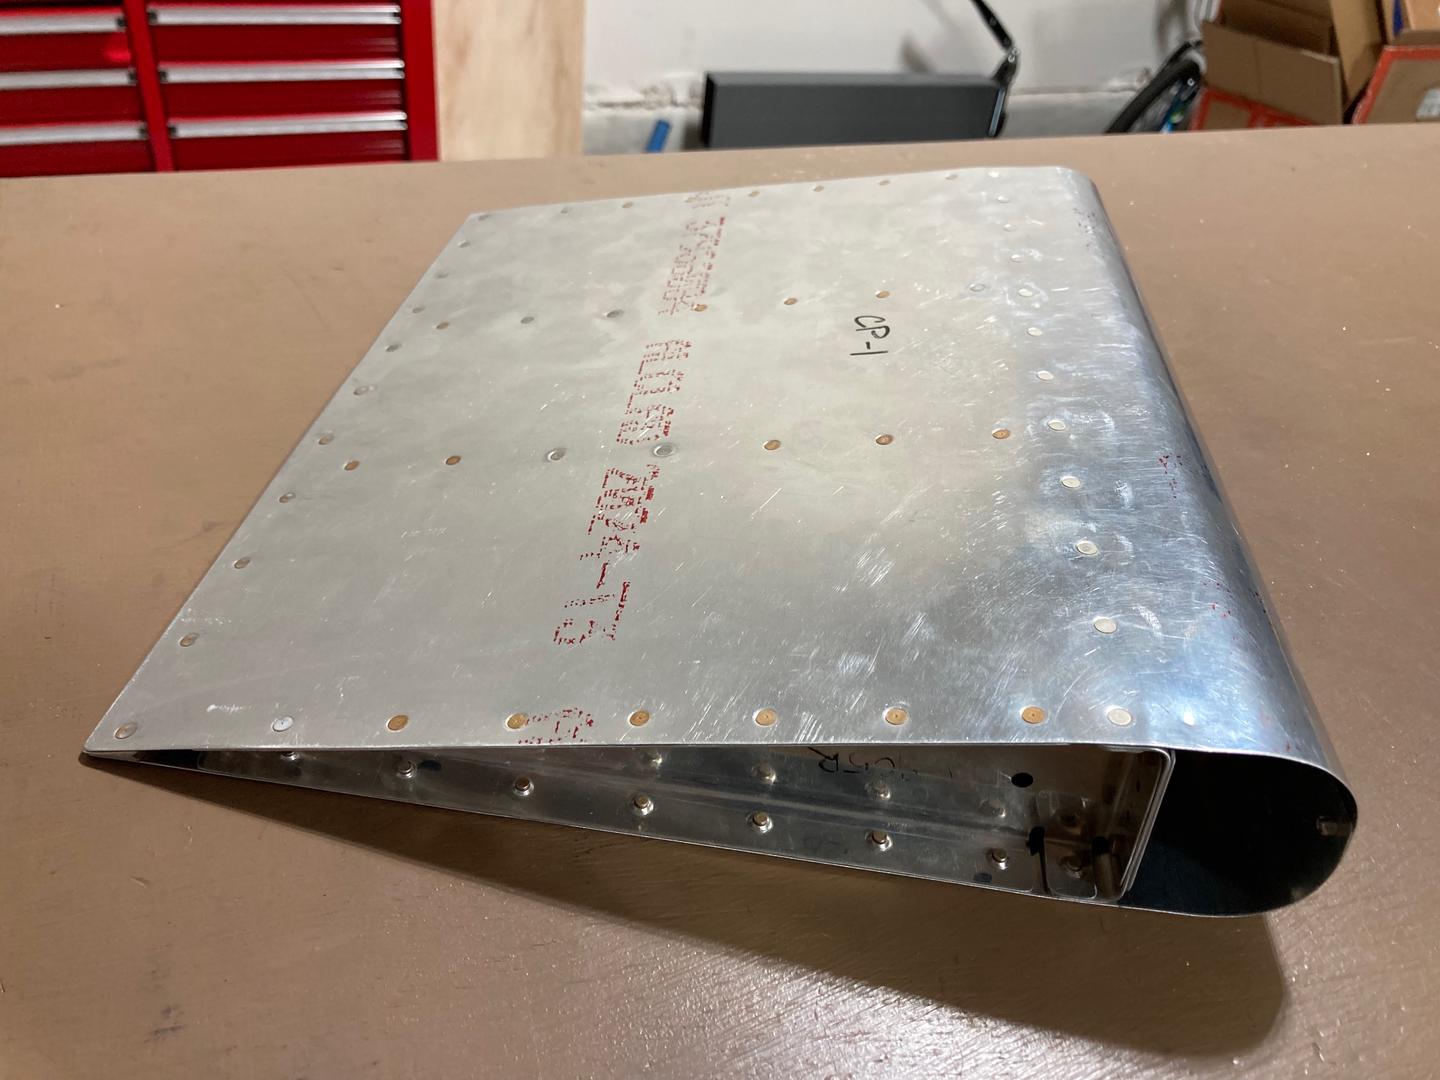
Today I riveted everything together.
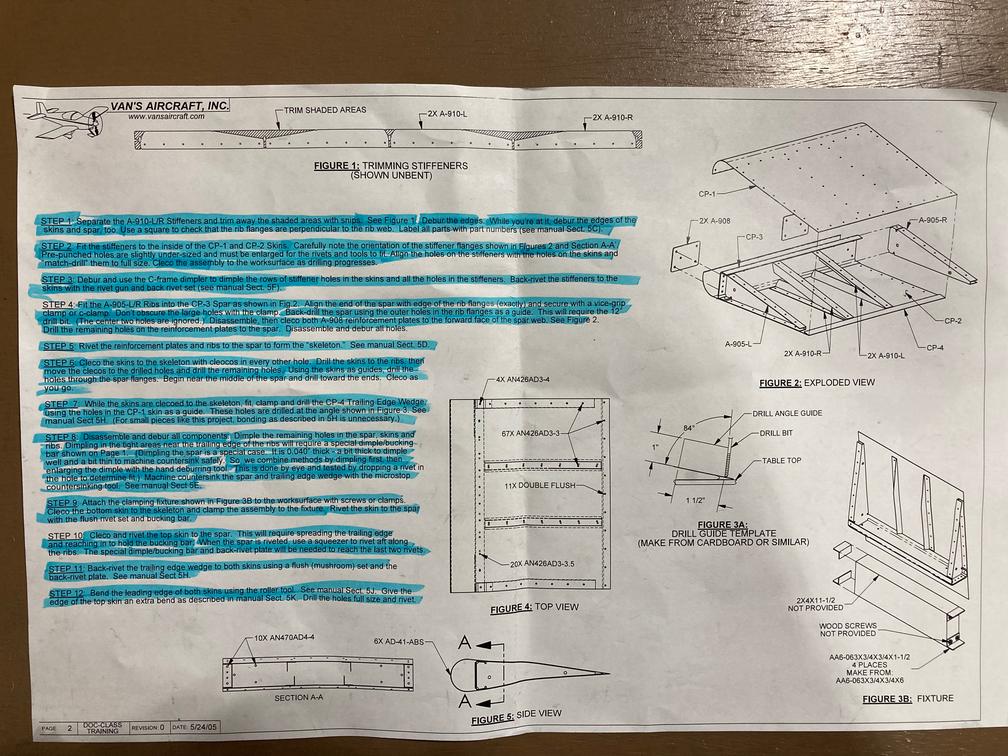
First, I attached both skins to the skeleton. The instructions called for a bucking bar and a flush mushroom set, which is what I did. It was easier than doing back riveting, perhaps, because I was able to see both sides. Also, the mushroom is quite big so I did not have to control it that much.
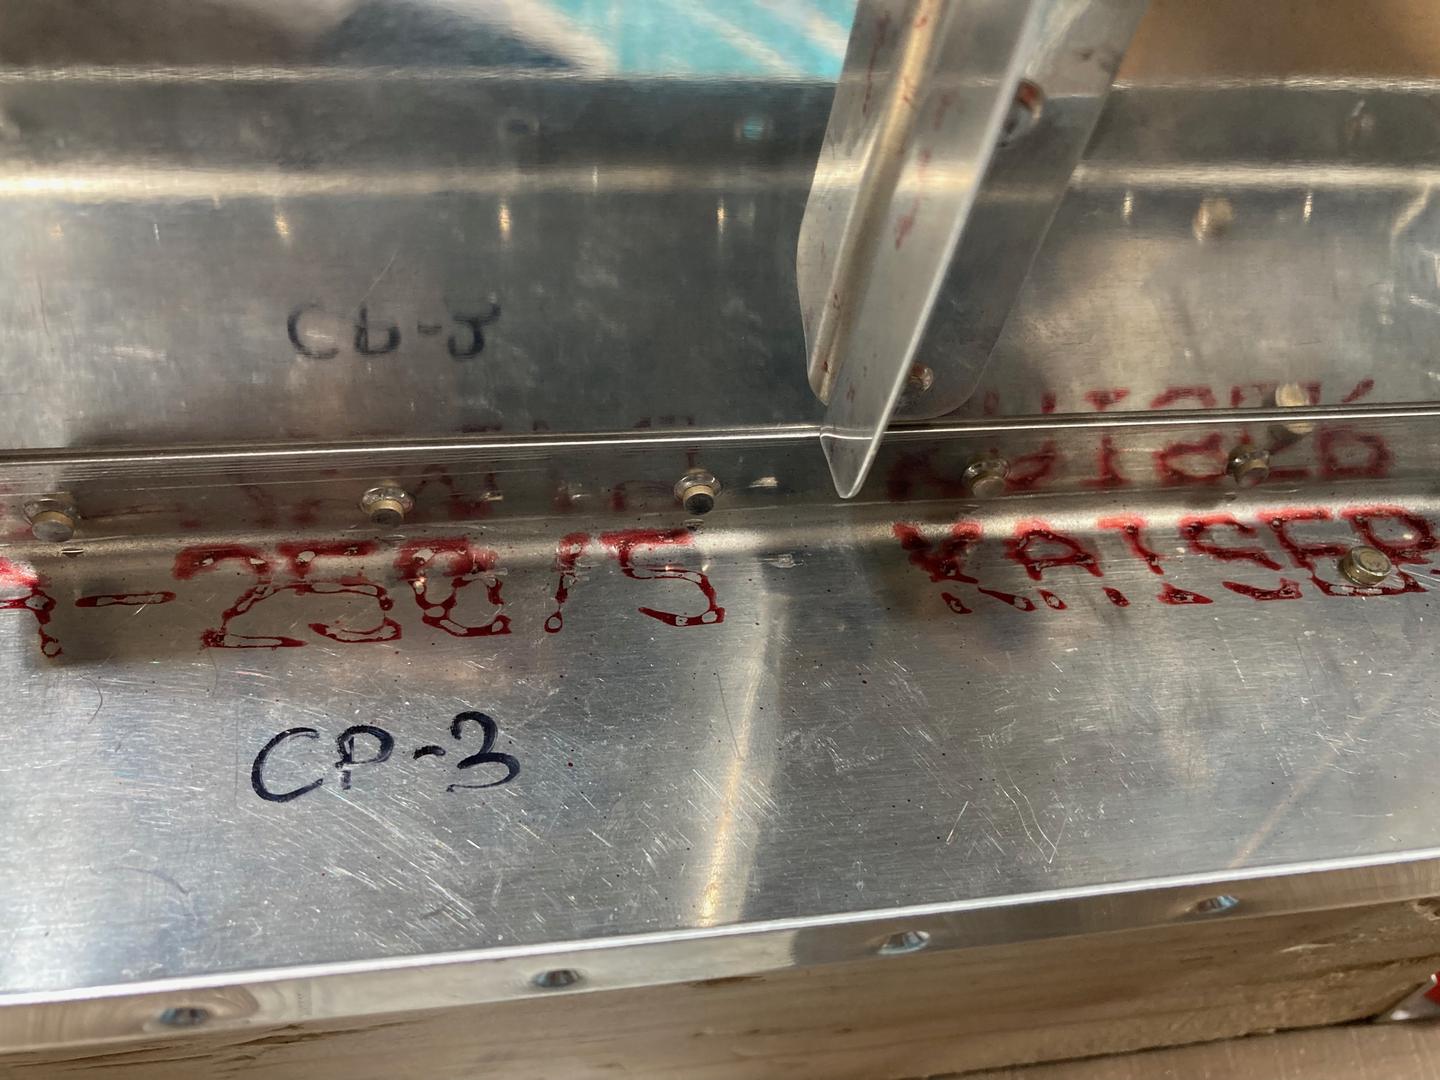
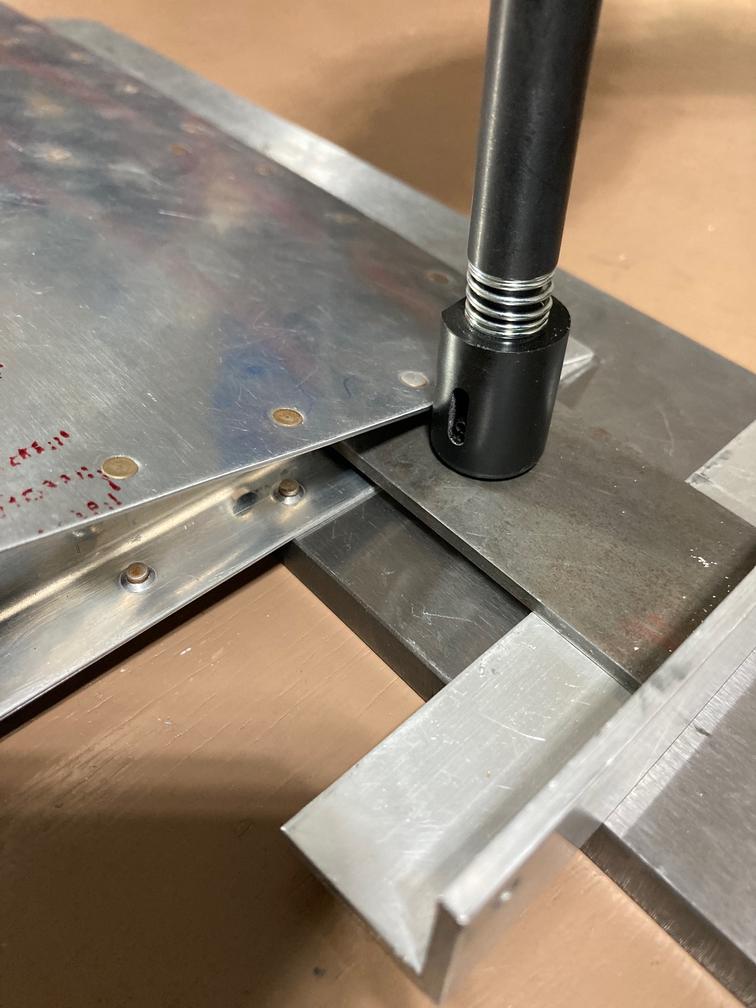
Then, I used the pneumatic squeezer to attach skins to the ribs. Nothing special here, except for the last two rivets on each side. For the second to the last rivets I had to use a yoke with a thin nose, however, for the last two rivets, even a thin nose wouldn't fit. Instead, I used a flat steel plate as a driver for the rivet. They turned out to be okay, although the bar was flexing a bit (I don't think I could have used a thicker bar due to spacing). Also, it seems like I scratched ribs a bit -- maybe, I should have covered the bar with the painter's tape.
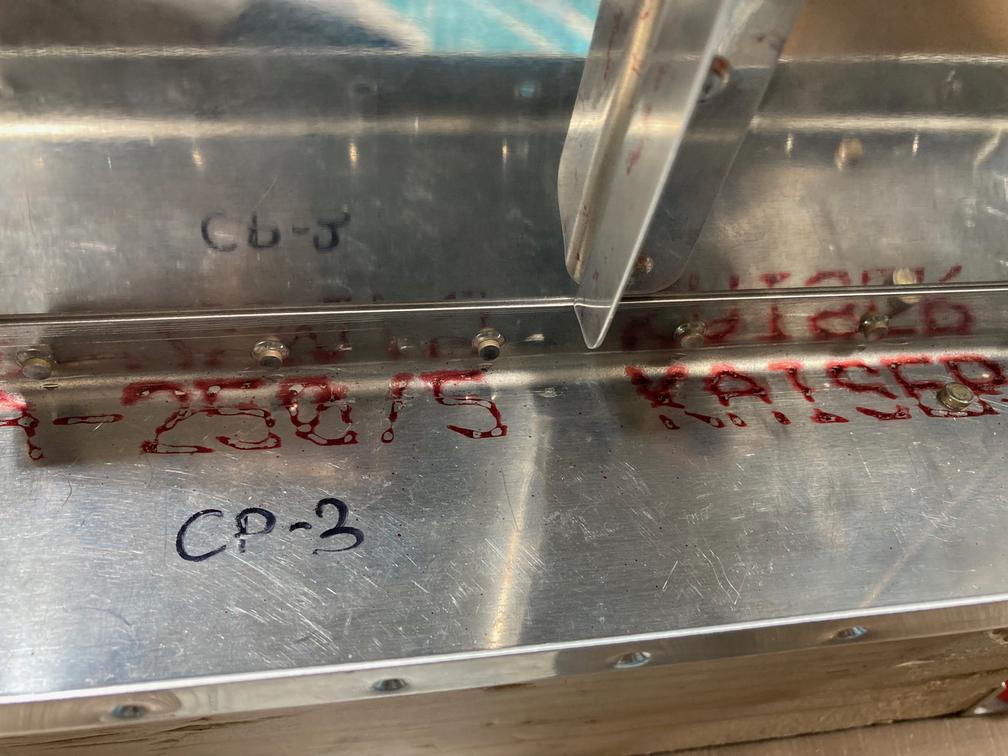
Finally, I used flat squeezer set to set the trailing edge. Again, as in my first practice kit, trailing edge rivets set just fine. I did not use any special technique. It seems like some builders set rivets partially with a rivet gun, then finalize with a squeezer set or use some other progressive setting technique. I, however, just squeezed them in one sitting, to the final size. The trailing edge does have some small amount of waves, but I am not sure if there was anything I could have done differently (maybe, tank sealant or double-stick tape, as per the real part, would have helped to keep edges very tight):
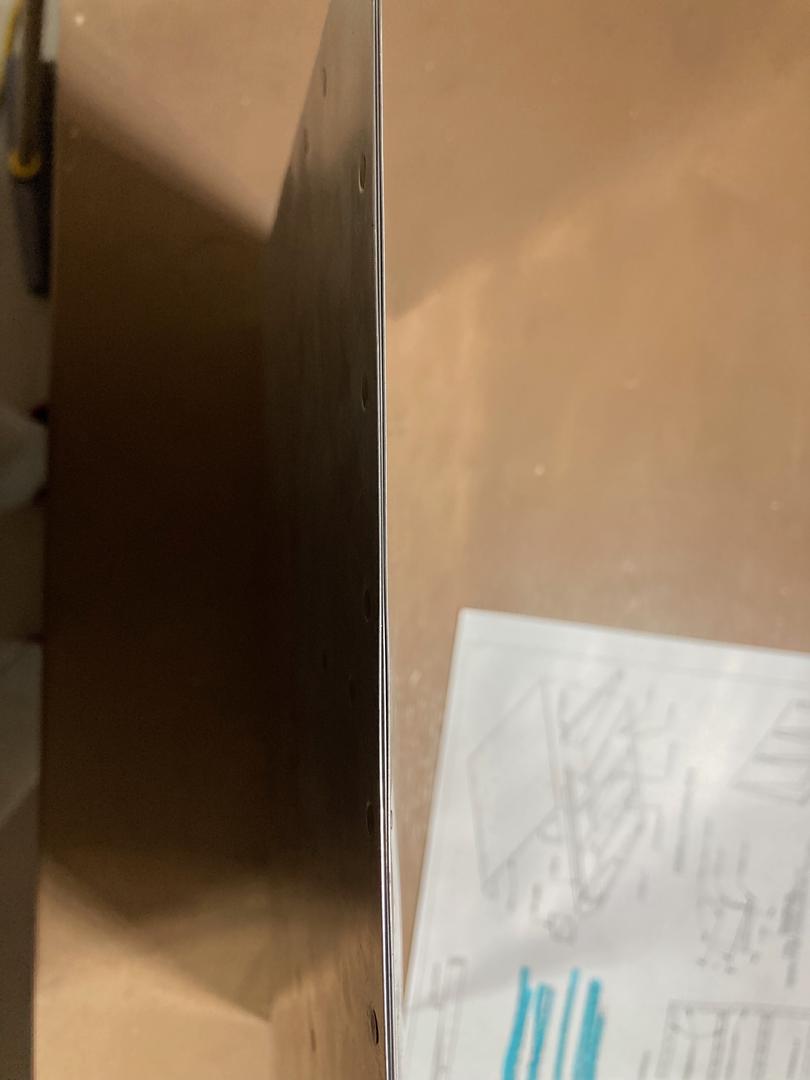
I noticed, though, that after assembling most of the control surface with rivets, the trailing wedge did not fit exactly as it did when I assembled it with clecos -- maybe, due to the dimples being slightly offset because of the elongated holes?
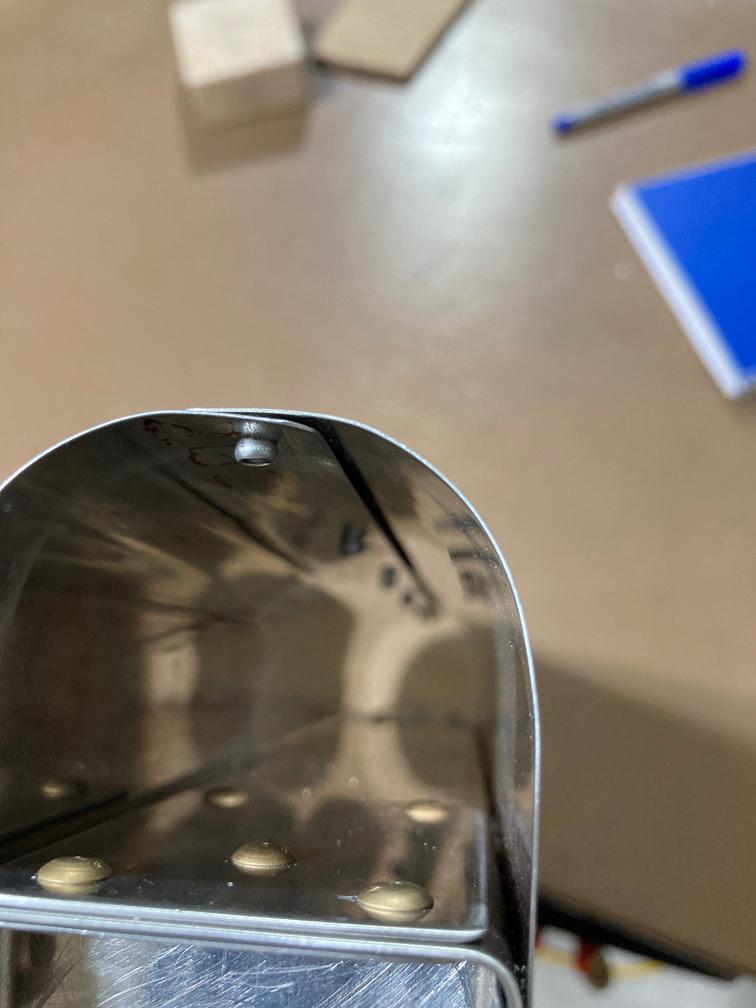
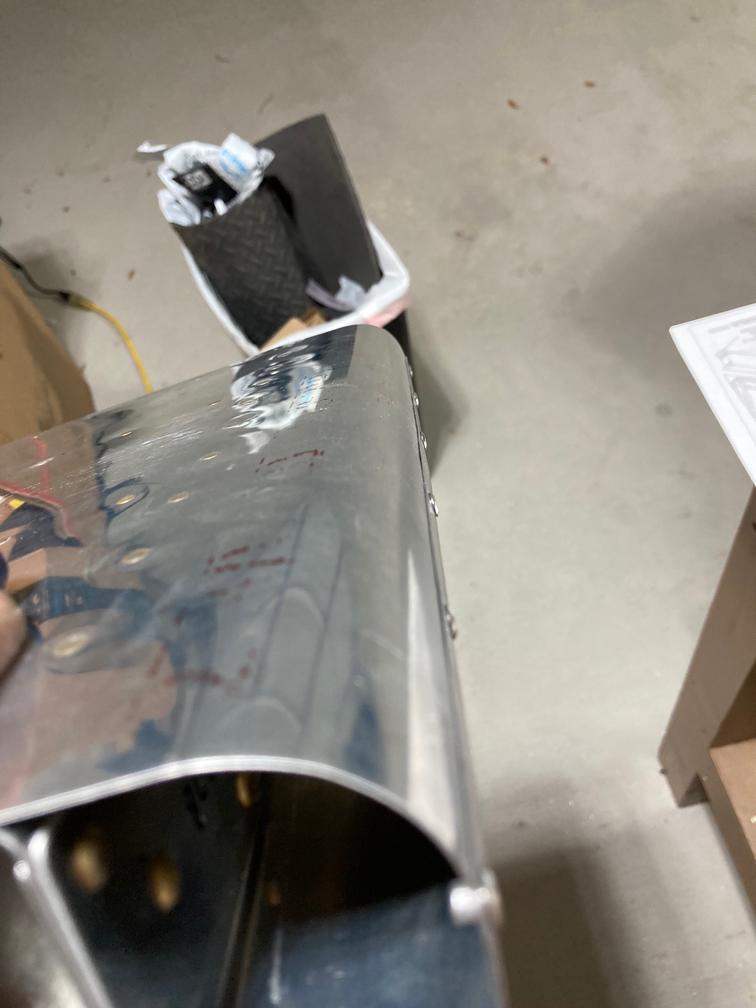
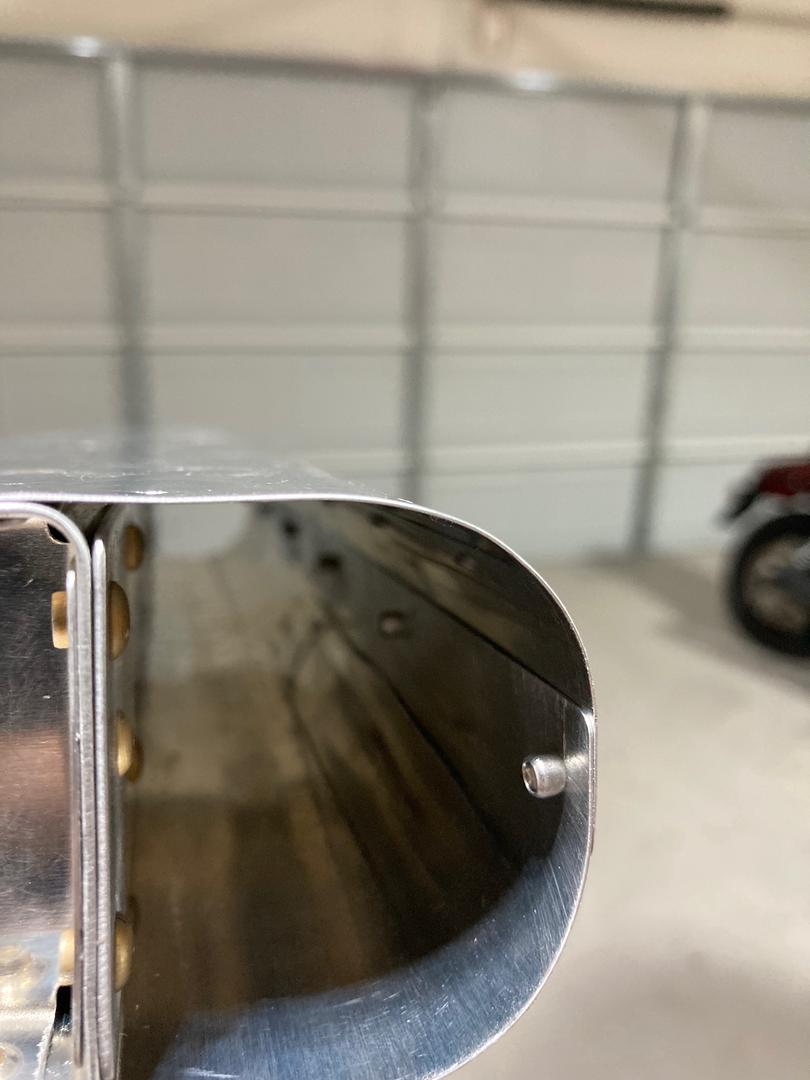
Finally, the leading edge. I rolled it using a broomstick and gorilla tape. It kind of worked, but I did not feel like I have full control over the process. The very edge did not roll well, also bend was a bit uneven -- it had a bit of a wave.
Overall, it turned out to be fine. After fiddling with the edges, I was able to make them relatively tight, then set the rivets. For comparison, this is how my first attempt looks like. The external edge also looks okay:

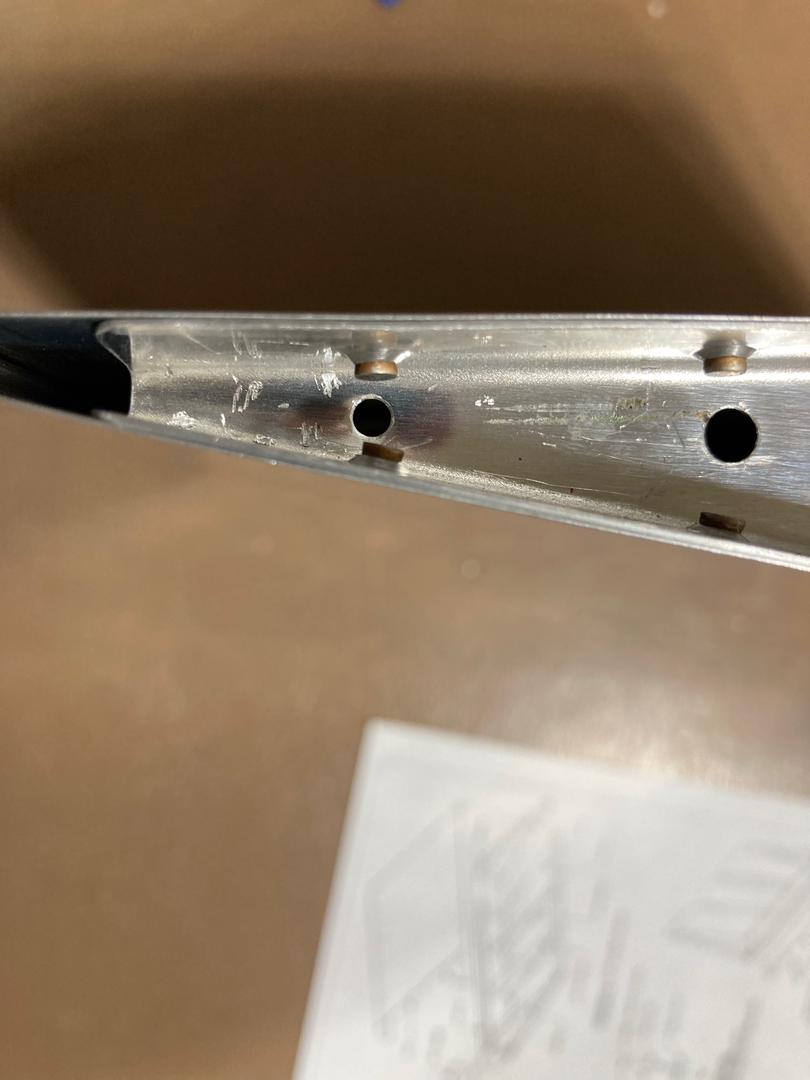
This was also the moment of my biggest blunder in this project. Just 5 minutes to the end. After I drilled the holes, I realized that I used #40 drill instead of #30. I started re-drilling the holes, but the drill bit was grabbing because the size difference between #40 and #30 is relatively small (also, I used an electric drill since it was relatively late). It is embarrassing to admit, but somehow I got this brilliant idea that a finger is a good stop for a drill bit. Well, it sort of is. But I don't recommend it -- too much blood everywhere. And of course, it got inside the leading edge where it is hard to remove it... oh well, I'll keep it there as a reminder. The good thing is it is just a #30 hole in the fingertip.
...and that concludes my practice kit #2!