Empennage inventory 3h
3h
May 3, 2022
Finally! Got my empennage kit today. Time to do some inventory!
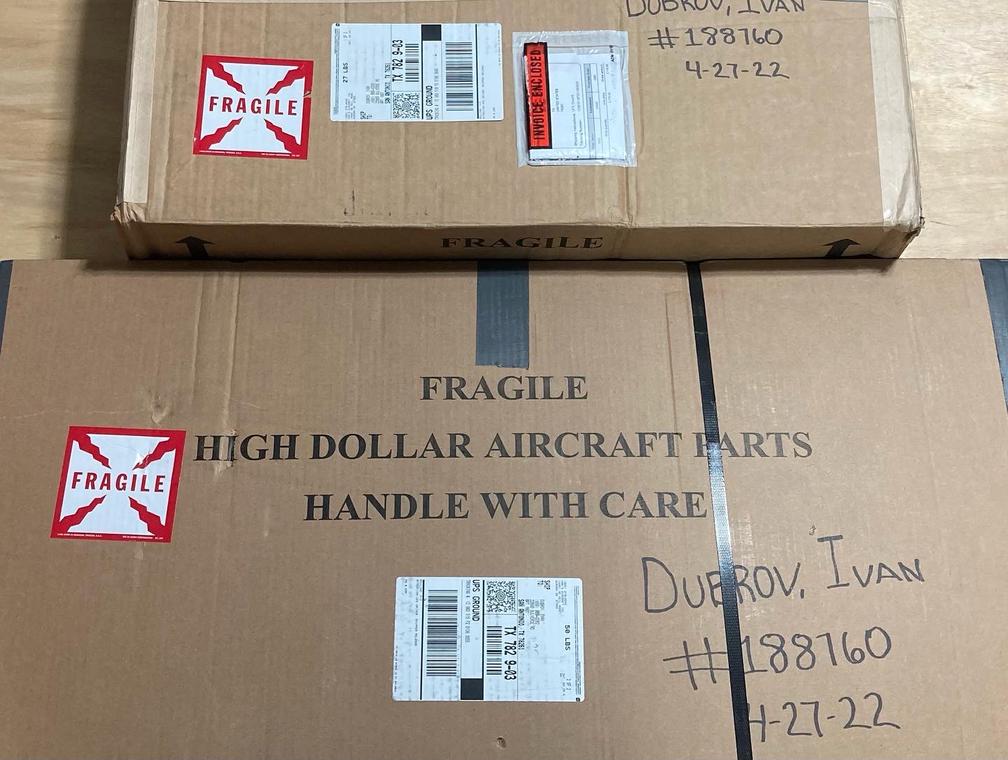
Nothing special about the box, except for the "high dollar aircraft parts" label 😛

Everything was nicely packaged, with some duct tape and paper. Not too many parts inside!
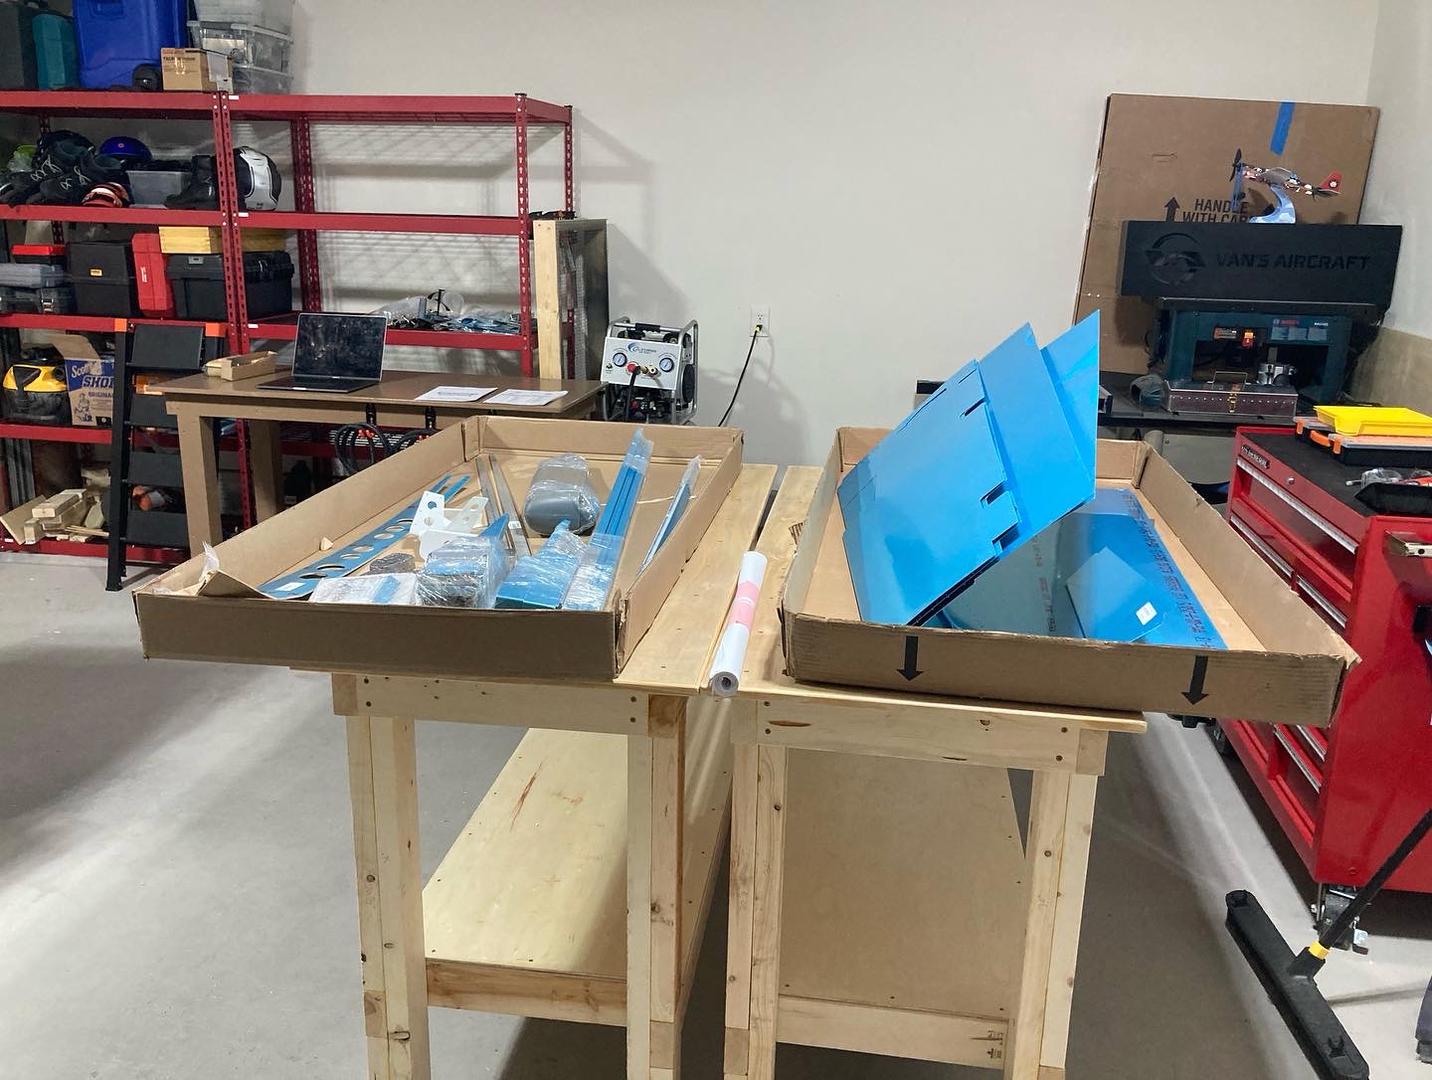
Well, that I thought until I started doing an inventory. Counting bolts gets tedious. I am sure it will be ten times worse for the other kits, though.
Every single nut was counted, and I did not find any missing parts! Good job, Van's Aircraft!
For managing my inventory, I've created a simple table in Notion (it could be used like Excel but for us, young kids). I don't have any experience organizing a warehouse, so I came up with the following columns:
| Part # | In use? | Remaining | Quantity | Location | Notes |
|---|---|---|---|---|---|
| AN470AD4-4 | No | 0.06 | 0.06 | O1-S | bag 1908 |
| AN470AD4-5 | No | 0.1 | 0.1 | O1-M | bag 405 |
| VS-702 | No | 1 | 1 | S2-2 | back of the shelf |
| VS-704 | Yes | 1 | 1 | S2-2 | left of the shelf |
| VS-705 | Yes | 1 | 1 | S2-2 | left of the shelf |
"In use?" indicates if I took the part from its storage location. "Remaining" / "quantity" is how many parts are remaining and how many parts were total. Not sure these columns will be useful at all. In empennage, it seems like most parts are used all at once, except for the rivets. And it is kind of pointless to count rivets anyway.
"Location" is a label for a location. "S2-3" is "shelving unit #2, third from the top". "O1-S" is "organizer #1, look for a small box".
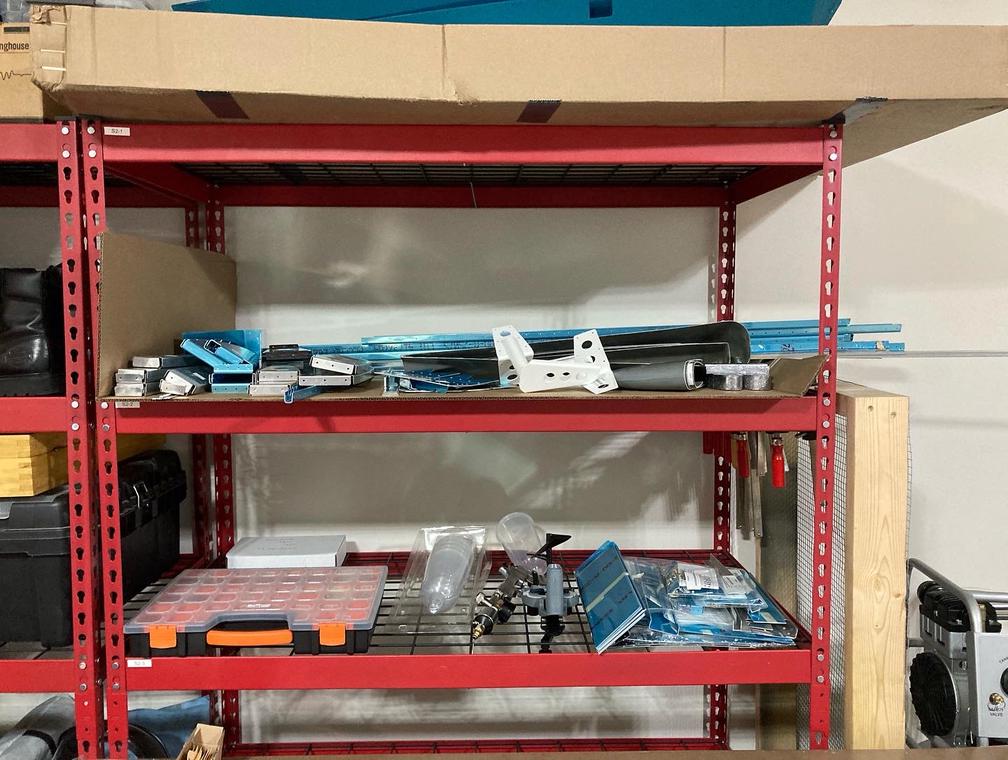
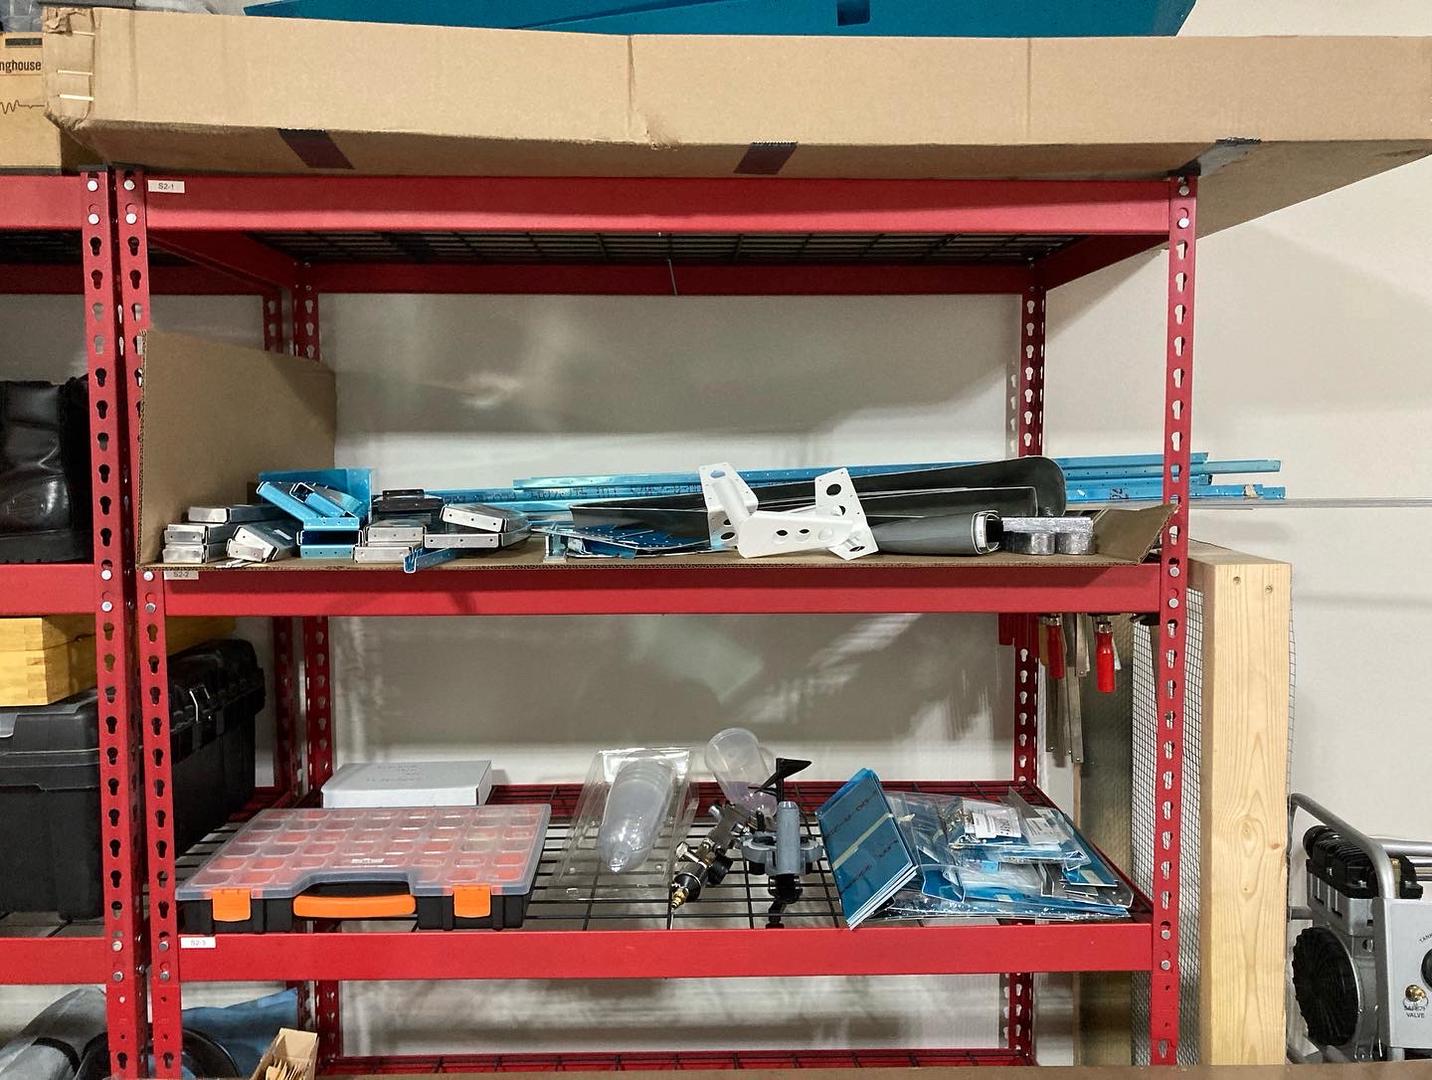
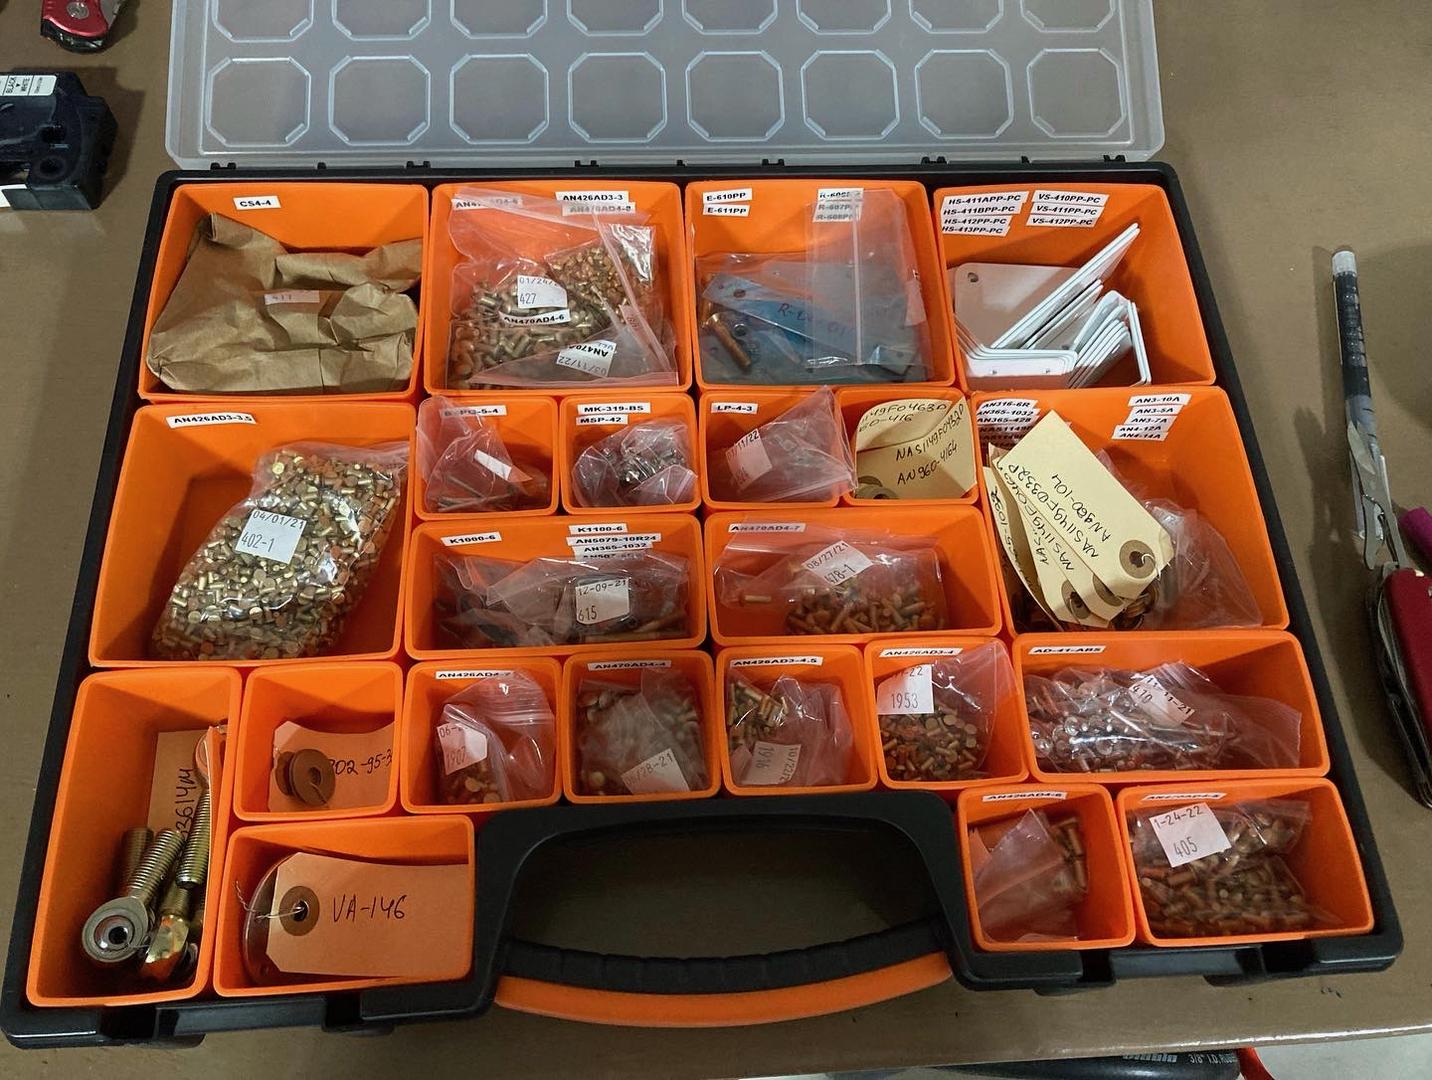
Only after about 3 hours, I got all my parts stored on the shelf and hardware in the plastic organizer:
One thing I noticed is that some parts that serve similar functions sometimes look quite different. For example, in this image, both parts are ribs, one for the horizontal stabilizer and another one for the vertical stabilizer. The horizontal stabilizer part looks like what I used to see in the practice kit: shiny aluminum behind the blue vinyl. However, the vertical stabilizer part is dull and has something that looks like some stains. The vertical stabilizer part is much newer -- maybe, this difference is due to the change in the manufacturing process?
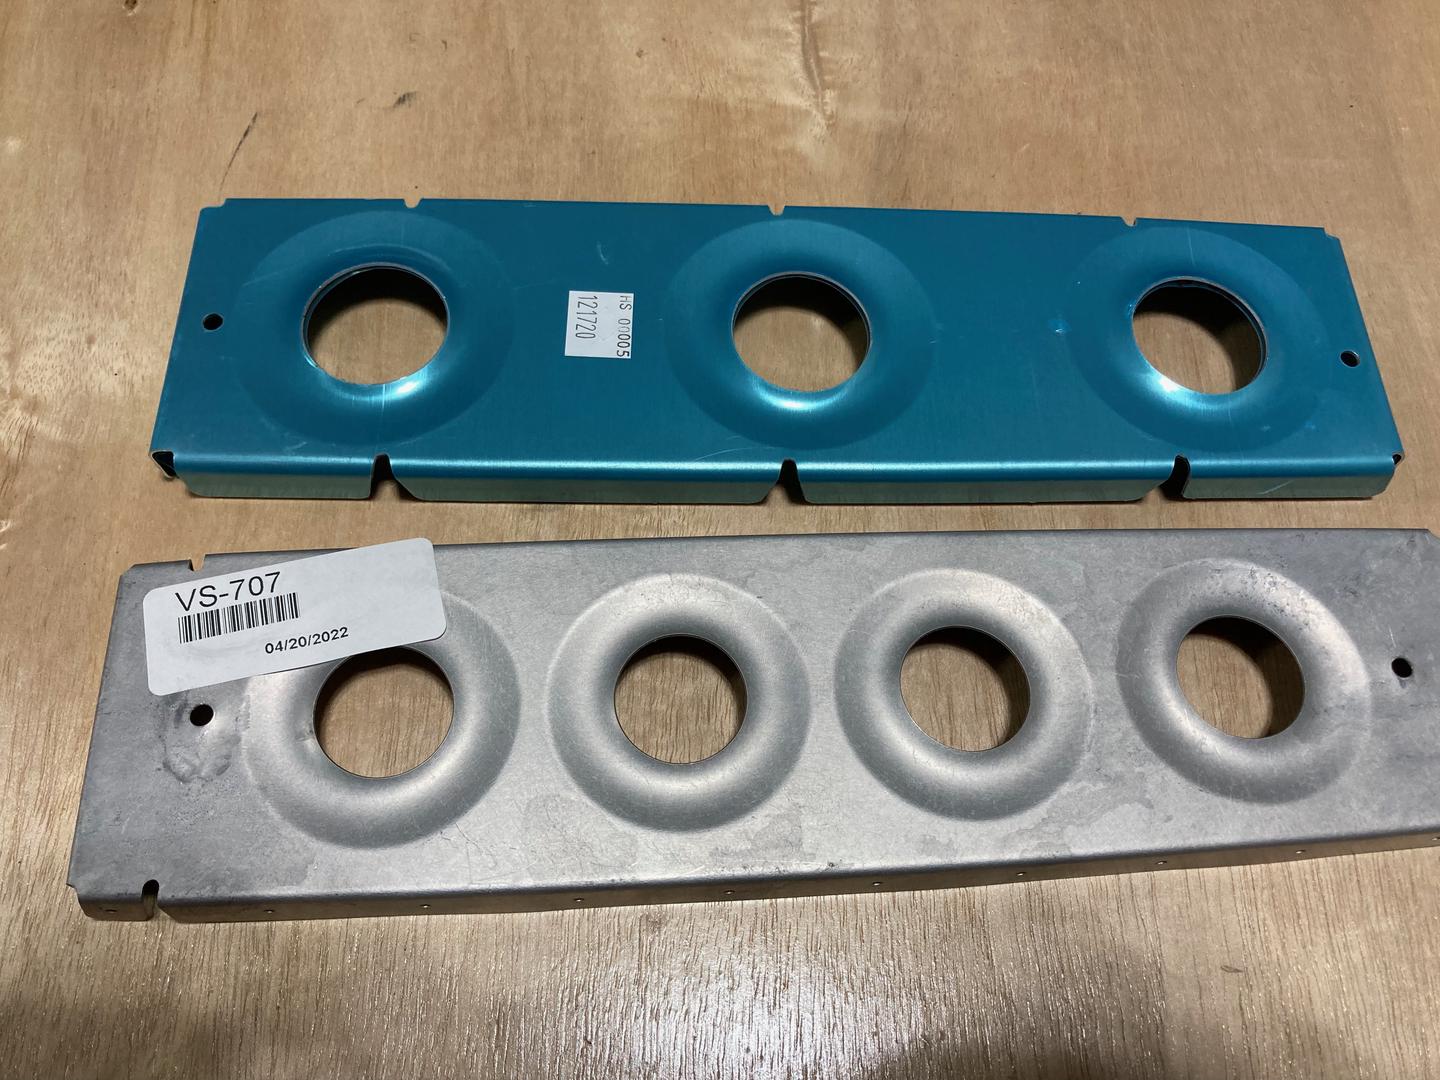
In any case, I am going to scuff and prime everything, so it should not matter. Also, it is a rib after all 😆
The next order of business would be to figure out if I need to worry about any of the Service Bulletin. I don't think I need to, I've looked at some bulletins, and it seems like the reinforcing part was already included in the instructions.
With that, time to build some real parts! I decided to go with the vertical stabilizer first since it is simpler than the horizontal stabilizer. One caveat, though, is that I would need to figure out priming slightly sooner.