Deburring vertical stabilizer parts 4h
4h
May 5, 2022
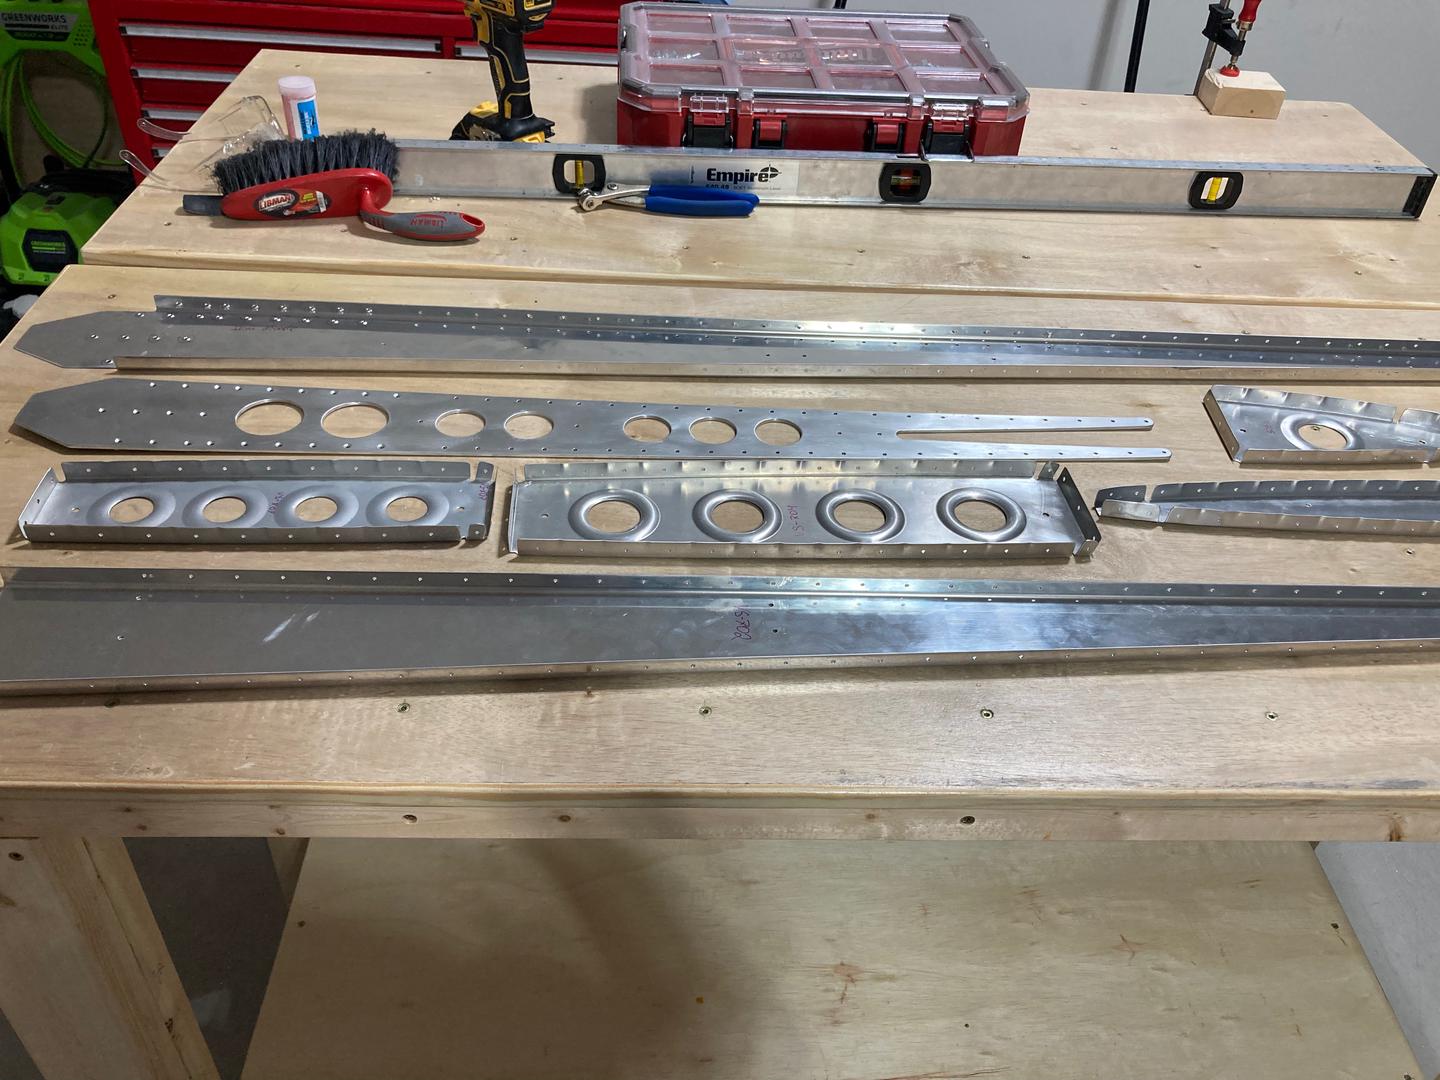
The next goal was to countersink the doubler, deburr all of the holes, and clean up before priming.
The first step was to set up a Micro-stop countersink cage. I used some angle from Home Depot which I had in my aluminum scrap bin.
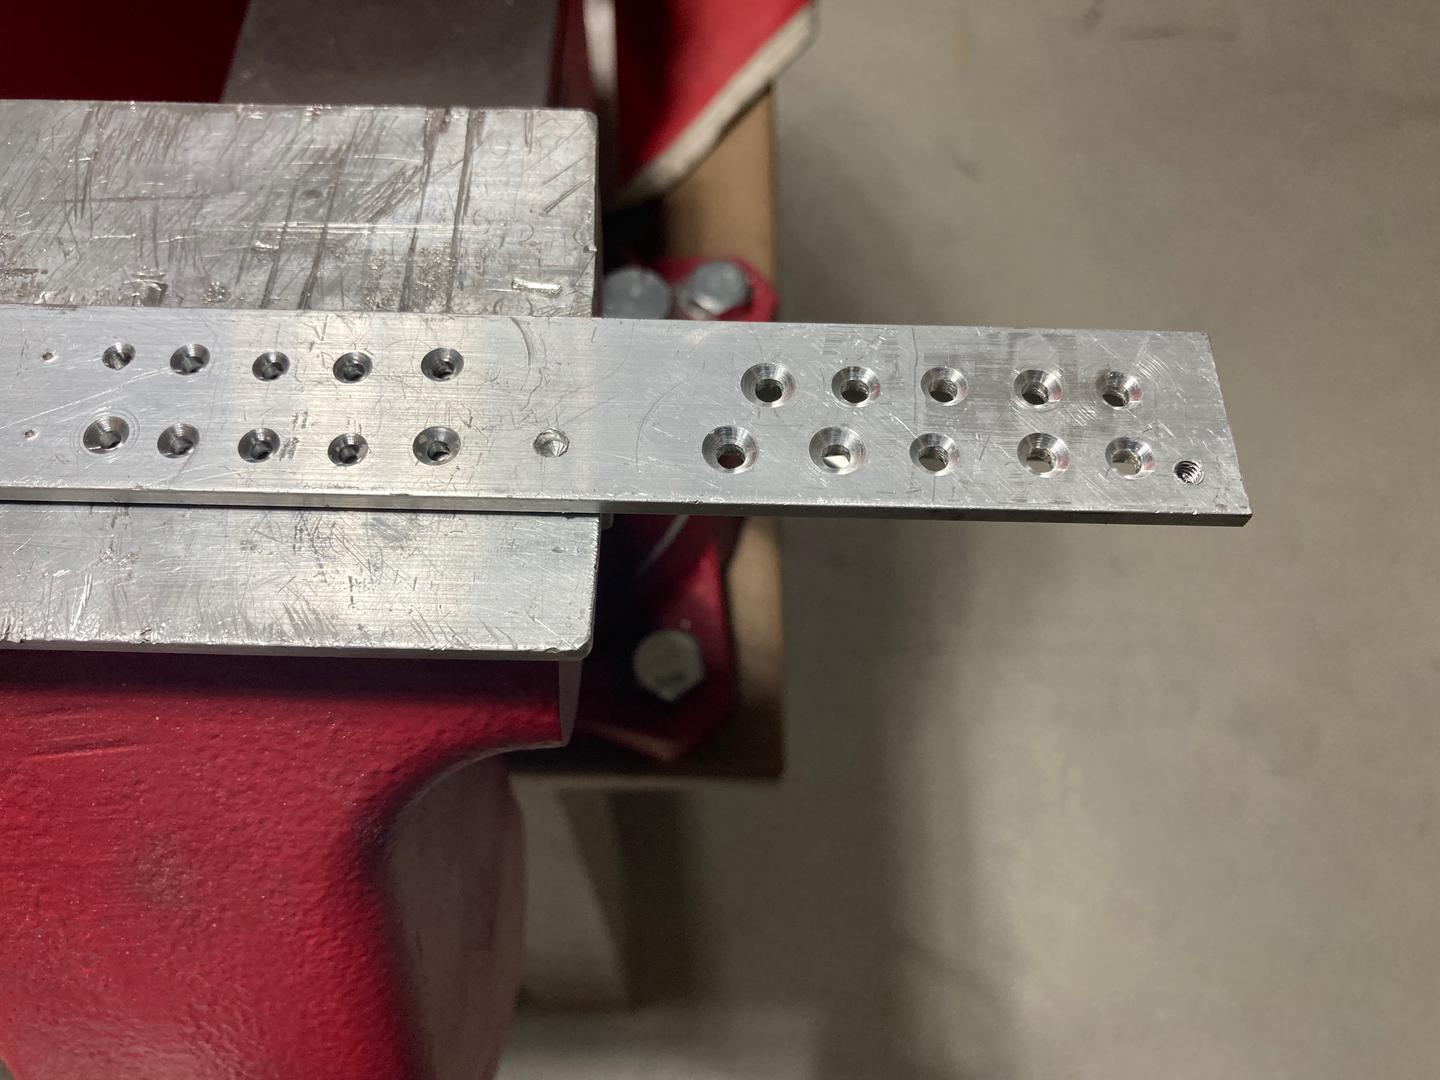
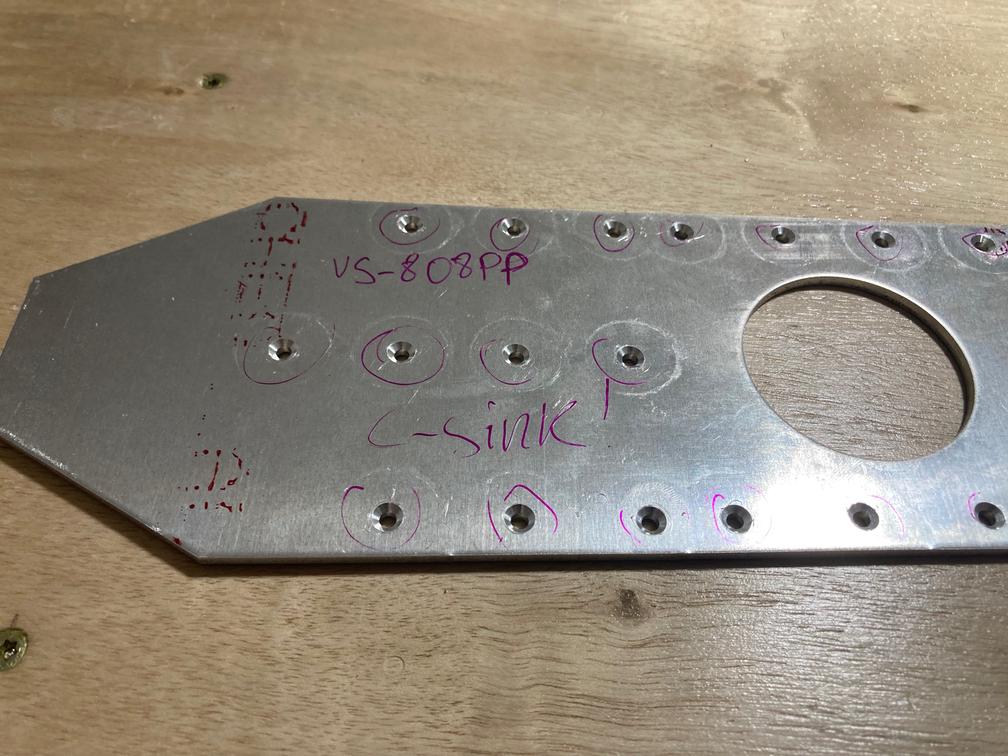
Since doubler (VS-808PP) goes behind the spar (VS-803PP), doubler needs to be countersinked with an additional 7 thou (0.007", seven clicks on the Micro-stop cage). However, having mixed experience with Micro-stop in the past (consistency still seems to be a bit of a challenge), I set up the cage for flush rivet (without extra 7 clicks). Good thing I did that! It was giving consistent flush results on an angle, but when I tried it on a real part, it was about 3 or 4 thou deeper!
I don't know what was it. Was it a different, softer material? Or maybe the angle surface wasn't exactly flat and the tool was sitting proud (thus cutting less)? Go figure.
So I readjusted the tool for flush setting, now on a real part (scary!), then added 7 clicks. Drilling the part did not present any drama, other than a few holes being undercut due to metal chips getting under the cage (so the lesson I learned is to remove chips after each hole).

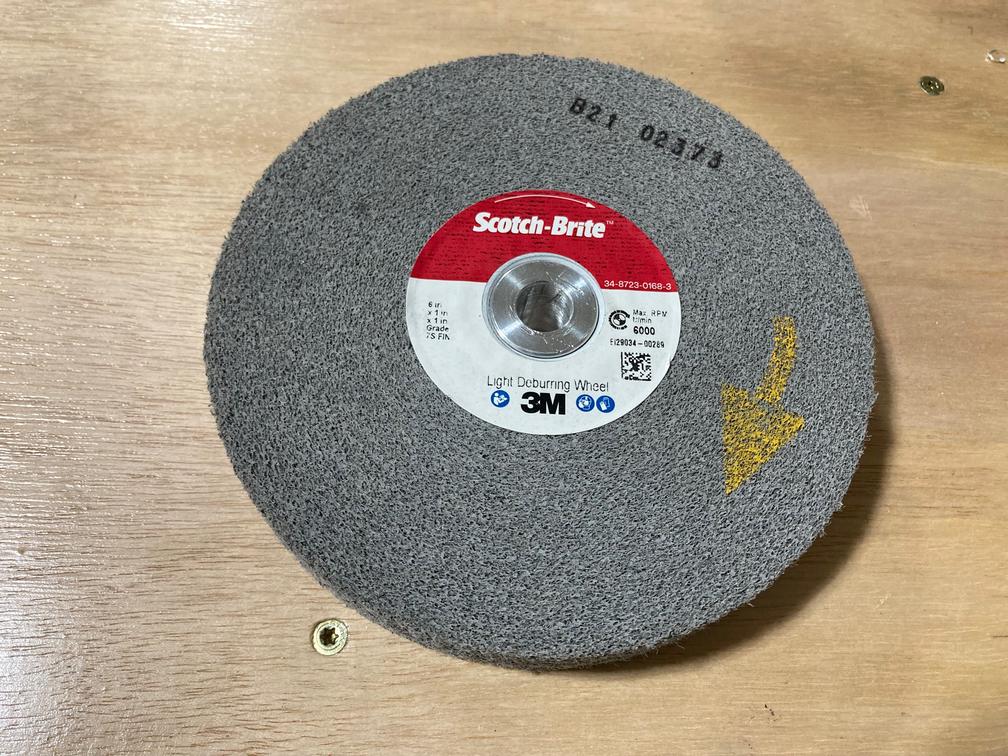
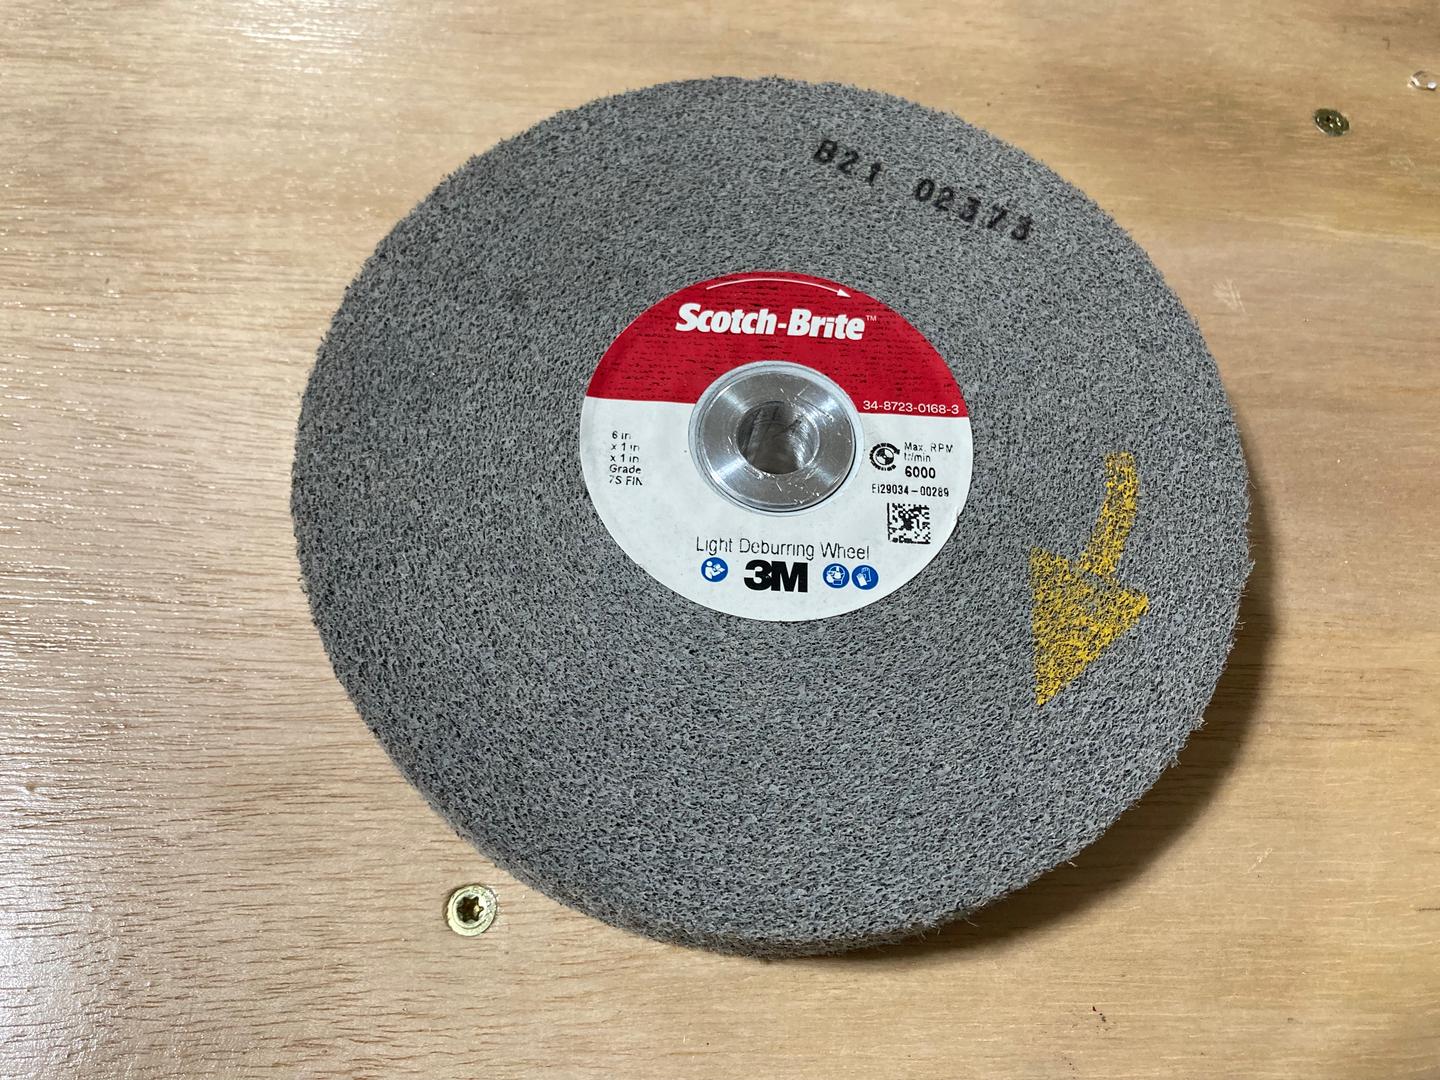
The next step was to deburr everything. I am still figuring out the most efficient way, but one tool I like so far is the 6" Scotch-Brite wheel. Since it works best for straight edges, I partially deburred ribs before I fluted them. I also used the wheel corner to get as much as I can into all the corners of the ribs. This leaves a pretty okay finish even though the wheel does not reach the inside.
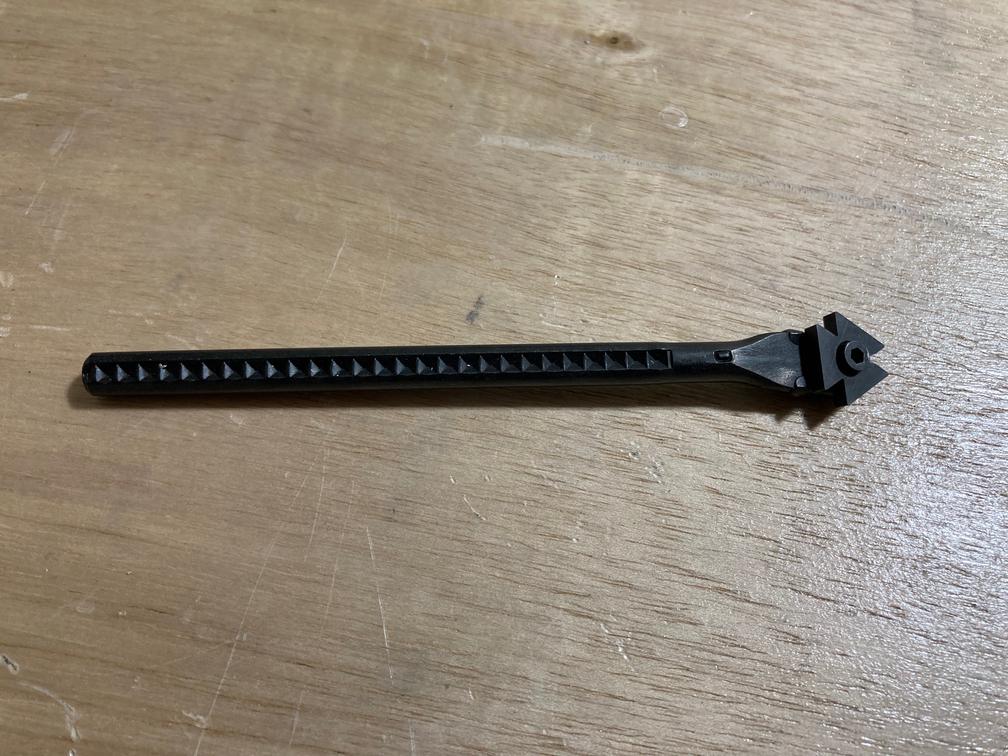
Here is what I was using for final deburring.
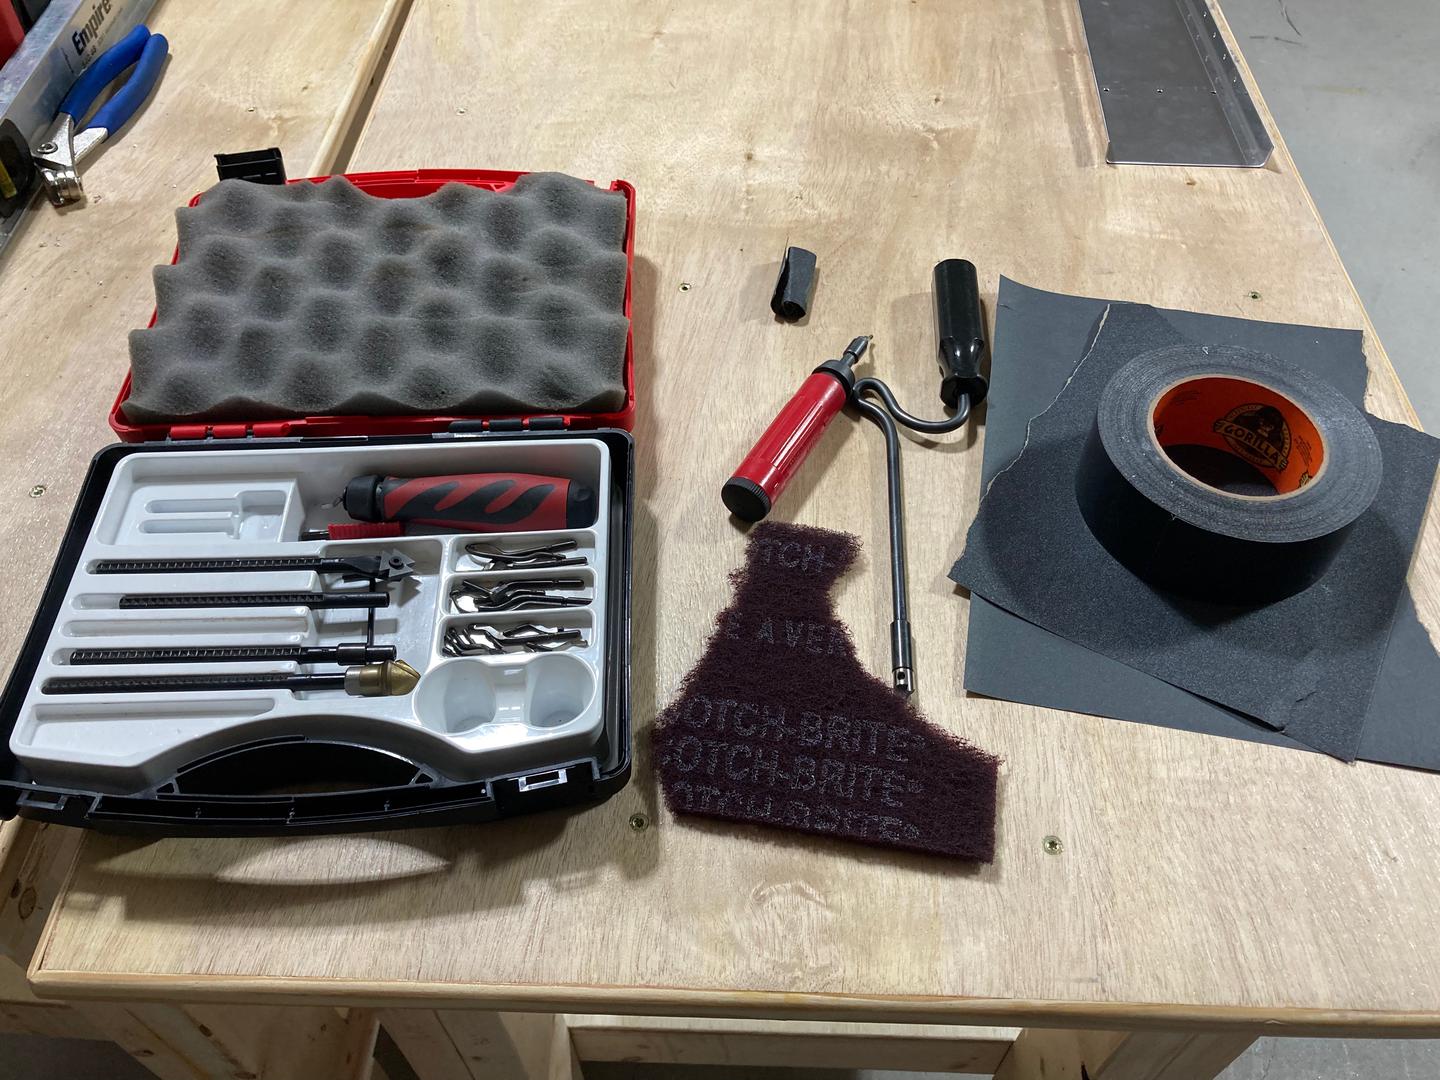
I deburred ribs mostly with sandpaper (I used 220 grit, did not bother going finer grit) and Shaviv tool (which worked well for lightening holes). For holes, I used a speed deburring tool. It works very well but makes it too easy to accidentally countersink holes. About one or even one-half of the turn should do it most of the time.
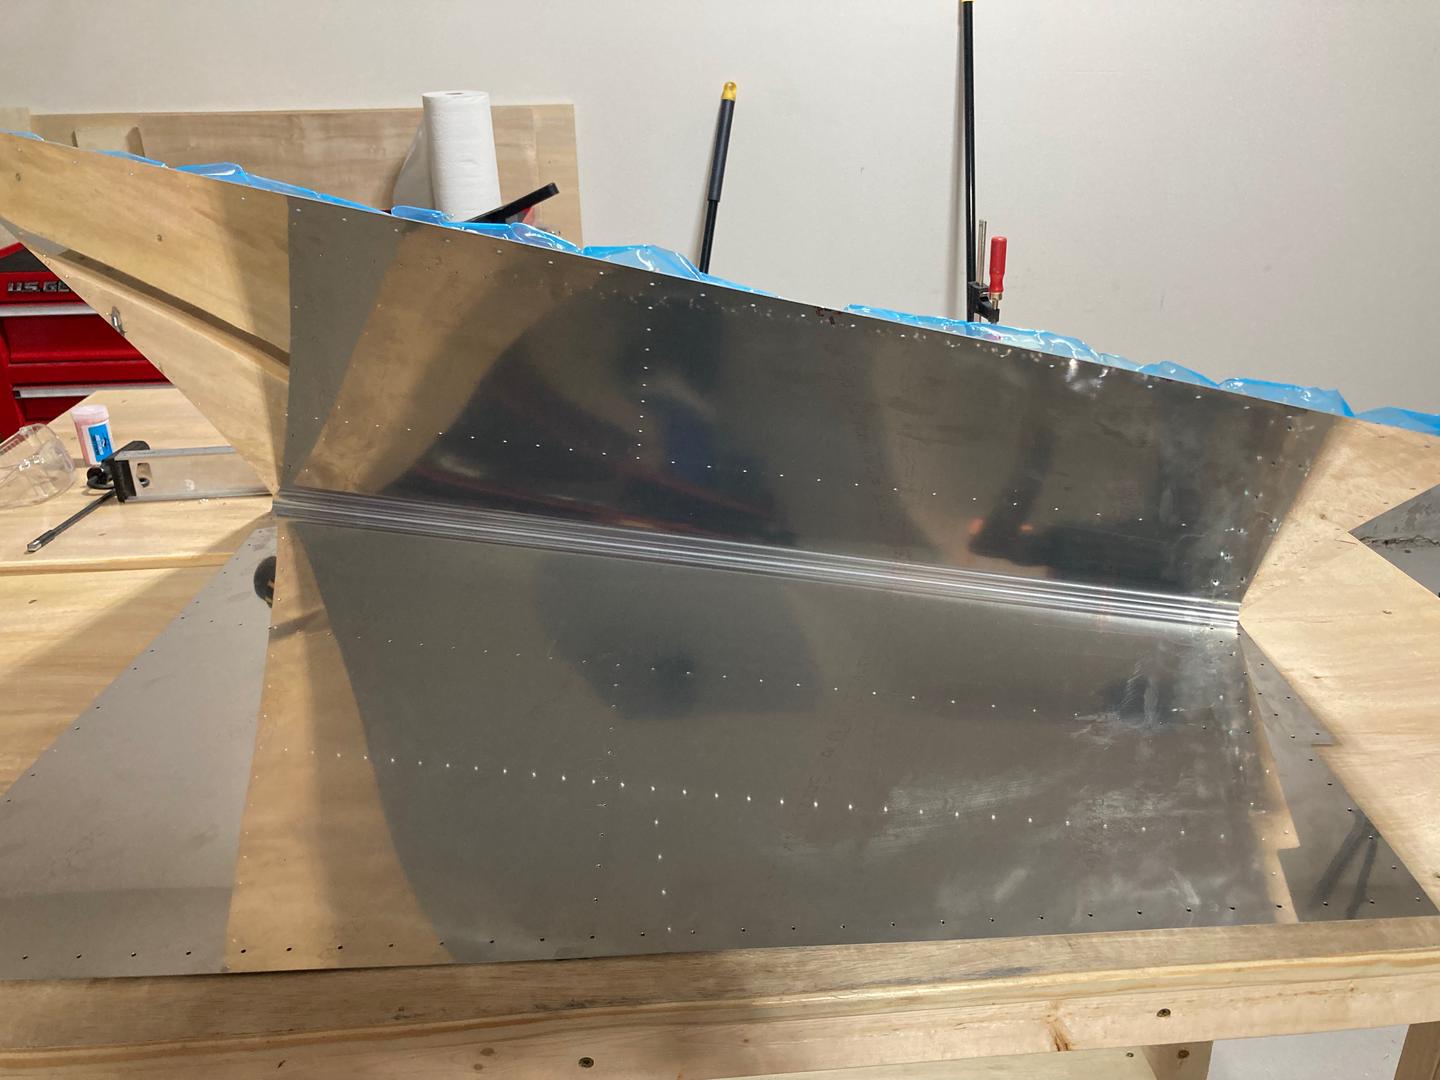
For the skin, I tried to use Shaviv edge deburring tool.
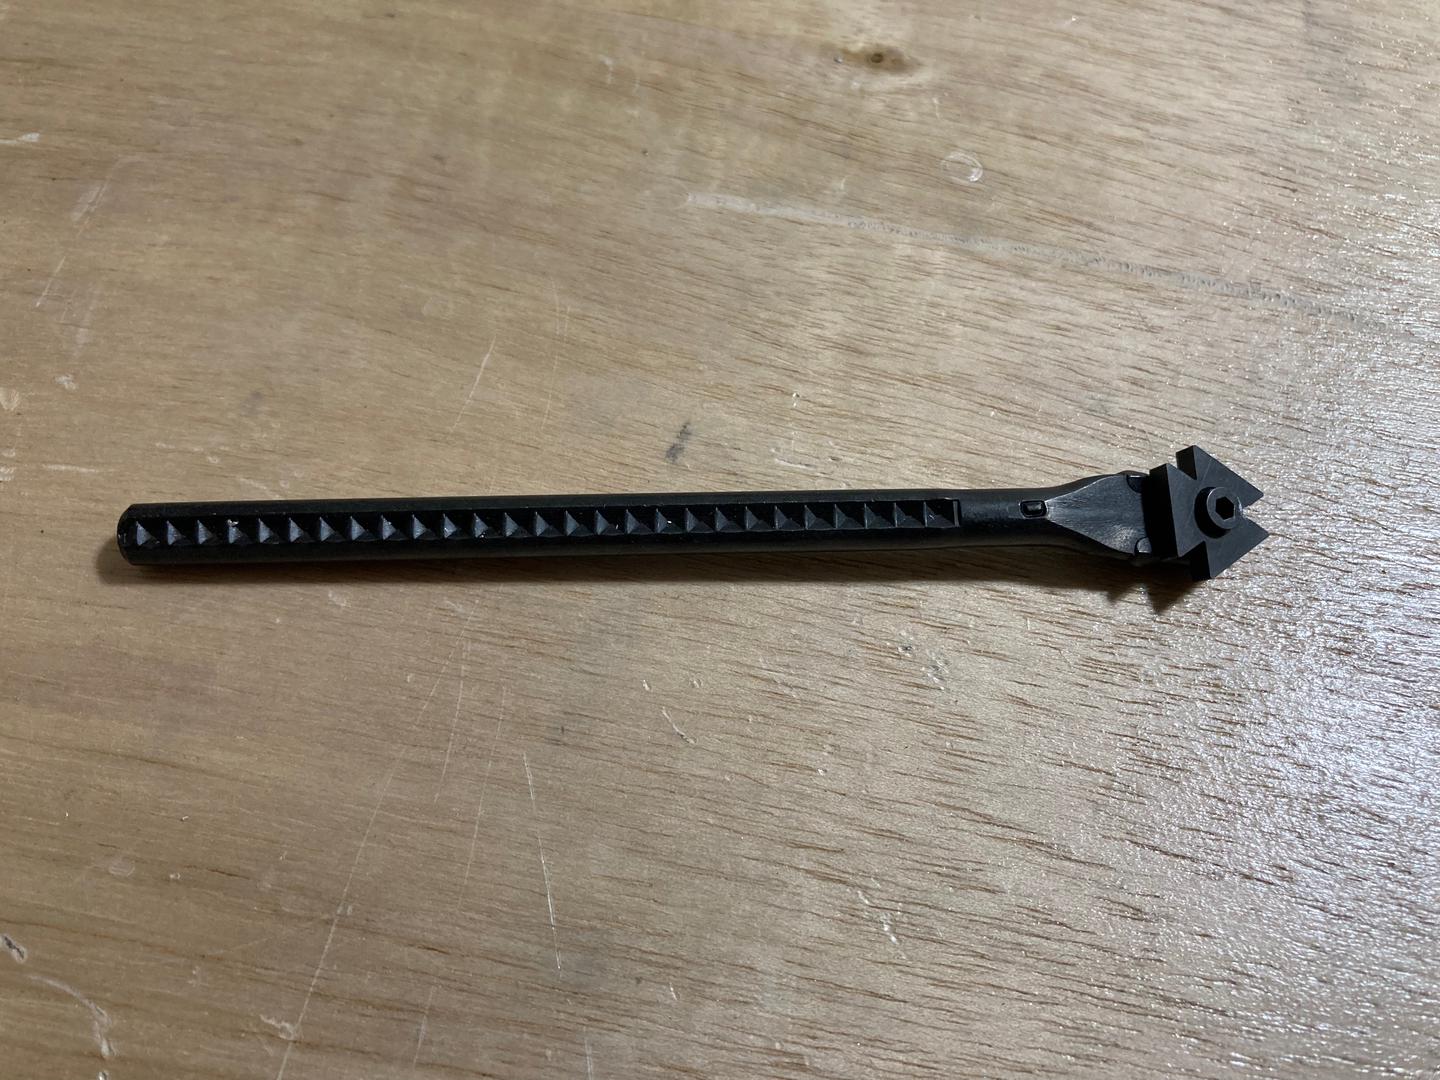
It kind of works, but as with all of these bladed tools, you need to have a good feel for the tool. If you don't press it hard enough, it will chatter. If you press it hard, but don't pull with enough force, it might stop cutting in the middle and there is a pretty good chance it will dig into the material, leaving a gouge. If you press it too hard, it will dig, too. So you need to press it just enough, keep it straight and pull it very smoothly. Ideally, it should produce one long thin chip.
For the doubler, I used the same soft Scotch-Brite wheel. It took several passes to remove all of the tool marks from the edges.

I have a harder wheel, too, but I removed it to reduce the vibration: my buffer vibrates A LOT. I have it on a Harbor Freight grinder pedestal, but this pedestal is not attached to anything. I don't want to drill into the concrete since I live in rental apartments. Maybe, I'll put it on a sheet of heavy plywood? Or make plywood big enough so I can stand on it? I want to keep the buffer far enough from assembly tables so it does not contaminate everything with aluminum dust.
Another thing is that wheel is not exactly straight (it wobbles). Initially, I used plastic bushings that came with the wheel, but I am never happy with those. So I machined exact sized aluminum bushing on my lathe. But the wheel still wobbles from side to side. Might be the buffer itself, Harbor Freight tools quality ... varies.
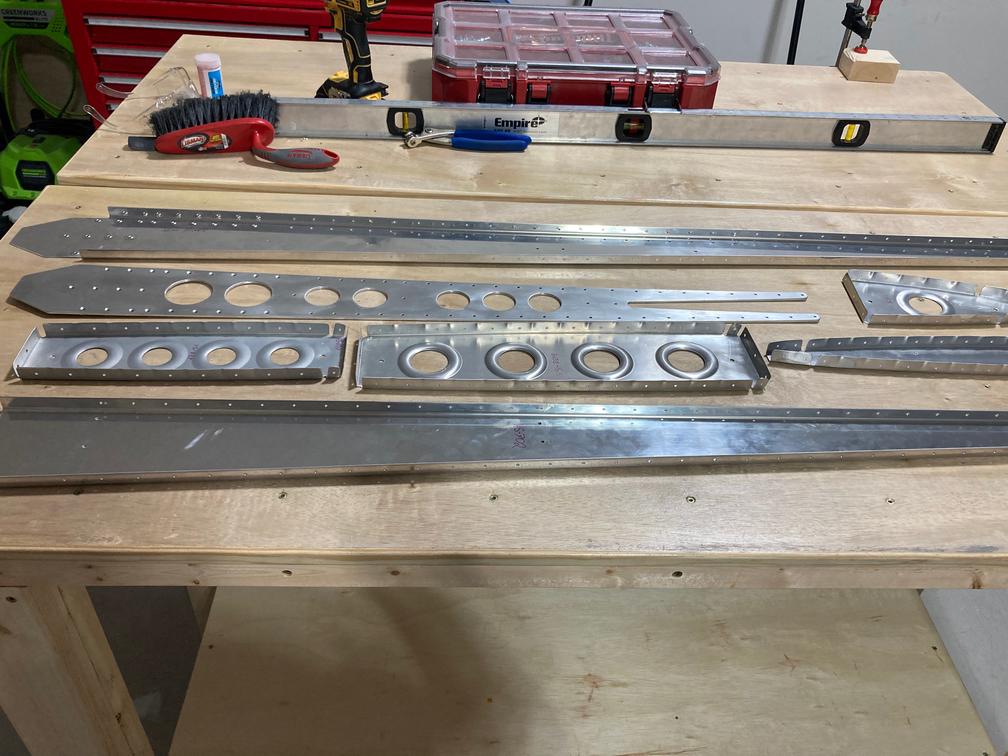
Finally, all the parts are ready for priming. Before that, though, I need to learn how to use a paint gun to apply Stewart Systems EkoPoxy. I chose this system because it is water-based and supposed to be much less toxic than other epoxy primers.