Deburring the horizontal stabilizer parts 4h
4h
May 14, 2022
The next step for the horizontal stabilizer was to deburr all the parts to prepare them for the priming session.
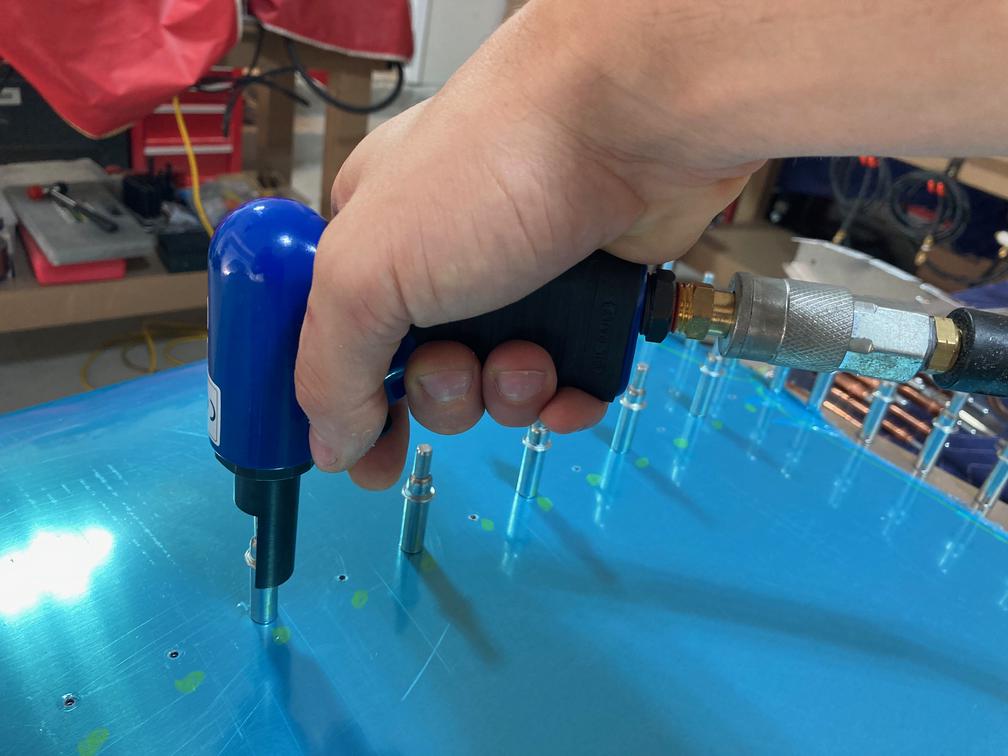
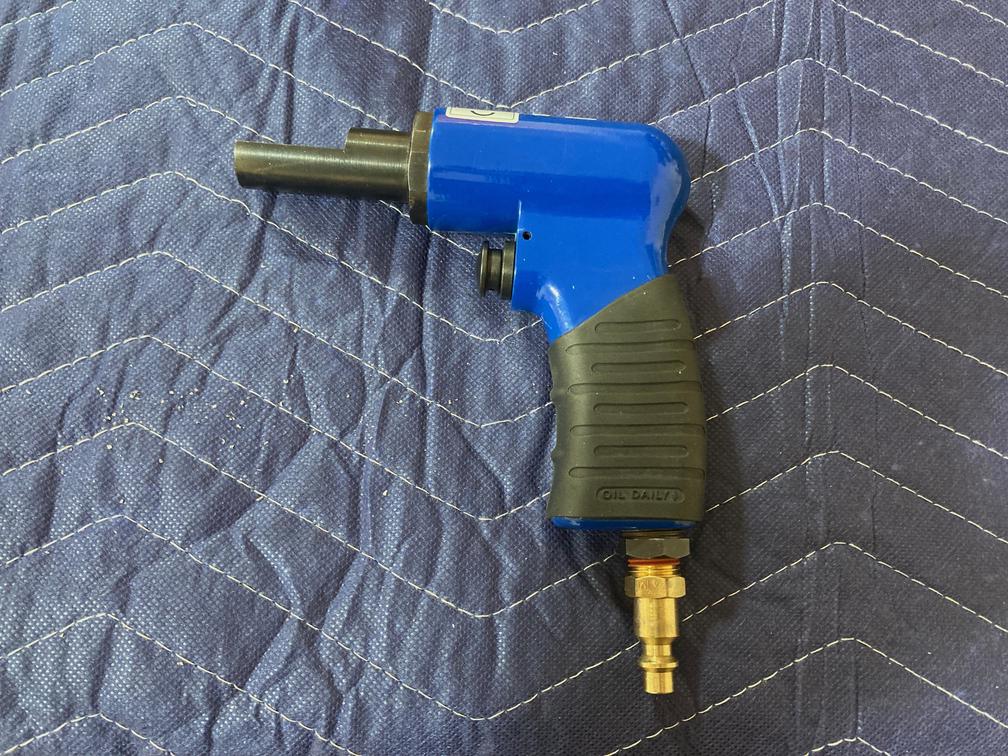
First, I needed to remove all clecoes. And there are a lot of them! Luckily, I anticipated that procedure and ordered a pneumatic cleco installation tool.
For some reason, there are a lot of them "inline" style, but I was specifically looking for the pistol grip tool. I found one on the Yardstore

Initially, it did not seem to work because it was not pressing clecoes hard enough. As a result, they won't fit into the hole or would not come out of the hole. So far I have not found any way to adjust the tool.
However, it worked amazingly well for removing and installing clecoes into the final-sized holes. So fast! Also, much easier on the hands, too.
I will use it more and see if it still needs some adjustment for an undersized hole. Maybe, I can glue some washer into the piston or something like that.
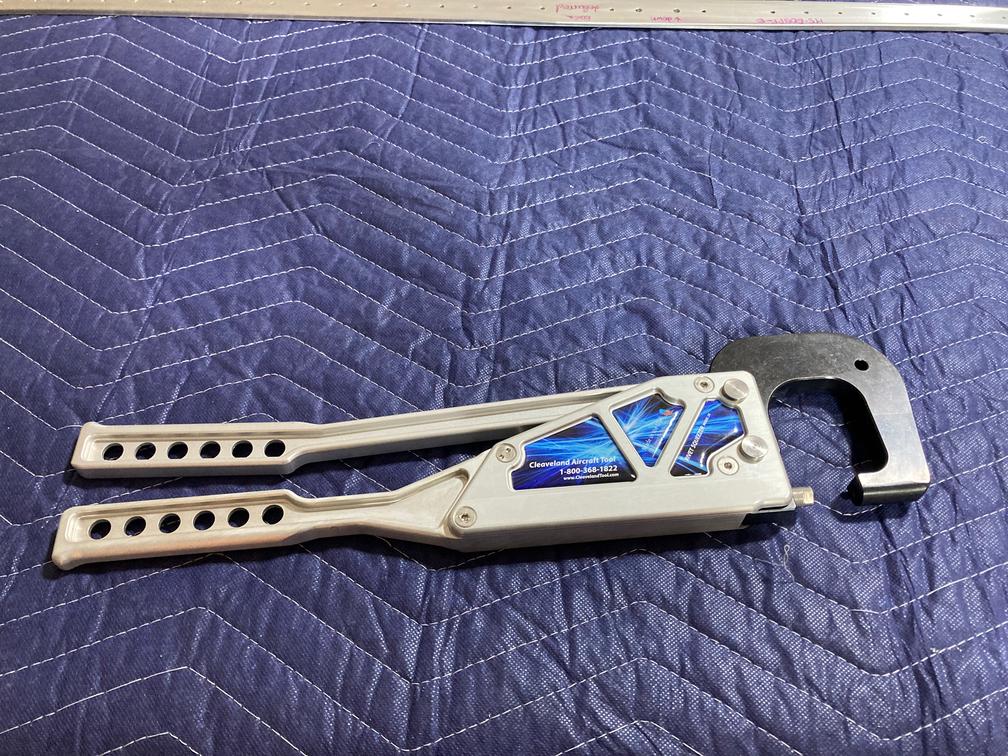
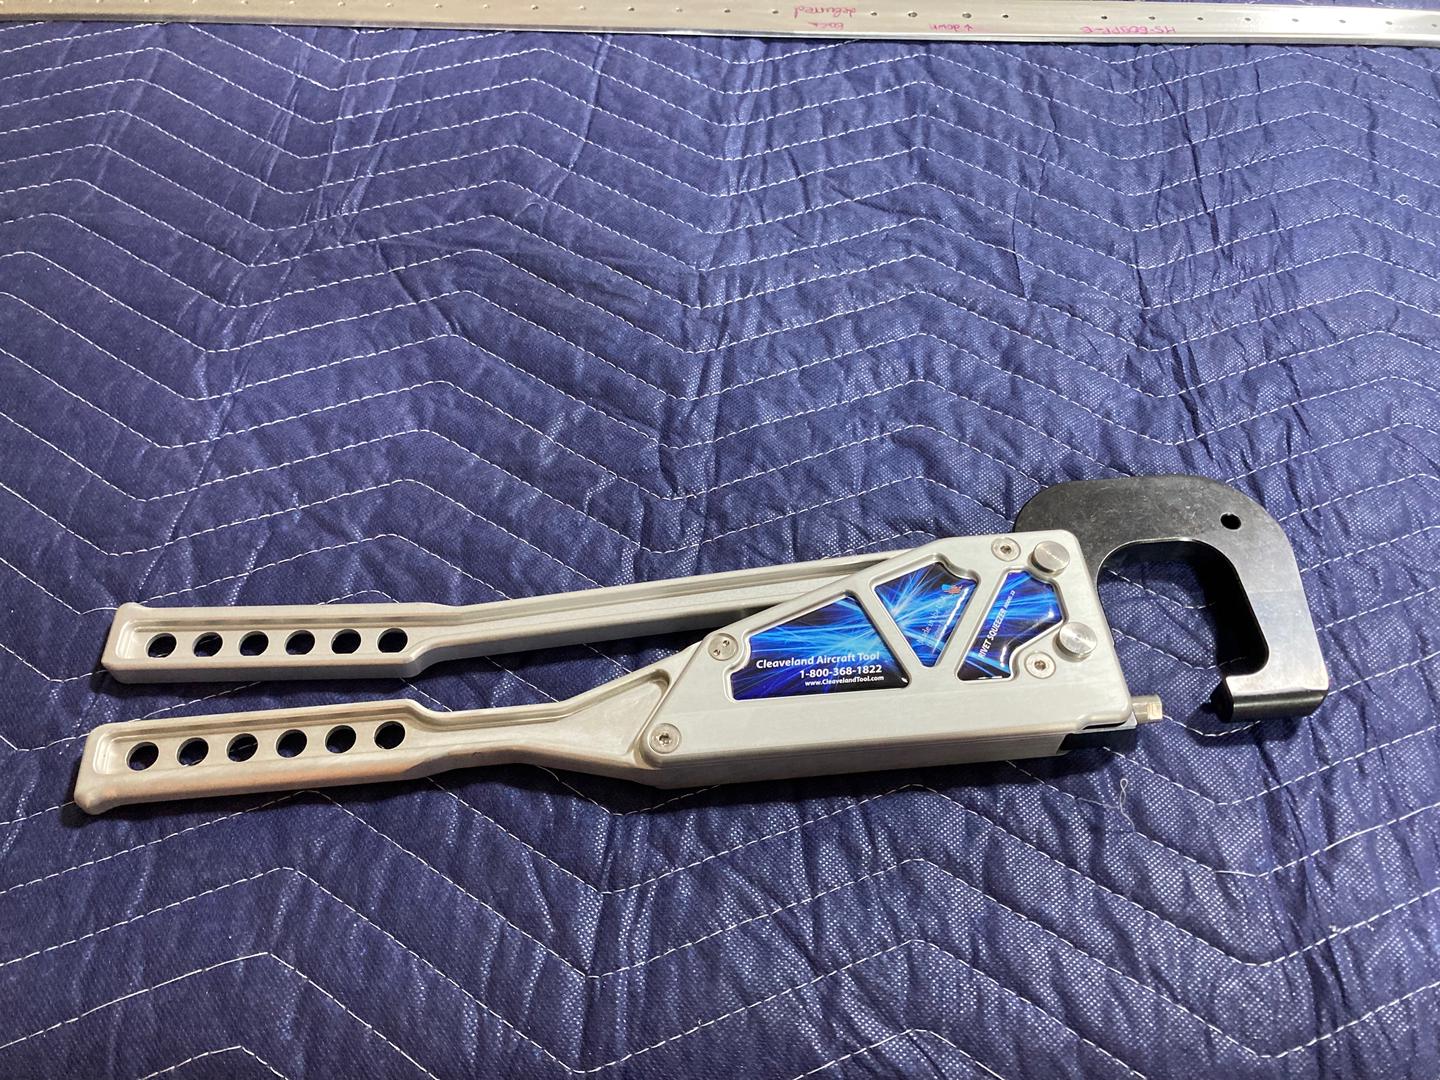
I also bought a Main Squeeze, with the idea that it will work better for less straightforward rivets (assembling ribs and spars, for example). For the vertical stabilizer, I used a pneumatic squeezer. It works well if you can set it square on the rivet. However, in some cases, you can only reach the factory head with the movable anvil and only when it is partially extended. I tried to feather trigger such that it extends the anvil, but does not apply the full pressure. Generally, it works, but if you press the trigger a bit too much, it might bite without being square on the rivet. As a result, you get smiles or another type of damage.
So my theory is that with the manual squeezer, I will be able to slowly approach the rivet in whatever position would be the most convenient and then set the rivet in a slow and controlled motion. Also, the tool has a slicker profile, so it works in situations where the pneumatic squeezer does not fit.
Then, the long deburring process.
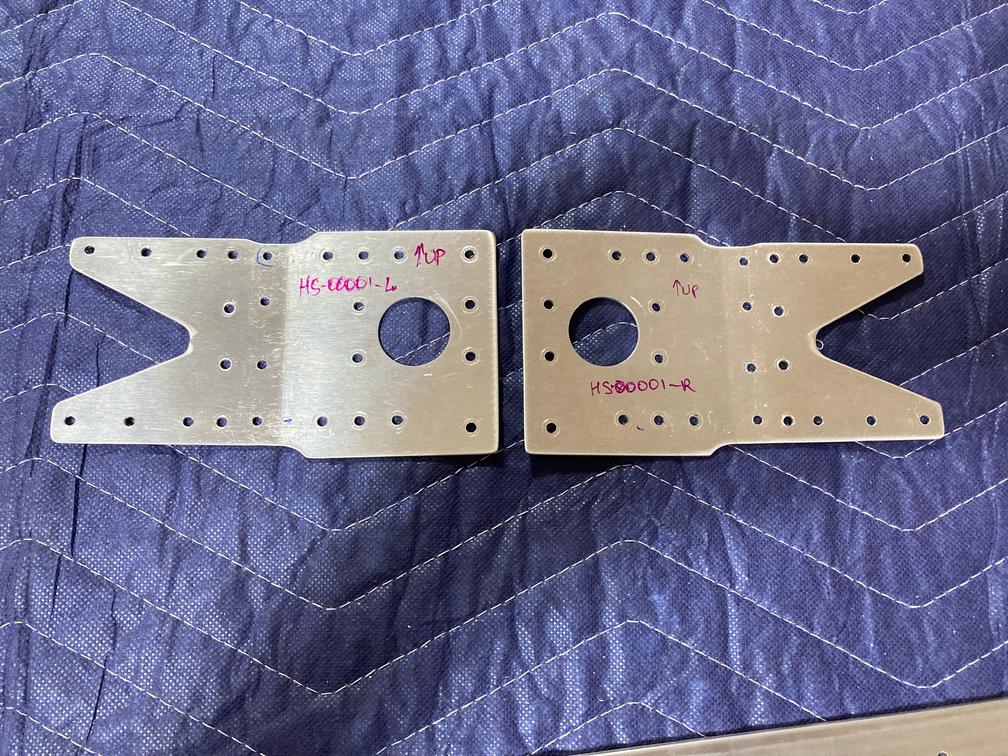
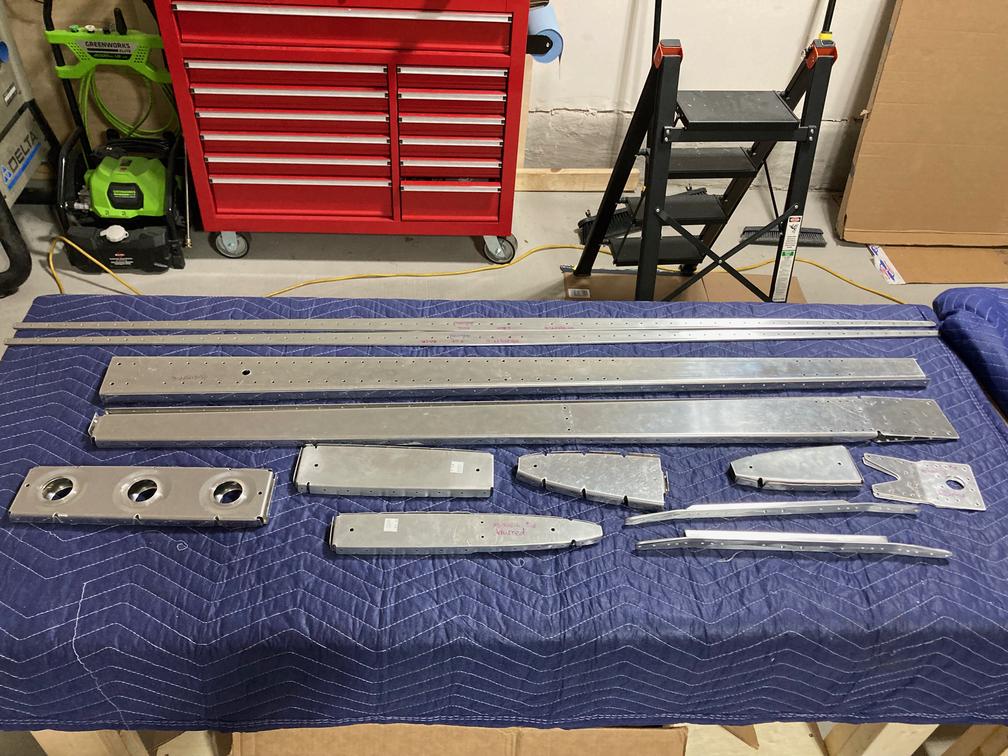
HS-00001 doubler has a lot of holes for such a small part!

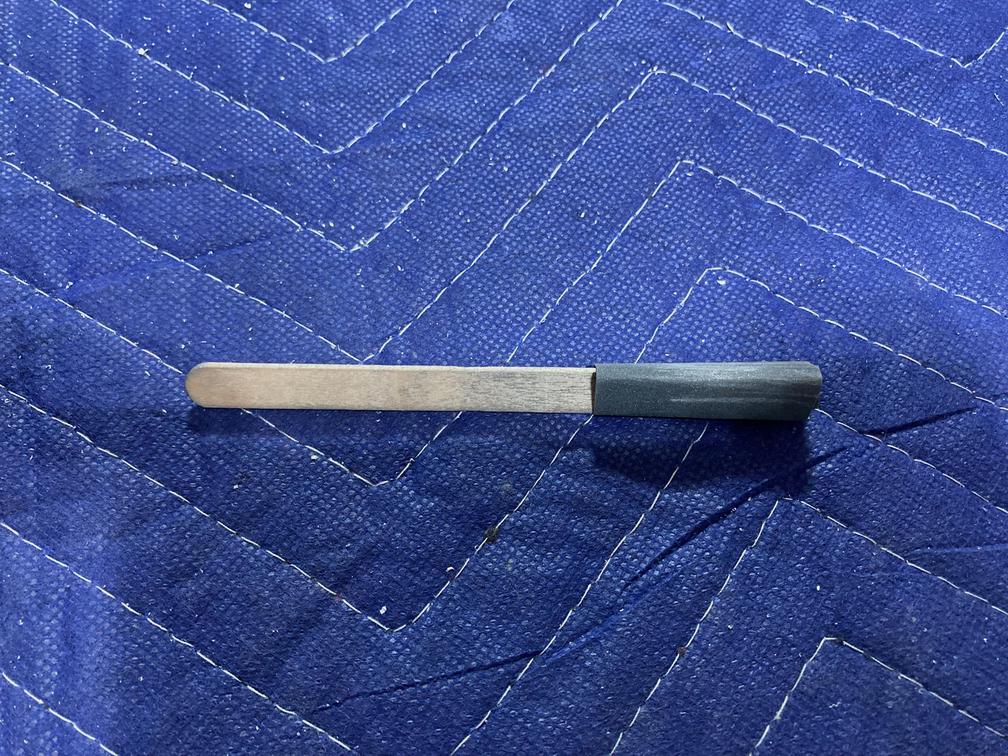
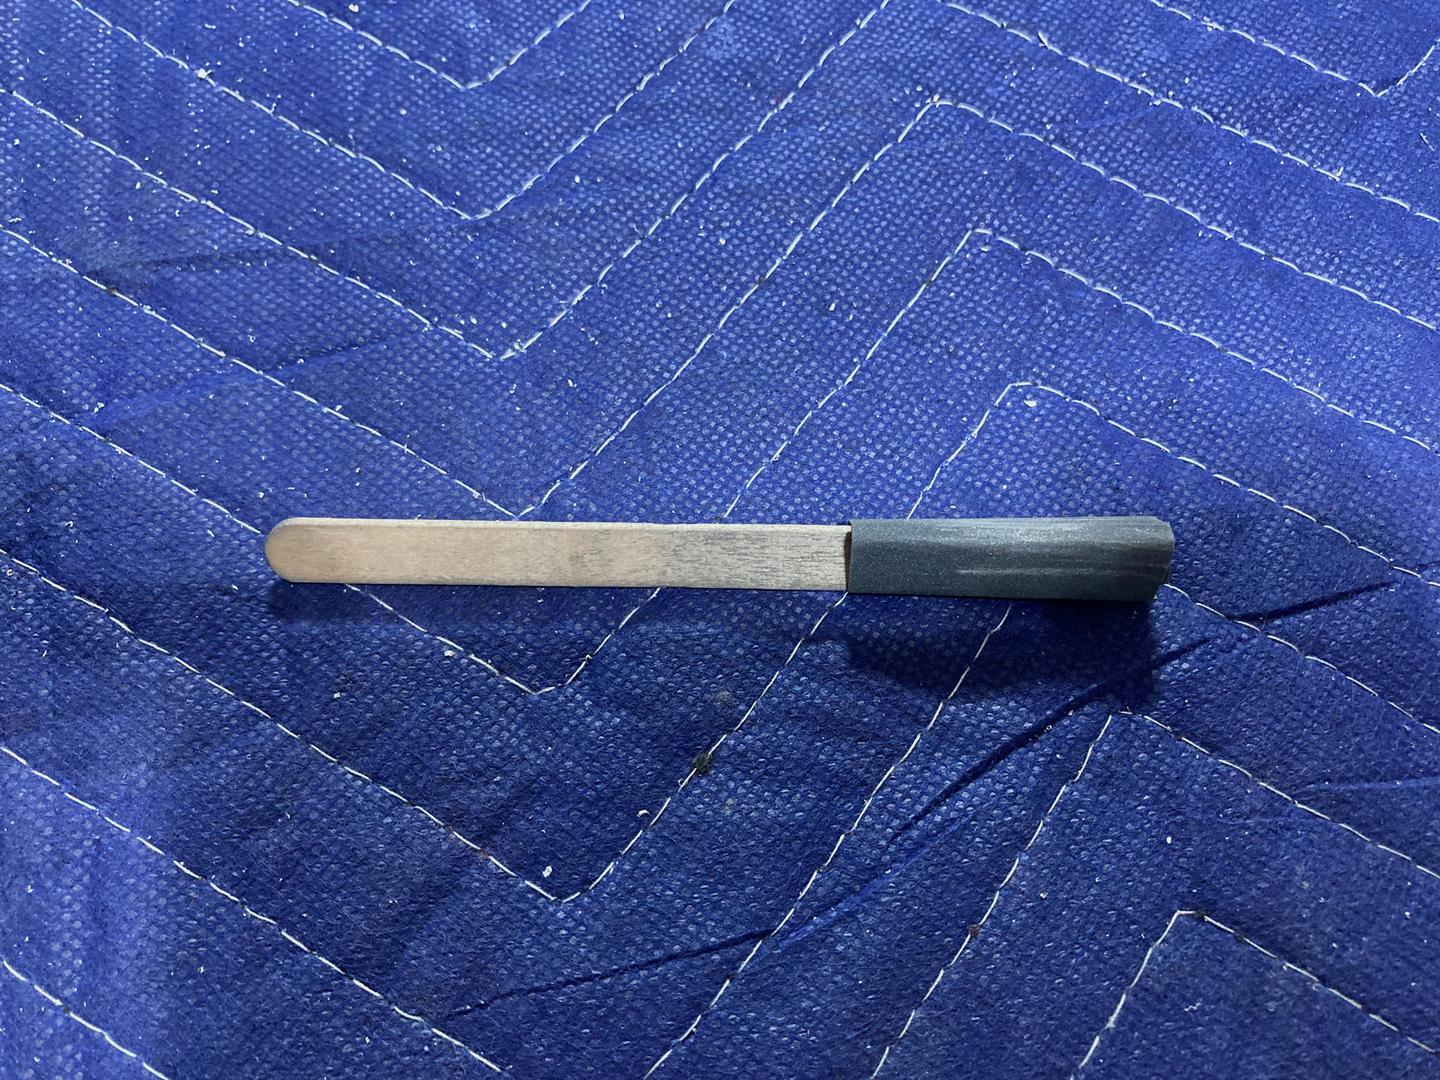
Since I have already deburred the perimeter of the ribs, the only remaining part was these nooks and crannies, plus the holes. I deburred holes using my usual quick deburring tool. For the nooks and crannies, I ended up using popsicle sticks wrapped in sandpaper (I used single grit, 320).
And after a couple of hours, everything is deburred.

Next -- priming. I probably won't be able to prime everything in a single session as my paint booth is relatively small and also does not have a good way to hold parts.