Priming the ribs and preparing the front spar 4h
4h
May 20, 2022
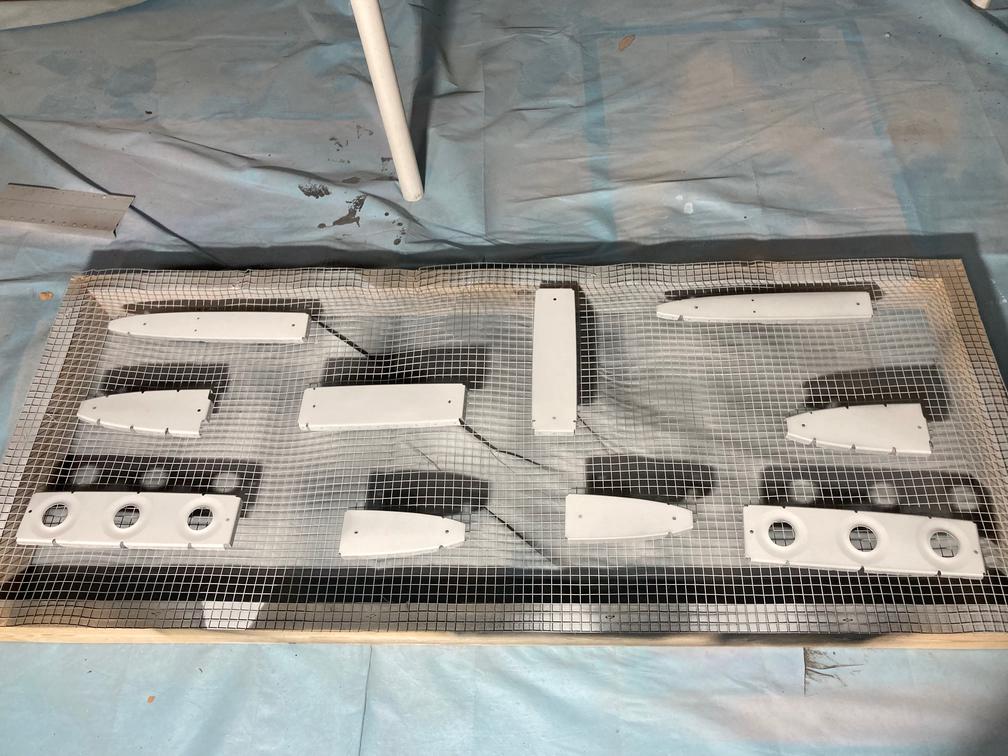
Small priming session to prime all the remaining ribs.
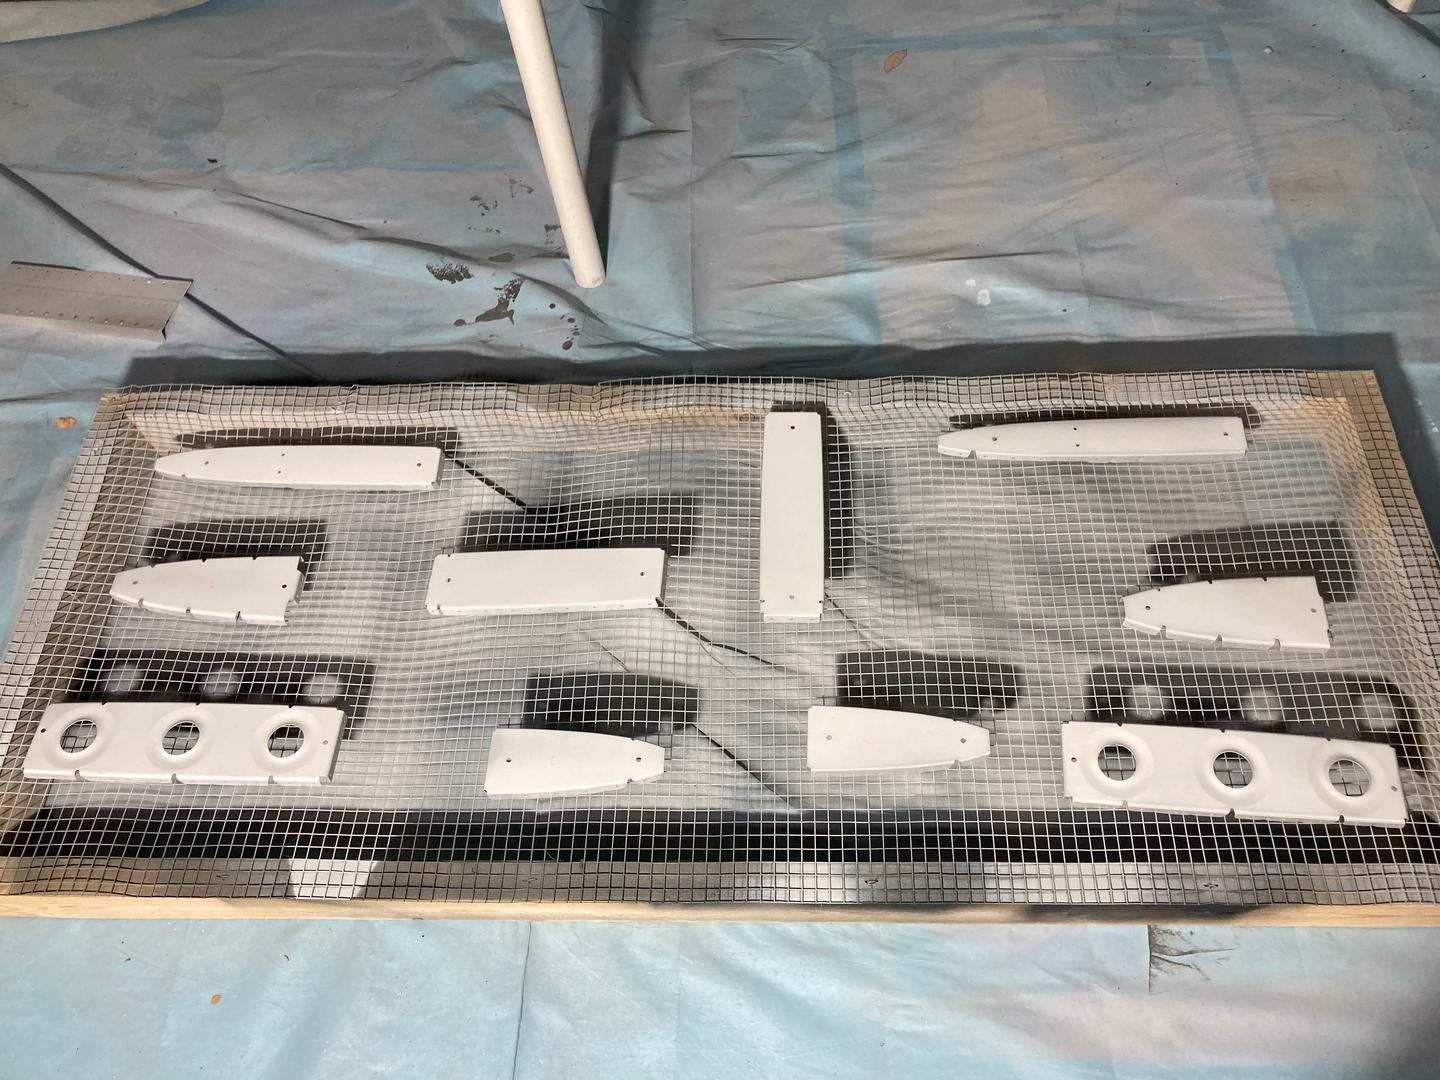
This was a short session to prime the ribs. This time I decided to put them on a chicken wire table instead of hanging them, as I thought it would be easier to spray small parts on the table.
I much did better with the paint flow control this time, with no issues with the primer strikes. However, since I had to spray the paint from multiple directions to cover all rib flanges, I missed a couple. Also, a few flanges were not covered enough -- I probably need better lighting in my paint booth. Otherwise, I don't see too well if I have parts without enough coverage. Also, somebody on VAF gave advice not to use a smoke gray color as it does not contrast much against the base aluminum color. I agree with that, but I love the smoke gray. Looks really nice.
Again, I used a regular paintbrush to cover flanges that did not get enough primer.
Another mistake was that I haven't thought that my chicken wire table pretty much sits on the ground (it does not have any legs) and the paint sprayer raised all the dust from the floor (which, in retrospect, I should have swept!)
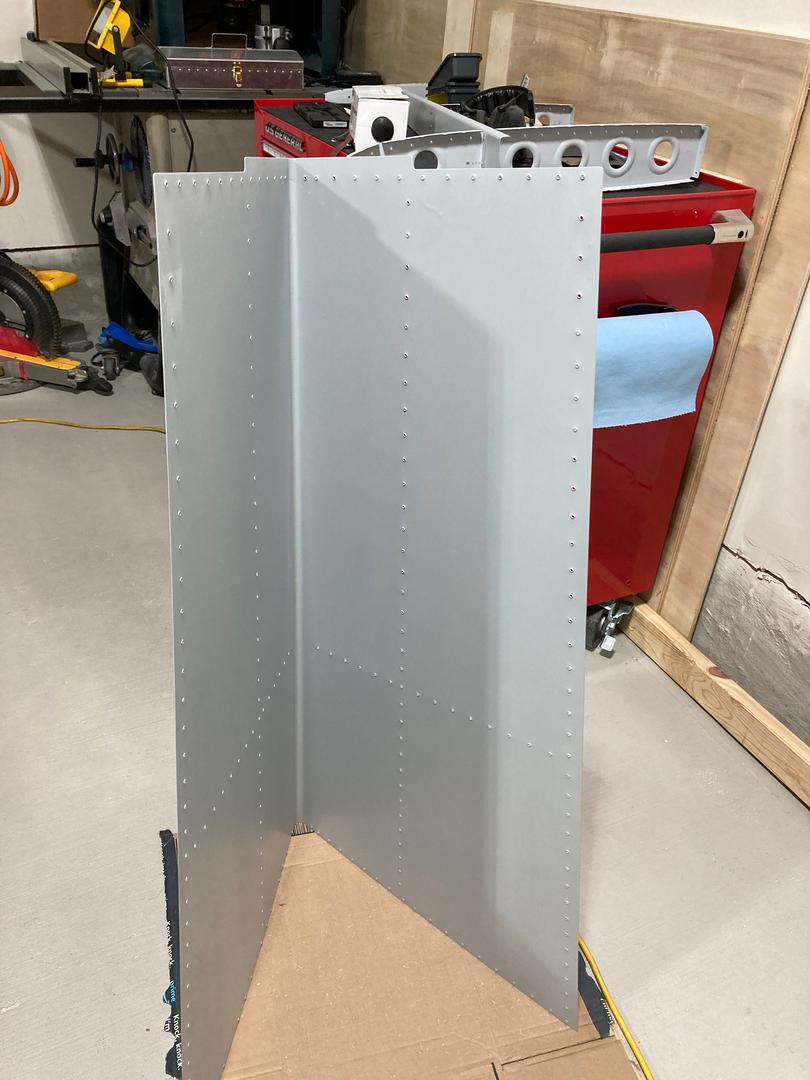
After the ribs dried, I riveted the front spar assembly, by attaching two ribs (each side) to it. Those rivets were difficult to approach with the squeezer, but this new manual squeezer I got worked perfectly fine.
One of the tool sites says that a pneumatic squeezer is strictly better than the hand one. I don't agree with that. There are several aspects where I found the hand squeezer has a bit of an edge over the pneumatic one. And by hand squeezer, I mean Main Squeeze from Cleaveland Tools. I don't know if other hand squeezers are in any way similar to it or not (in terms of size, operation, and so on).
First, the huge advantage of the manual squeezer is that you can position it more accurately before you apply any pressure. It is more controllable. In some spots, you cannot fit the squeezer until you squeeze it just a little. With the pneumatic squeezer, I found two options: feathering the trigger, so it pushes the bottom anvil but does not really apply any force, or removing the return spring and extending the anvil manually.
Both ways don't work too well. Feathering works until you accidentally press a bit too much, and the squeezer crushes whatever parts are in its way. Unforgivable power. Removing the spring sort of works, but it is too easy to push it back and then you need to manually extend it again.
The second advantage of the manual squeezer is that it is actually a bit smaller in some dimensions: the pneumatic one I have is very fat. Main Squeeze, on the other hand, is quite thin.
The force required to set -4 rivets is relatively small with the Main Squeeze, so when you need to set a few very important rivets, you don't really get tired. Most of the time is spent on the setup, and not on the riveting itself.
Where a pneumatic squeezer shines is when you have 100 easy holes/rivets, and you need to dimple or put rivets through them.
Here is me posing how I squeeze some rivets which were impossible to reach with my pneumatic squeezer:
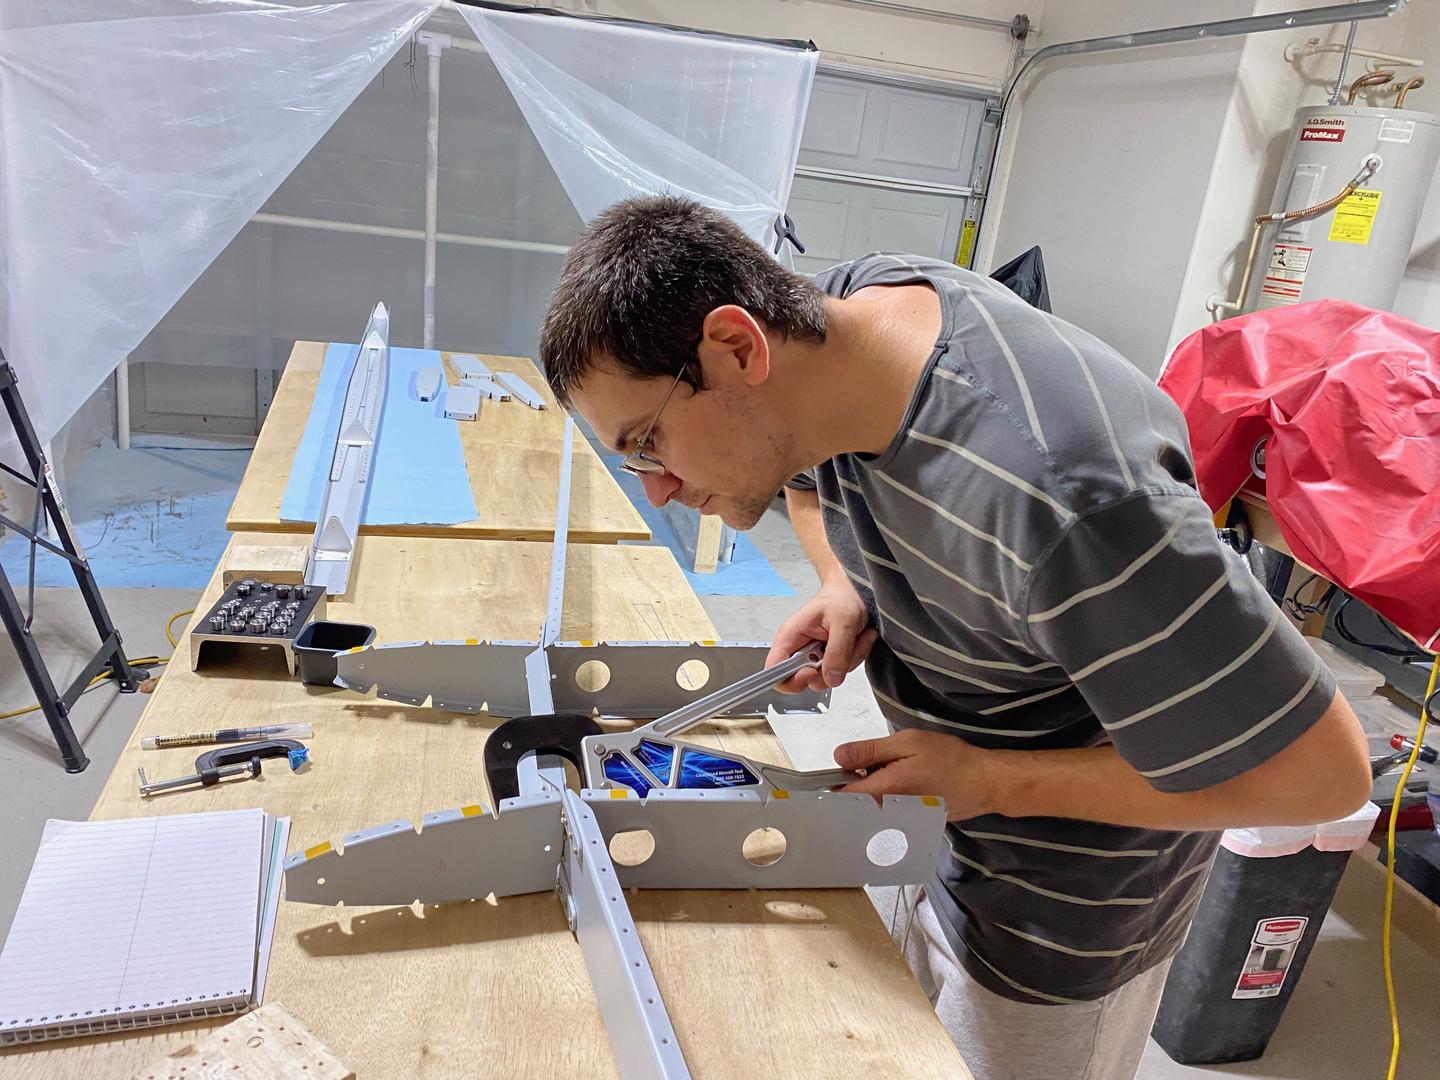
Sure, I could have used my rivet gun, possibly with a double offset set 😛
Before I started riveting the skin, I checked my ribs and found that their flanges were out of square again:
So I fixed them with my wooden block.
Then I dimpled the skin with the DRDT-2 tool.