Glueing the trailing edge 4h
4h
June 15, 2022
Today I glued the trailing edge with the tank sealant.
Once I received the rivets to use on the rudder, I riveted the bottom rib. The rivet size that I used is AN426AD4-5. It is, perhaps, a bit too long, but it worked well for most of the holes. The first two holes (the leftmost holes, one on the top and one on the bottom) turned out a bit elongated since there was not enough space for the squeezer. I, perhaps, should have used a bucking bar and the rivet gun -- there is plenty of space for those.
The general theme with these #4 rivets is that they are much harder to set well: the forces are higher and there is less space. I kept a couple of rivets that I would have replaced otherwise. I figured that I will cause more damage trying to fix them, especially given that they are upsized so should have plenty of holding force.
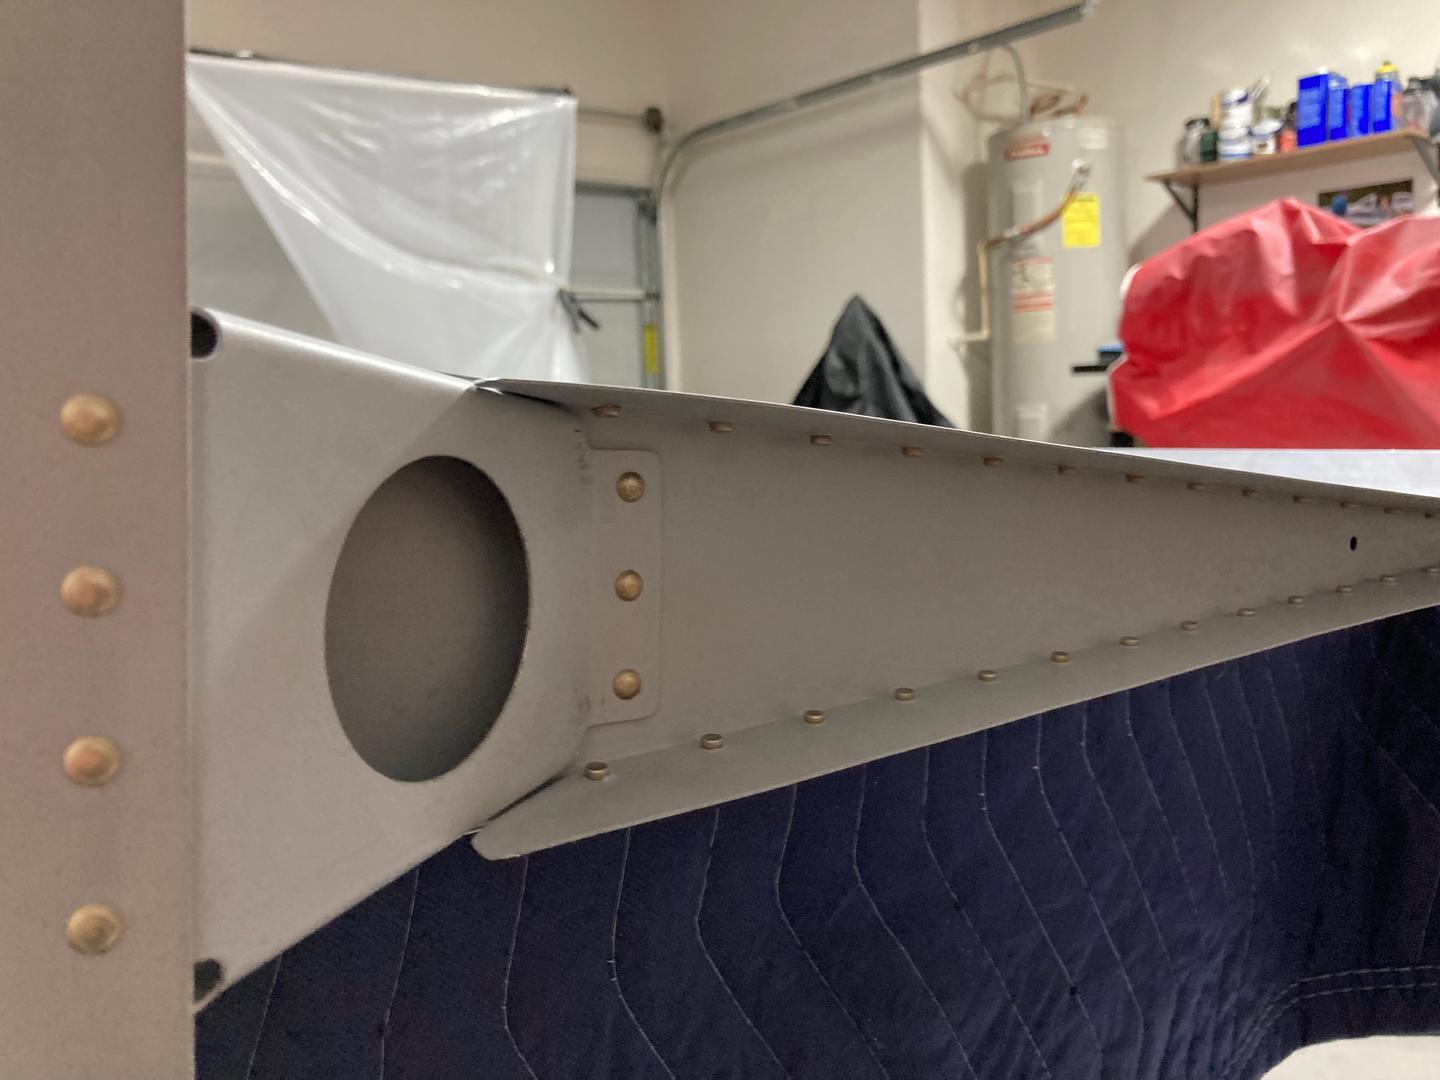
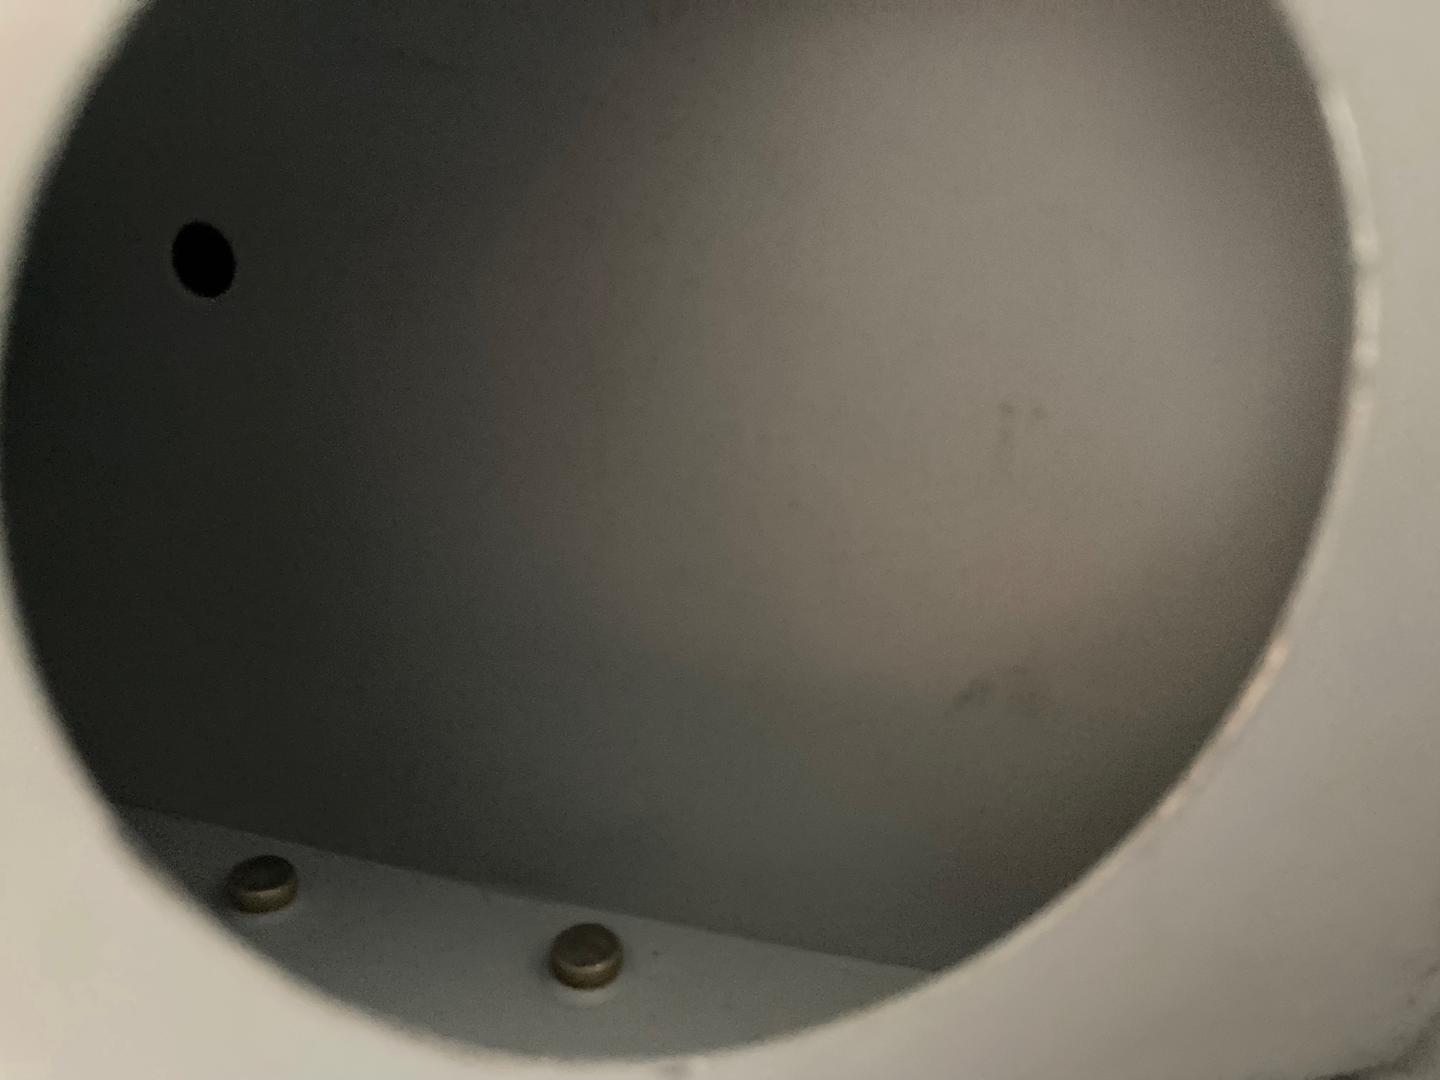
The rivets inside the rudder horn brace were set blind, with the squeezer reaching through the hole in the brace. Those turned out perfect.
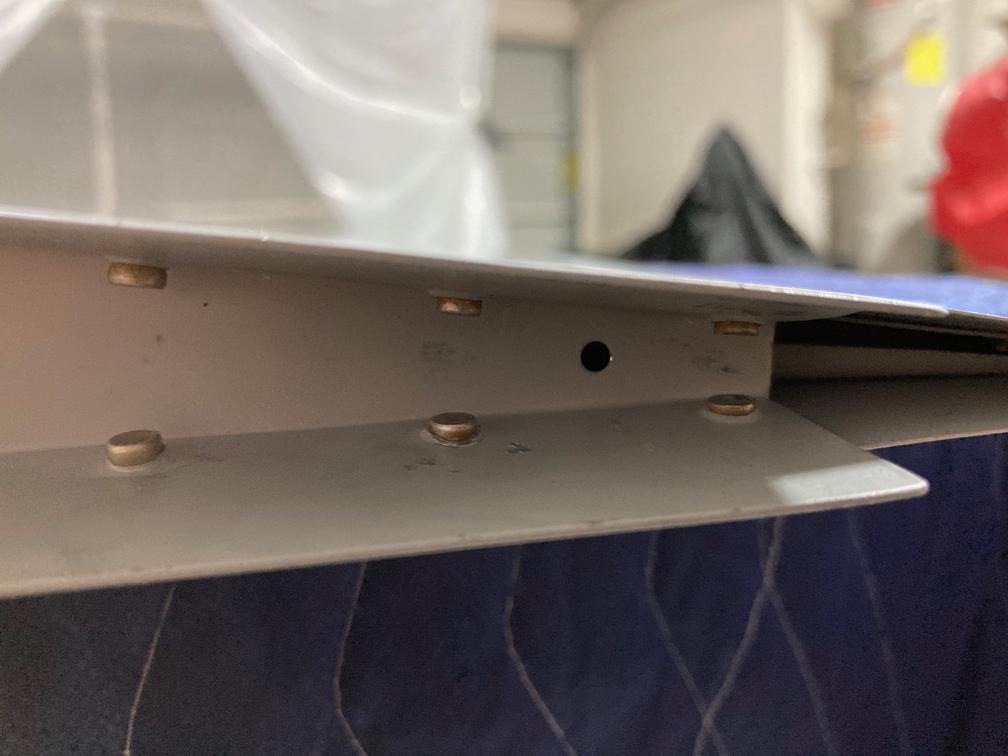
The trailing edge rivets are where I had a lot of struggle. The space is limited so the bucking bar does not fit well, and it is flexing (it worked perfectly for #3 rivets in my tests, but it barely works for #4 rivets). The second to the last rivets are okay, although you can see that the dimple around it is a bit flattened. Took me a couple of attempts to set these rivets.

The last rivets, however, are too flat. I was not able to fit my bucking bar with the AN426AD4-5 rivets, so I used N426AD4-4 instead. They barely pass the shop head diameter test (they are just a bit over 0.163", which is the minimum), and might be a bit too flat (the minimum is 0.050", they measure somewhere around that, maybe, 0.048"). I am going to keep them anyway as I don't think I can set better rivets given the circumstances.
Also, I noted that the skin is a bit too wavy on the last row.
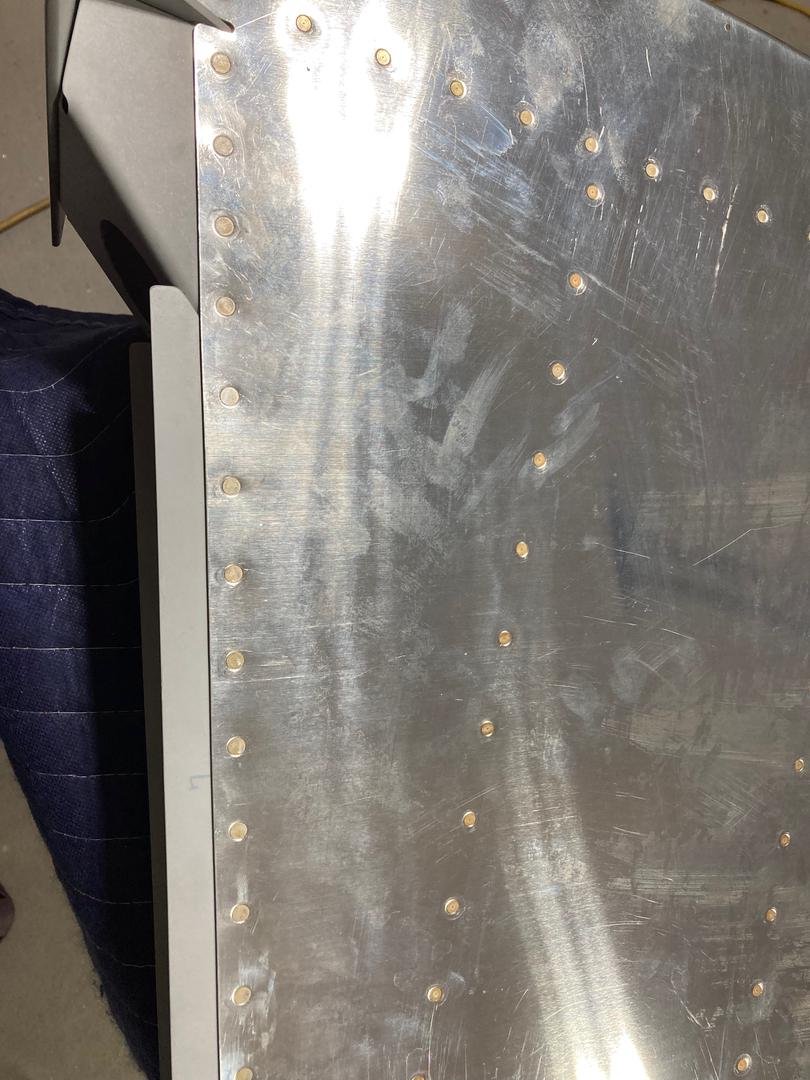
I think this is because the forces to set these rivets are much higher, so they distort the parts more.
Well, overall, it still looks like an airworthy part to me. I would put it in my "yellow" category, however, meaning that I will consider rebuilding it at the end of the project (if I ever get there).
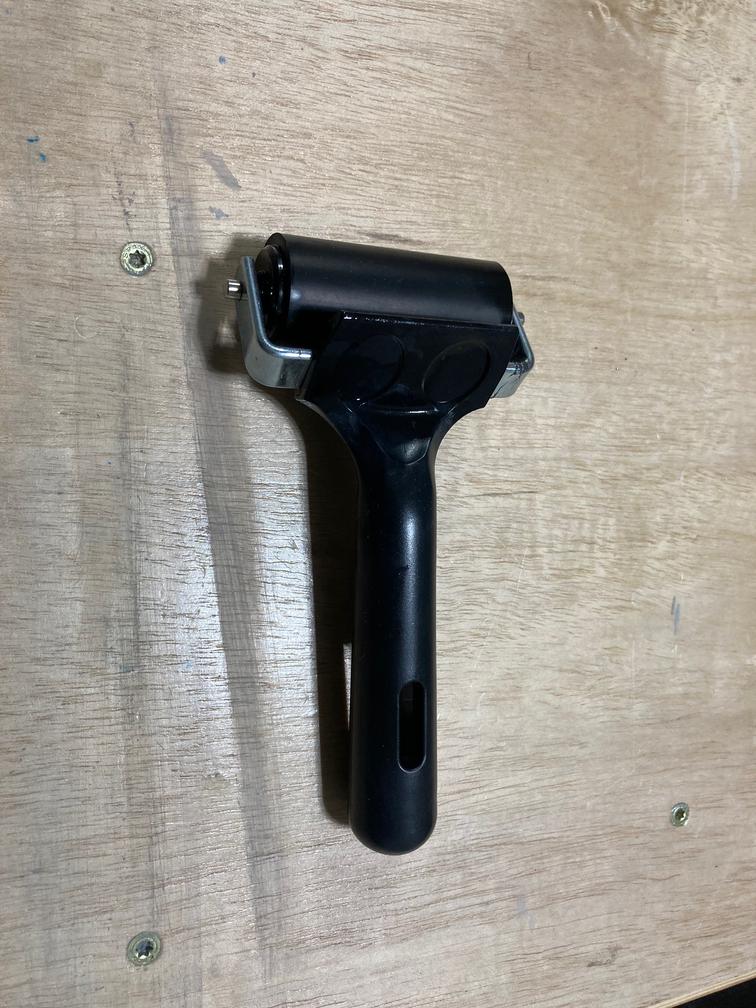
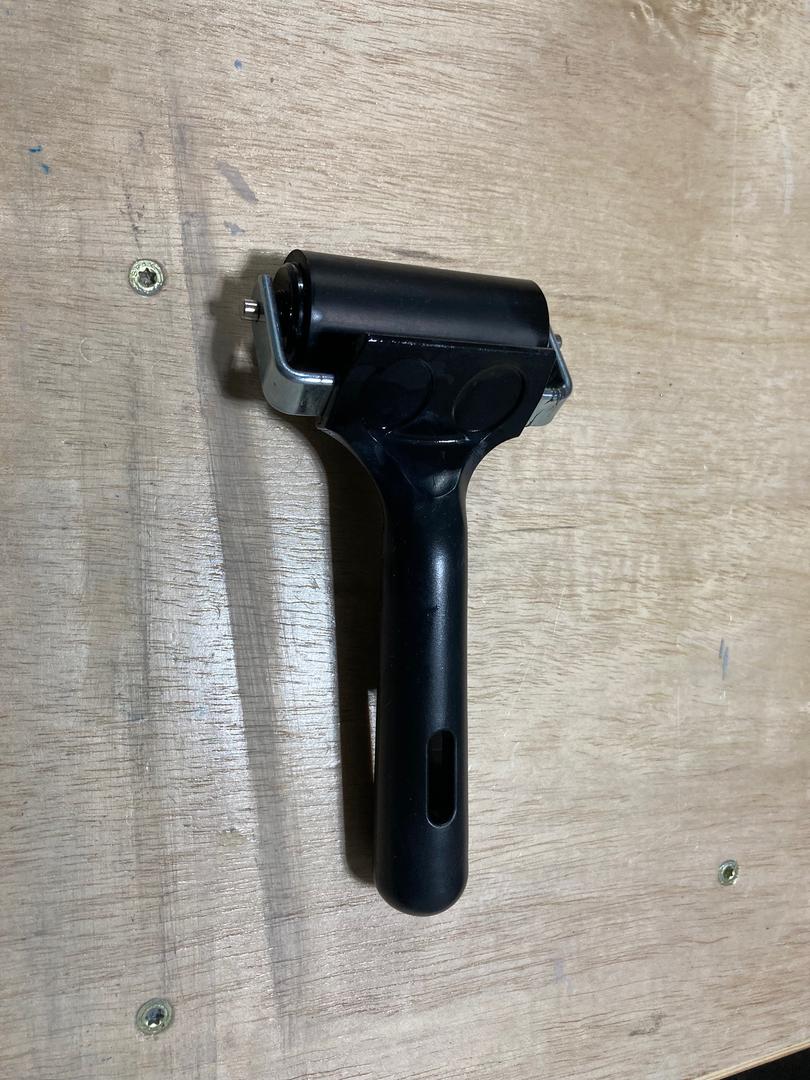
With all the rivets set, it was time to do the trailing edge. I did not take enough photos, but generally, the process was to spread the skins using threads pulling one side up, then use a rubber roller to roll tank sealant on the wedge and install it between the skins.
The rubber roller I used is used for printmaking. I have no idea what exactly is it, but I think it worked well.
I put tank sealant on the trailing edges of the stiffeners, too, to bond them together. I might have put too little of the sealant on the wedge, though, the roller made a really thin layer. Will see in a couple of days if the edge is bonded enough. If not, I will install rivets anyway (it is acceptable to rivet the trailing edge without any glue at all, as long as it is straight enough).
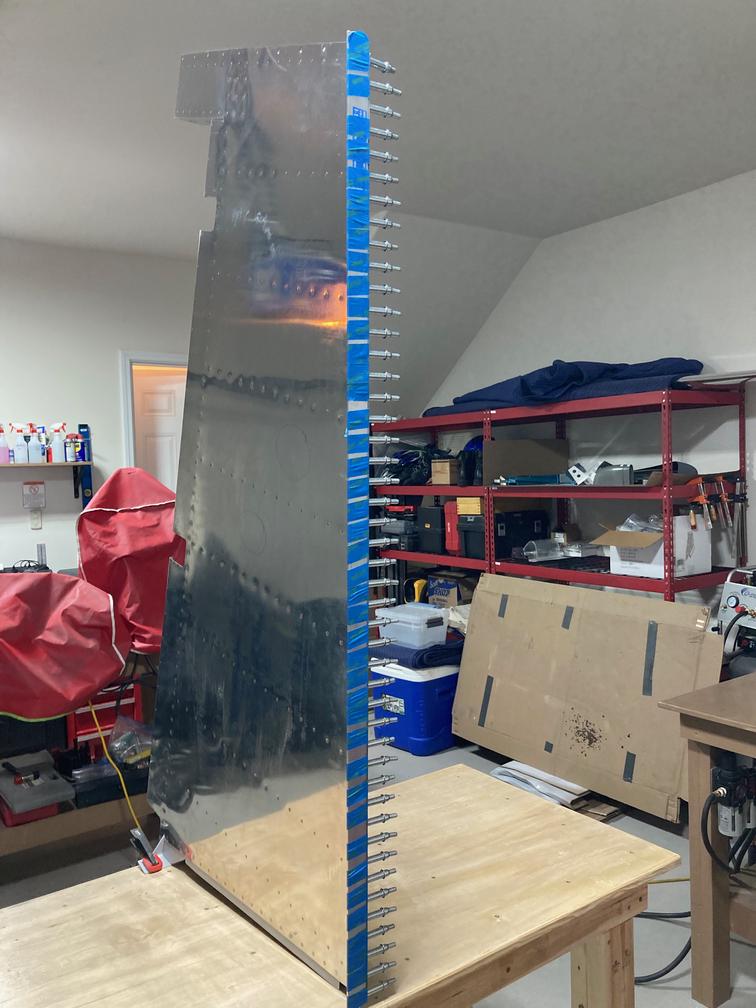
The top part ~20% of the edge did not close perfectly, so I used the painter's tape there to pull the skins tighter. Then I decided to put the painter's tape on the whole edge.

Another small bit of work I did today was the stiffeners for the elevators: I deburred all the holes and finalized their shapes on the Scotch-Brite wheel.