Dimpling and counter-sinking firewall parts 4h
4h
August 27, 2022
Today I worked on dimpling the firewall and counter-sinking its stiffeners.
I started with making a stand for the DRDT-2 dimpling tool that I can clamp between two workbenches. It positions DRDT-2 such that its bottom die is flat with the tables on both sides of it. It worked okay, but I haven't realized that I need to position DRDT-2 "deeper" so that the dies are somewhere in the middle of the table. With the stand I made, I have the dies somewhere at the front of the table, so the skin in front of them is hanging. Not a big deal, the tables still support the skin at the back.
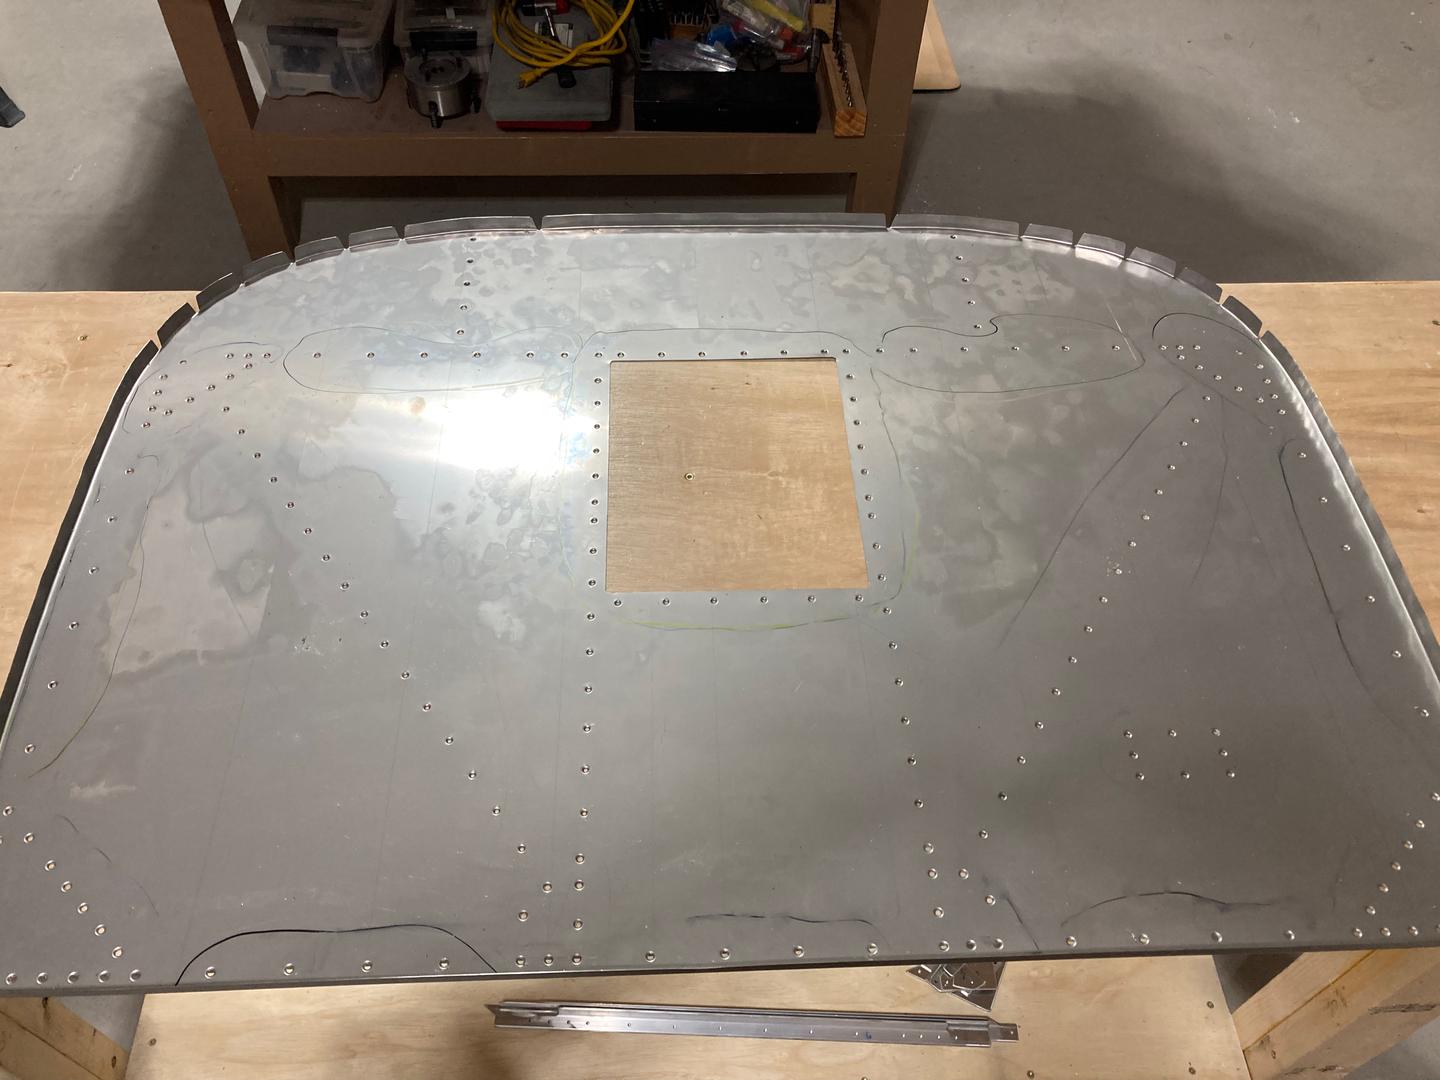
Then I dimpled the firewall sheet. I also drilled the holes on the top where F-7107-L/R ribs attach to the firewall. I figured it would be easier to dimple these holes now.
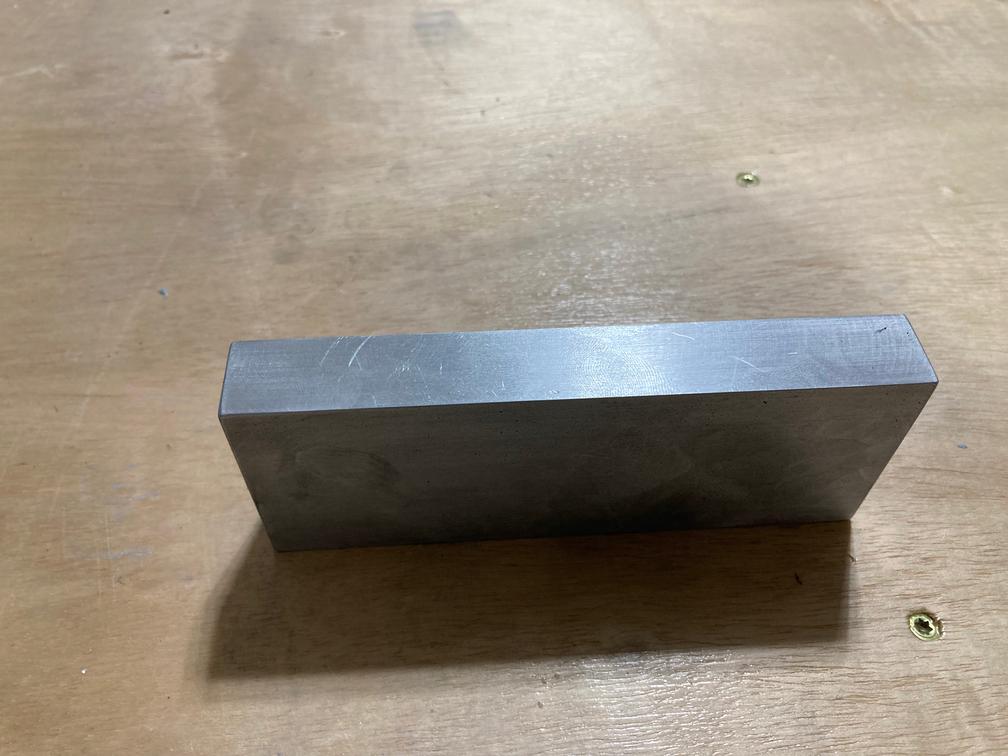
Then I made a small fixture to hold the aluminum angle (the firewall stiffeners) flat while I counter-sink it. I started with a bar of aluminum and made this fixture:

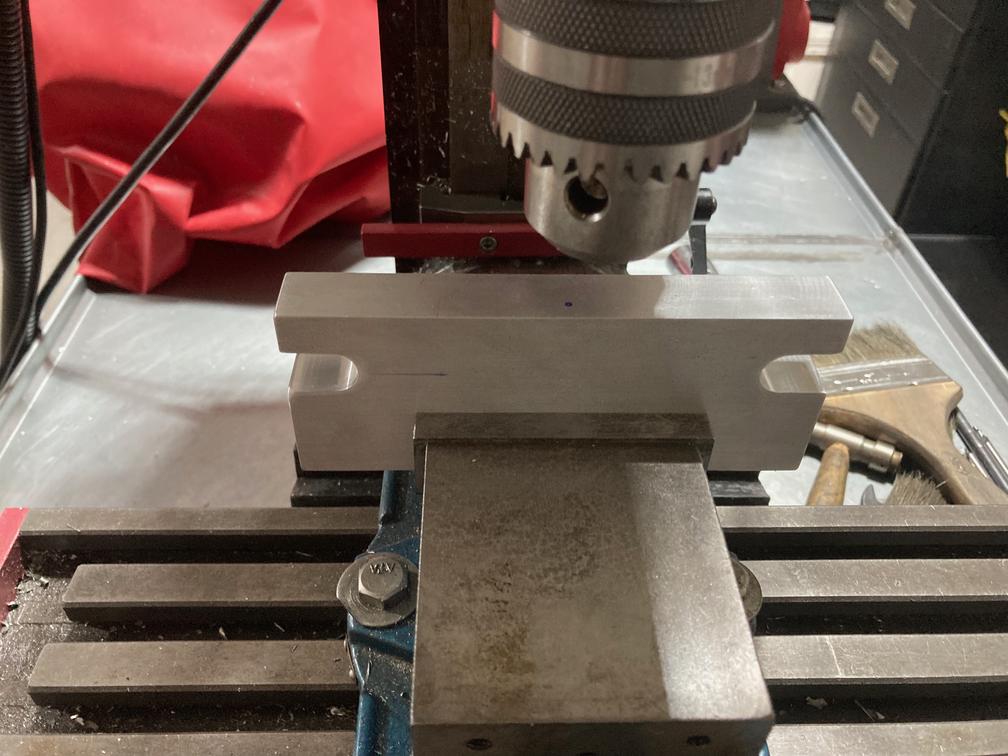
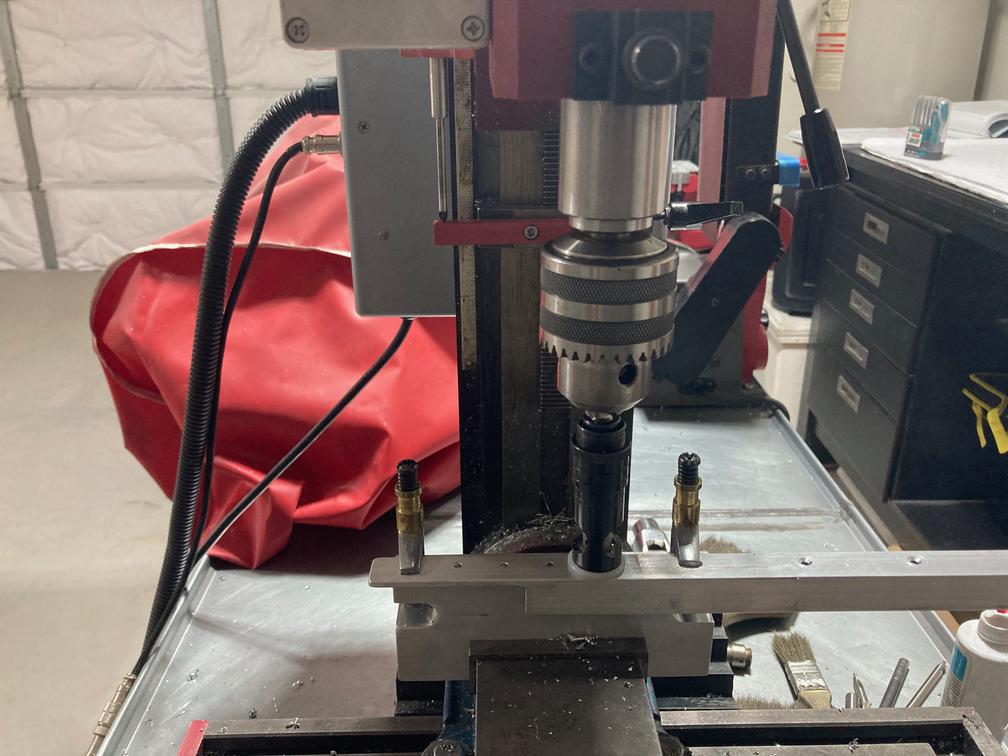
This is how I used it. The hole in the fixture aligns with the pilot on the counter-sinking tool, providing some extra support for it. The part is located with the pilot of the bit, then clamped to the fixture on its sides. Finally, the part is drilled.
It's not the quickest way to counter-sink, but it gives me some better control and confidence. I also have a dial indicator which I used as a way to estimate how deep my counter-sinks are. For a similar part, it would stop at the same value.

Finally, I drilled the F-601TD brake plate and the firewall for the brake line connectors. This is where things did not go as planned.
Stainless steel (well, the alloy firewall uses, which I think is 304) is very nasty to work with. It's somewhat gummy and also it work-hardens: it gets harder to cut if you don't cut it enough! If your tool is not sharp enough and rubs the stainless instead of producing chips, it only makes the part harder and even more difficult to cut chips off.
I used my unibit to drill the holes and it was definitely rubbing more than cutting. Initially, I tried to drill the firewall and the reinforcement plate together, but it did not quite work with the unibit. So I drilled the firewall separately. In the end, I did manage to cut the hole (I don't think my tool bit was good, to begin with...), but when I looked from the other side, I found that the tool bent the edges of the hole to the opposite side. I cleaned it, and flattened the hole as much as I could, but got some oil canning in that area of the firewall. Annoying.
However, the more embarrassing mistake was when I filed the holes in the brake plate to match the holes in the firewall. I don't know how, but in the end, the holes did not align. I think what happened is that I install the brake plate on the wrong side "up": instead of clamping it counter-sinked side to the firewall, I clamped it flat side to the firewall. That's the only explanation I have (also, it is corroborated by the fact that these holes did align when I placed the plate in the wrong orientation).
I should have made a break: I was too tired to continue, and that's why I did this silly mistake.
So I decided to replace the plate since it is just a flat aluminum sheet with several holes. Made a new plate, drilled the mounting holes using the messed up plate as a drill template, counter-sinked it, located the holes for the fittings "by eye", drilled 1/4" hole, then filed it to the required 7/16" size and to match the firewall holes.
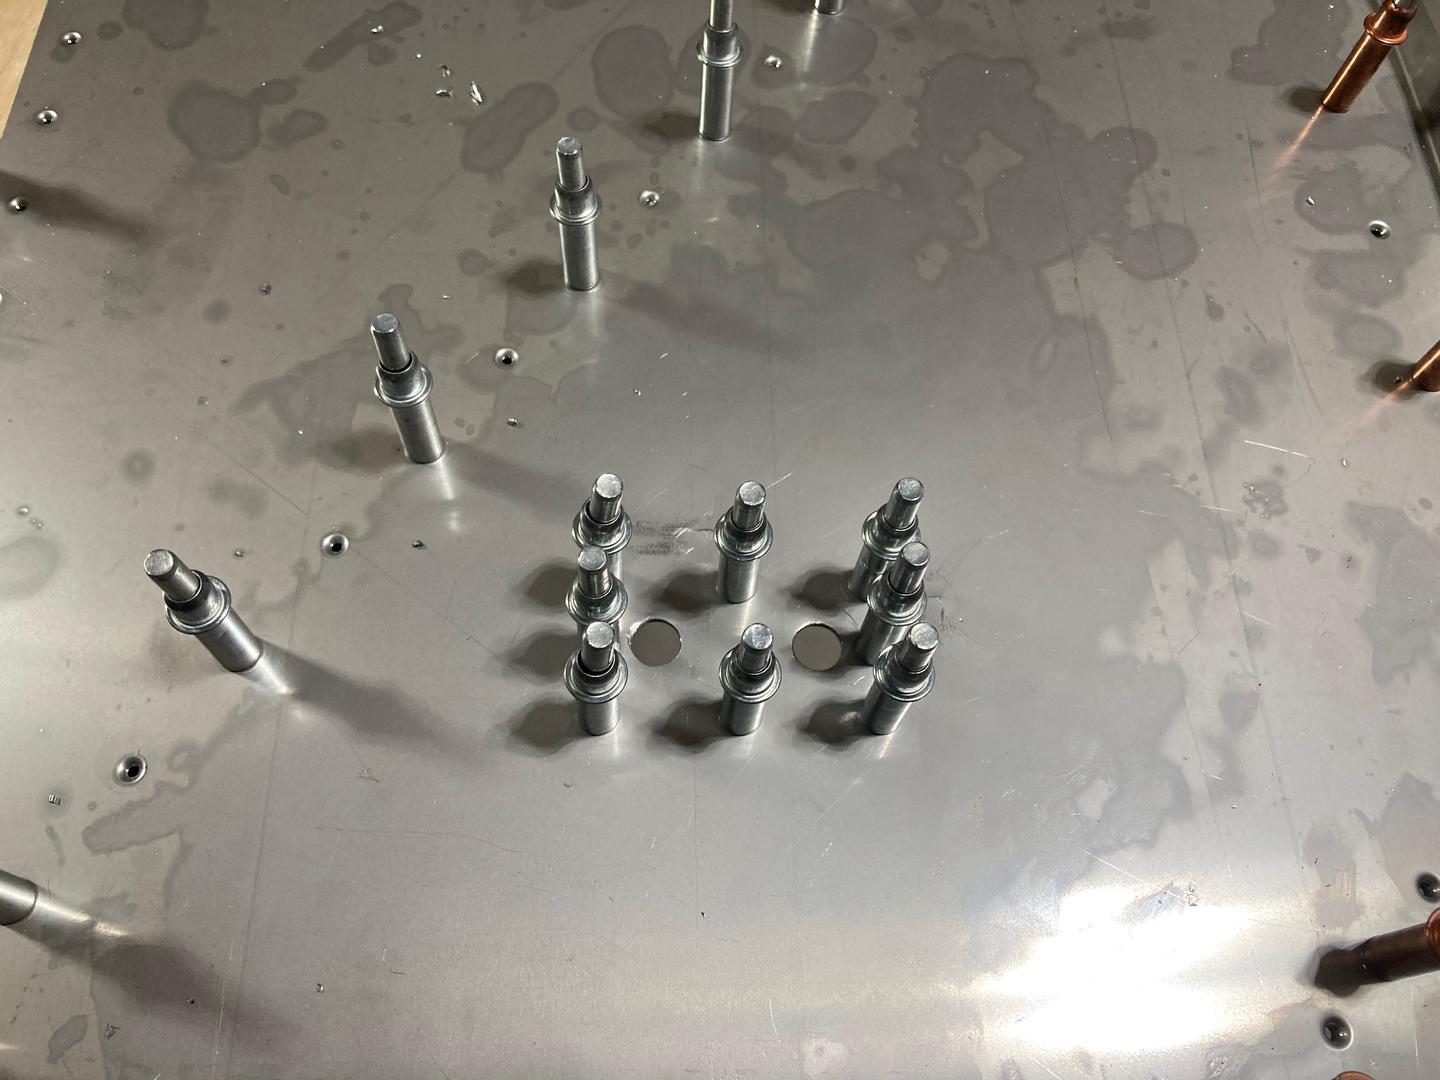
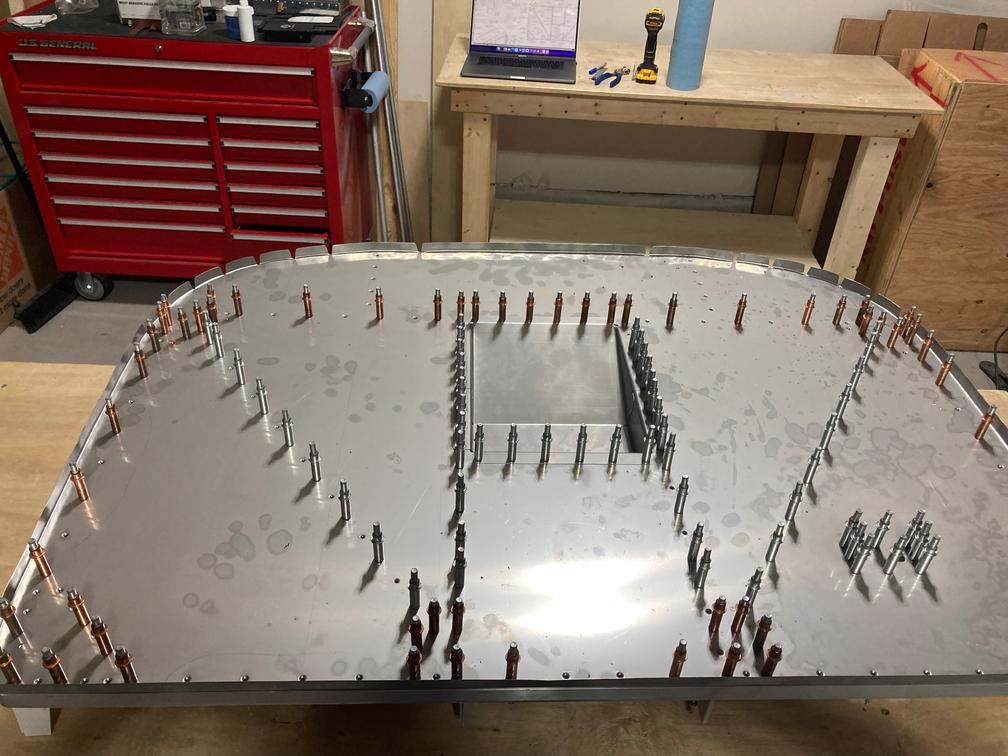
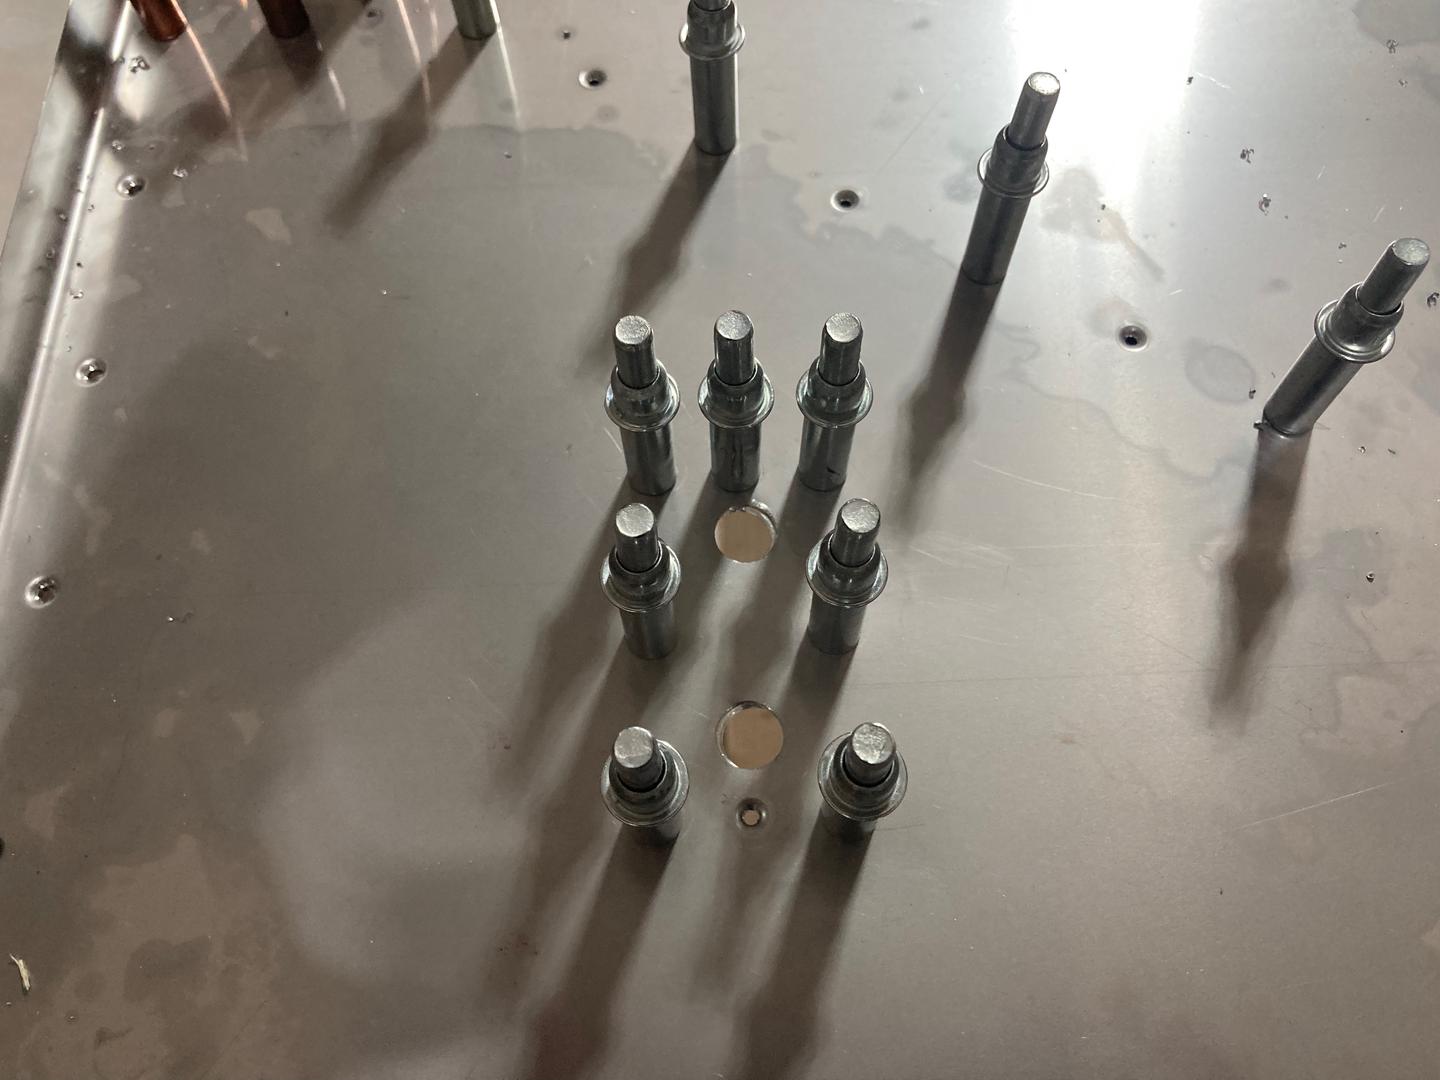
The firewall clecoed, probably, for the last time. The next step is to prime the parts and rivet them together.