Seat backs 9h
9h
November 5, 2022
Today was a long session: working on the seats!
I started with drilling the hinges to the seat backs. I measured the location of the two outermost holes, then used a rivet fan to drill the remaining holes. Makes it really easy to place a line of rivets!
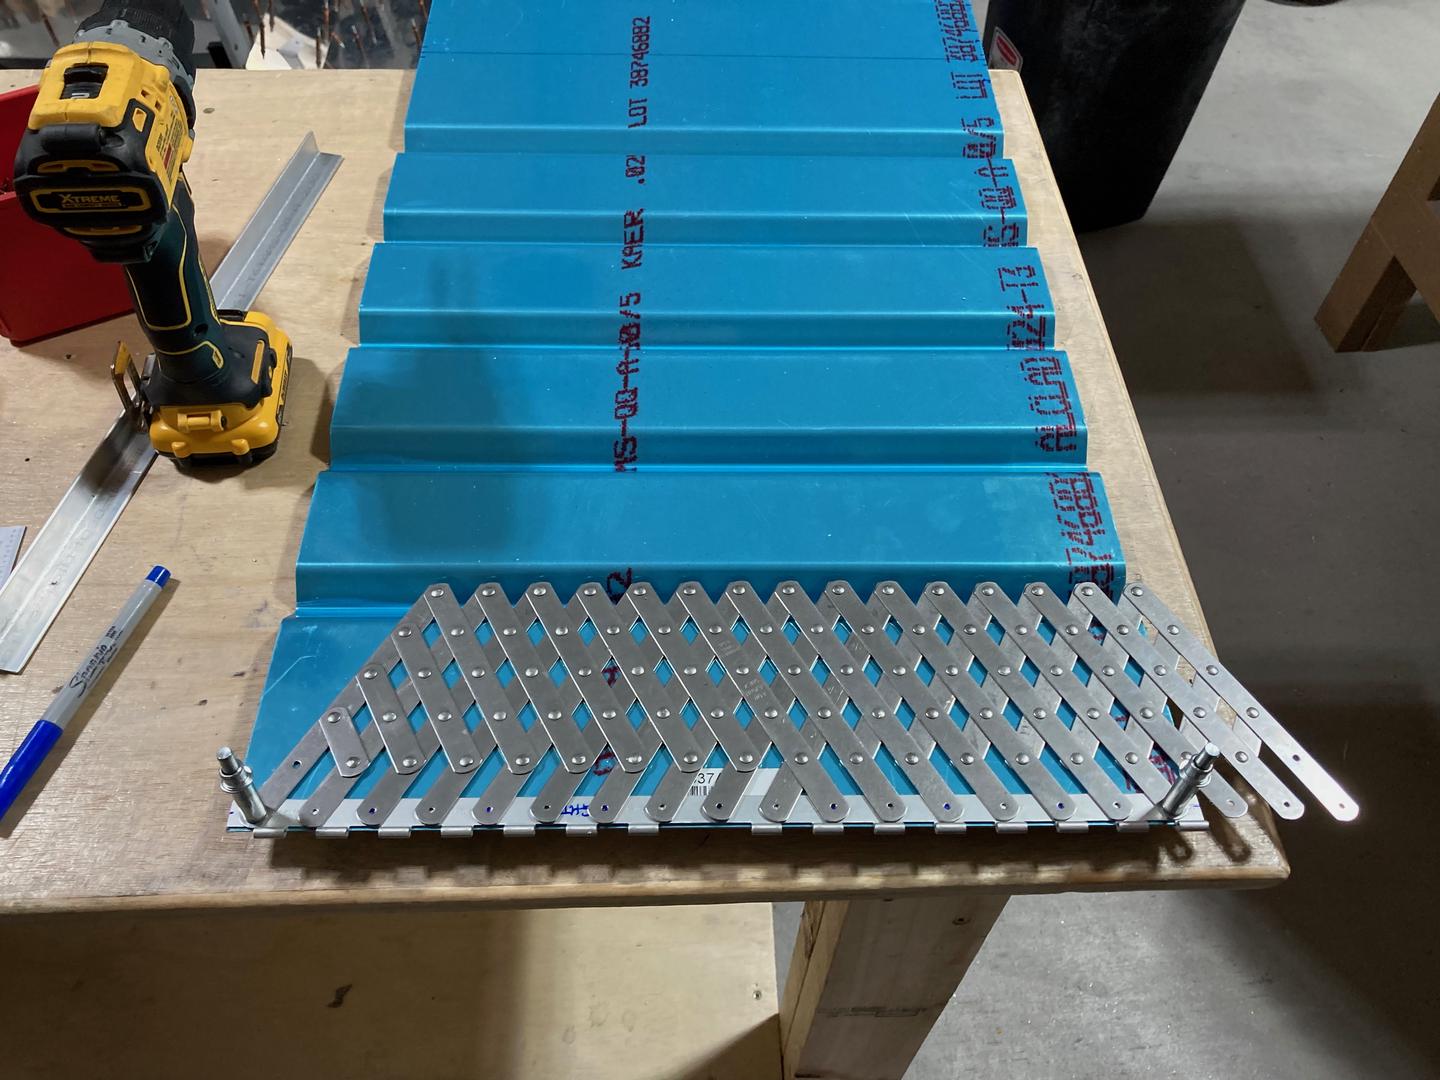
However, it also makes it easy to drill some extra holes! While drilling the holes for the hinge that will attach the back brace, I accidentally drilled the wrong hole. I used the fan to drill every second hole (it wouldn't stretch enough otherwise) and miscounted the hole to drill. I am going to either leave the hole empty or put a small NAS1097AD3 rivet.

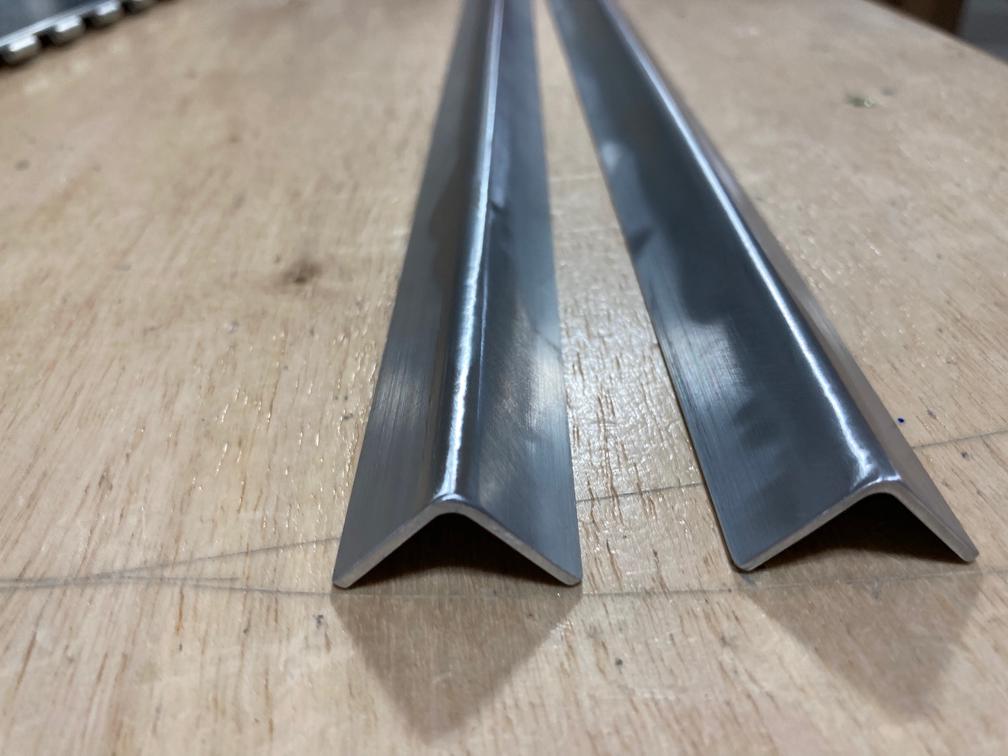
Then I switched to rounding the corner of two of the F-637C angles (they need their exterior corner rounded so they can sit flush to the skin). I used a regular woodworking roundover bit.
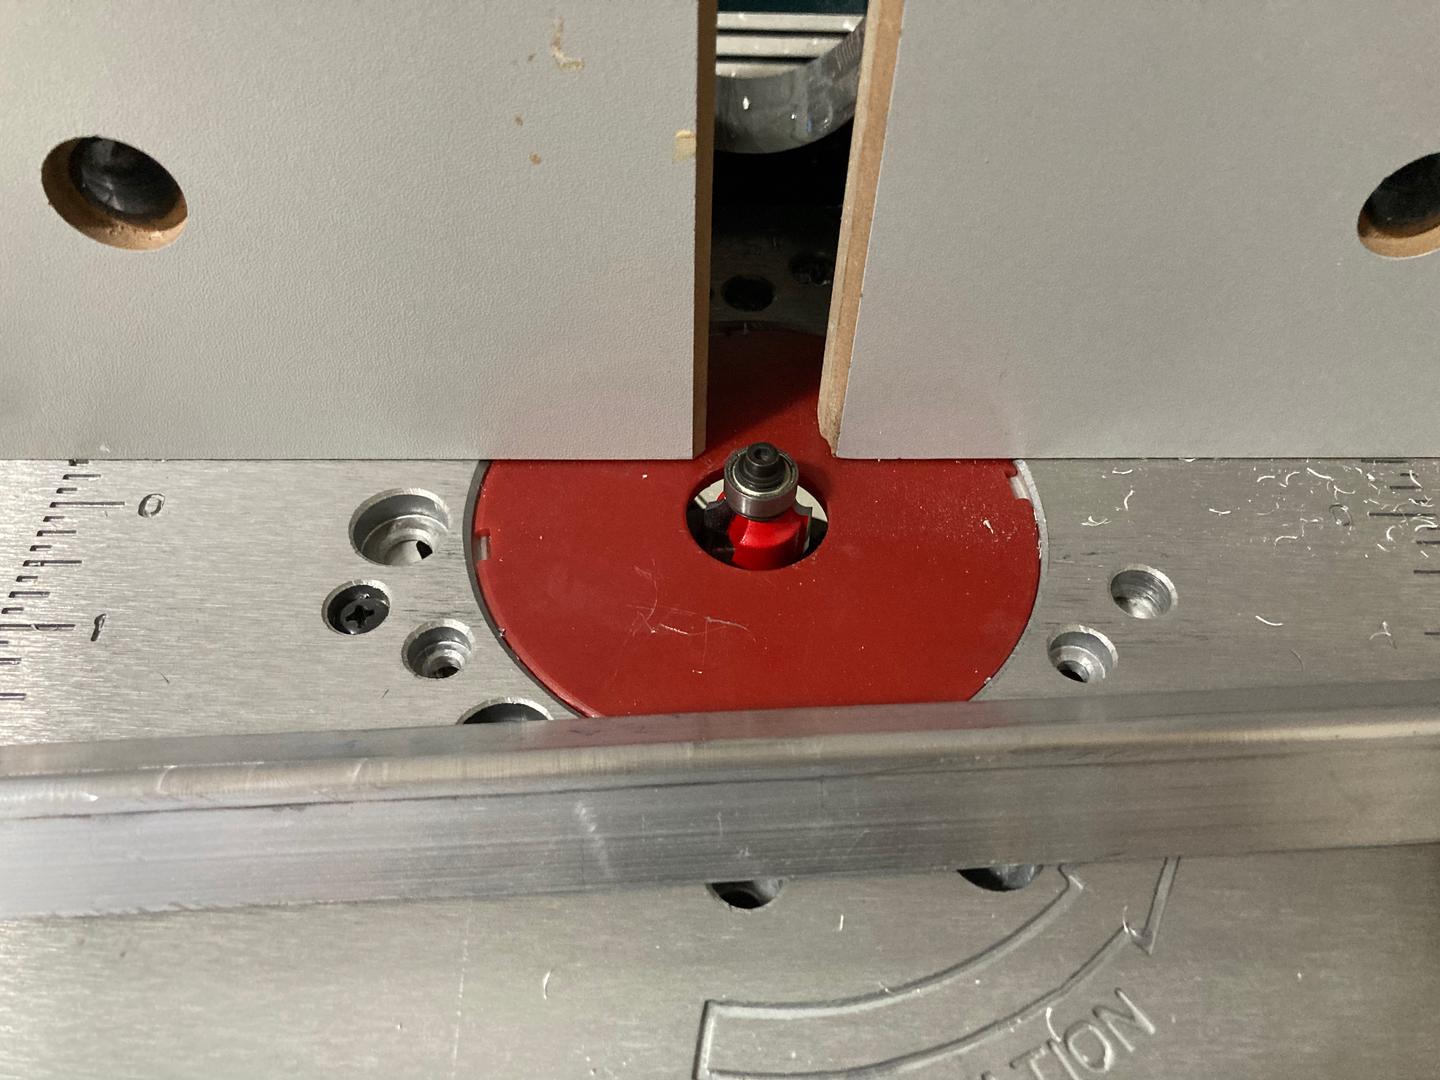
Using a wood router to machine aluminum could be dangerous. Even though aluminum (at least the soft one, 6061-T6) is somewhat close to hardwood, it is much less forgiving. If the tool grabs, it is more likely to throw the piece around (although, this happens with wood as well!). However, with some caution, it could be done.

I decided to do a single pass. The alignment I have on my router table is not very accurate, so it is easier to set the depth once and router in a single go. It did leave some minor chatter marks, but they were easy to smooth with the Scotch-Brite wheel.

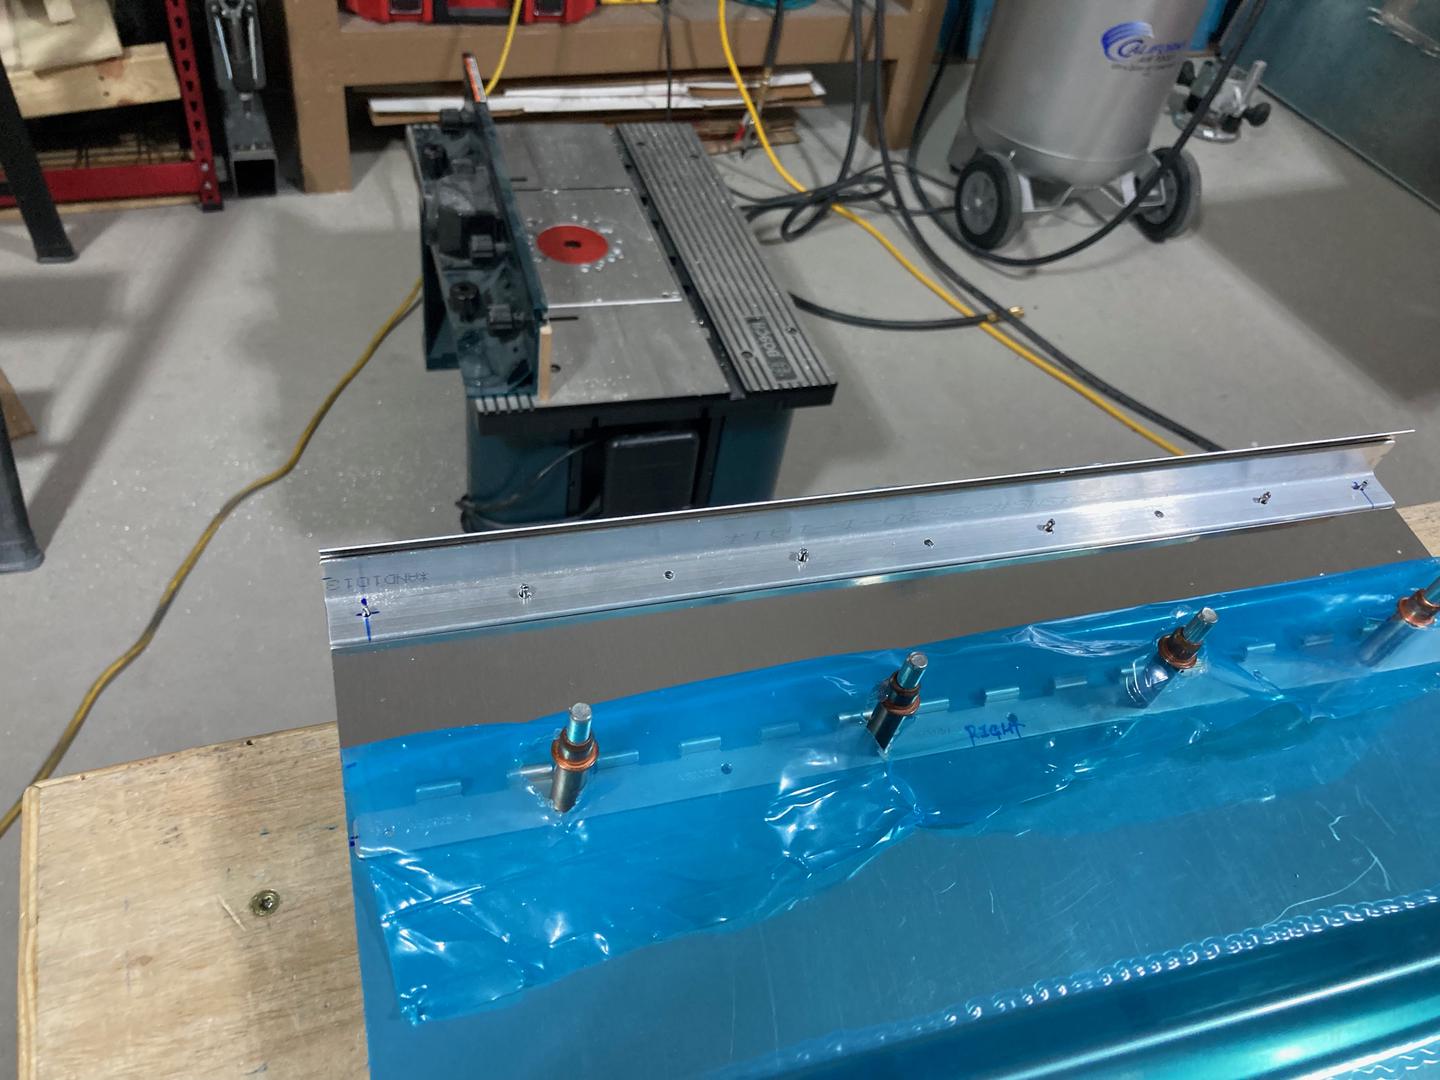
After that, I fit the angle to the skin and used the rivet fan to drill all the rivet holes.
Then I made a break and went to the back braces to cut the lightening holes in them. I used a hole saw to do it. However, the saw cut a hole that is a bit larger than it should be (it's about 2-5/16" instead of 2-1/4"). I think I am going to keep it like that for now and later decide if I want to redo the part.
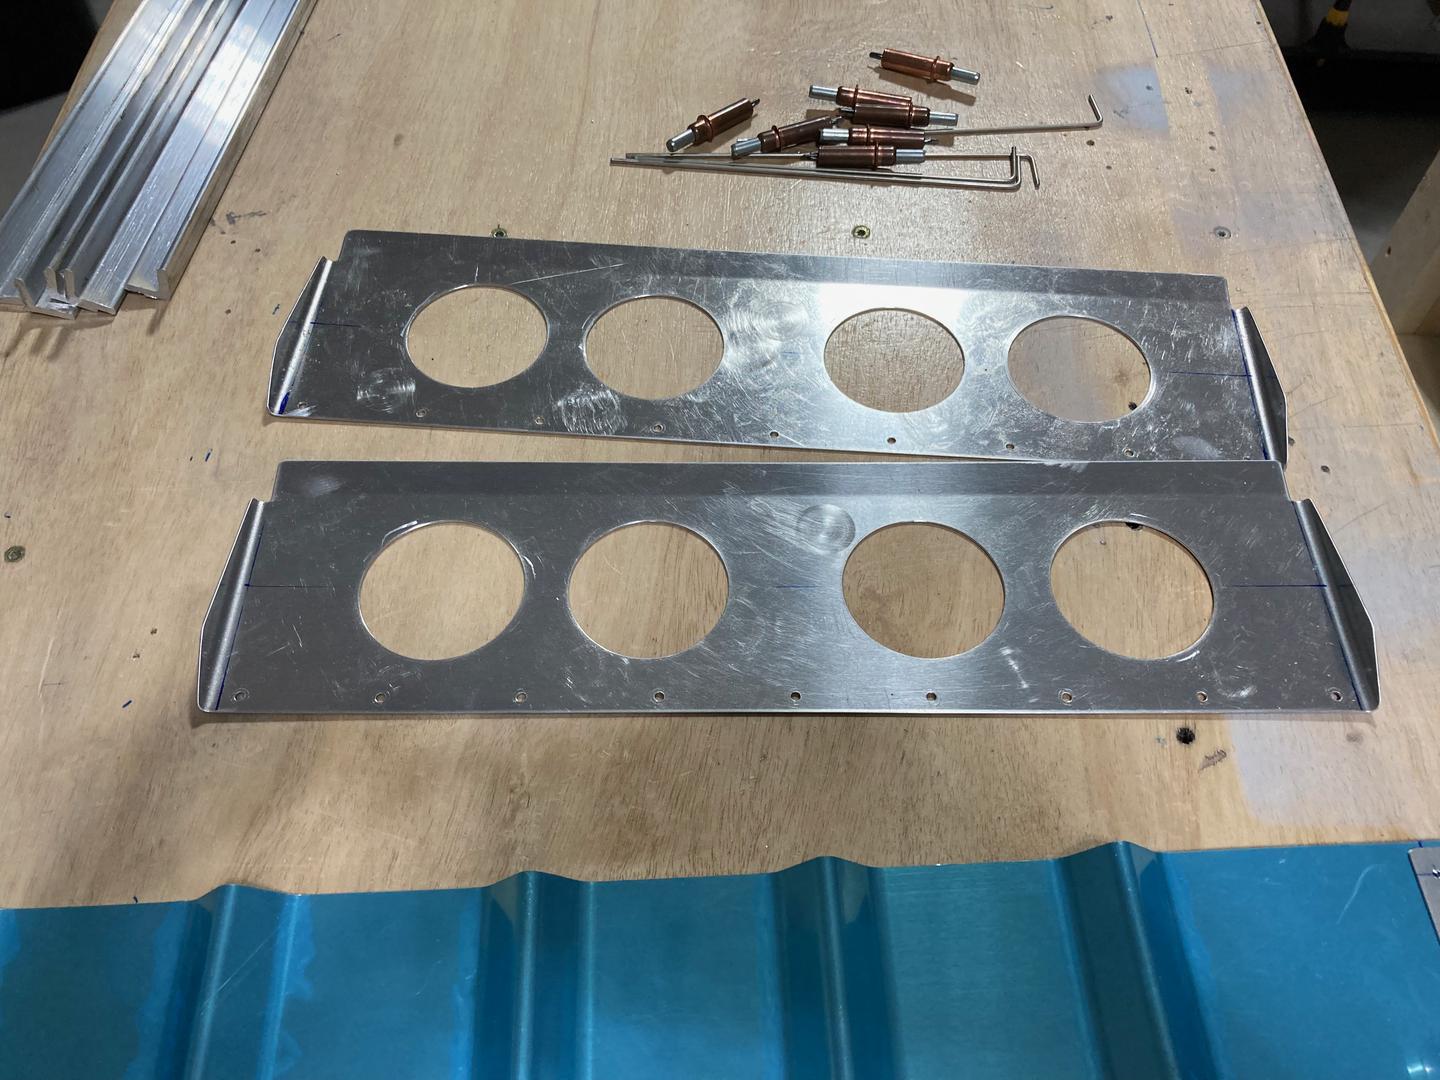
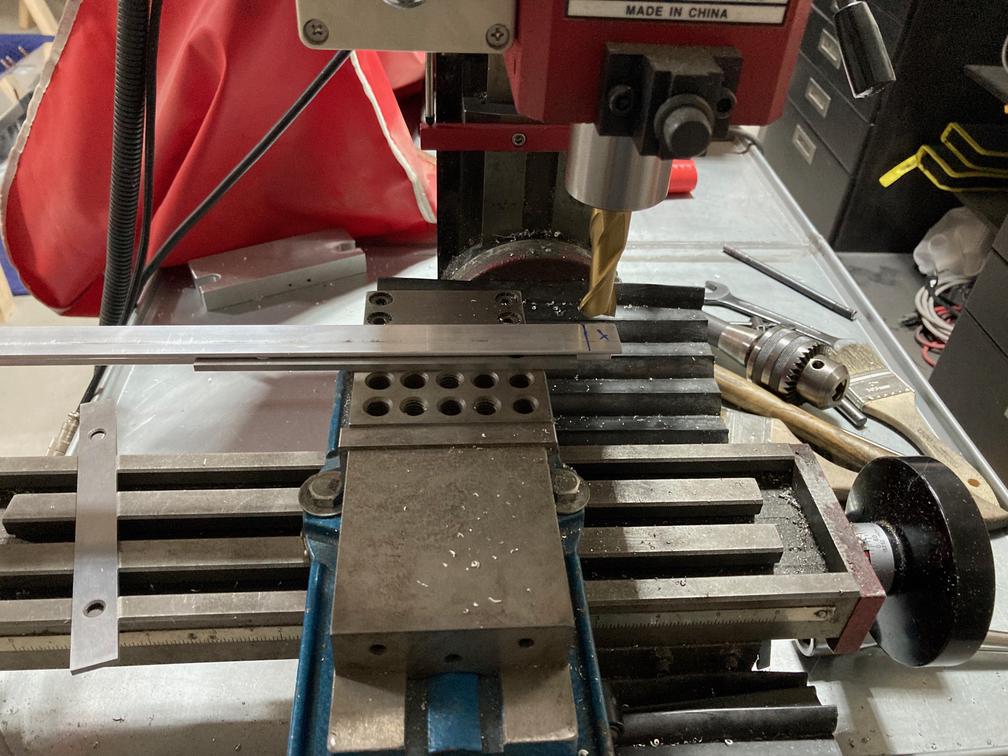
The next step was to drill the vertical angles (F-637B). First, I machined them using my mill to get relief for the hinge.

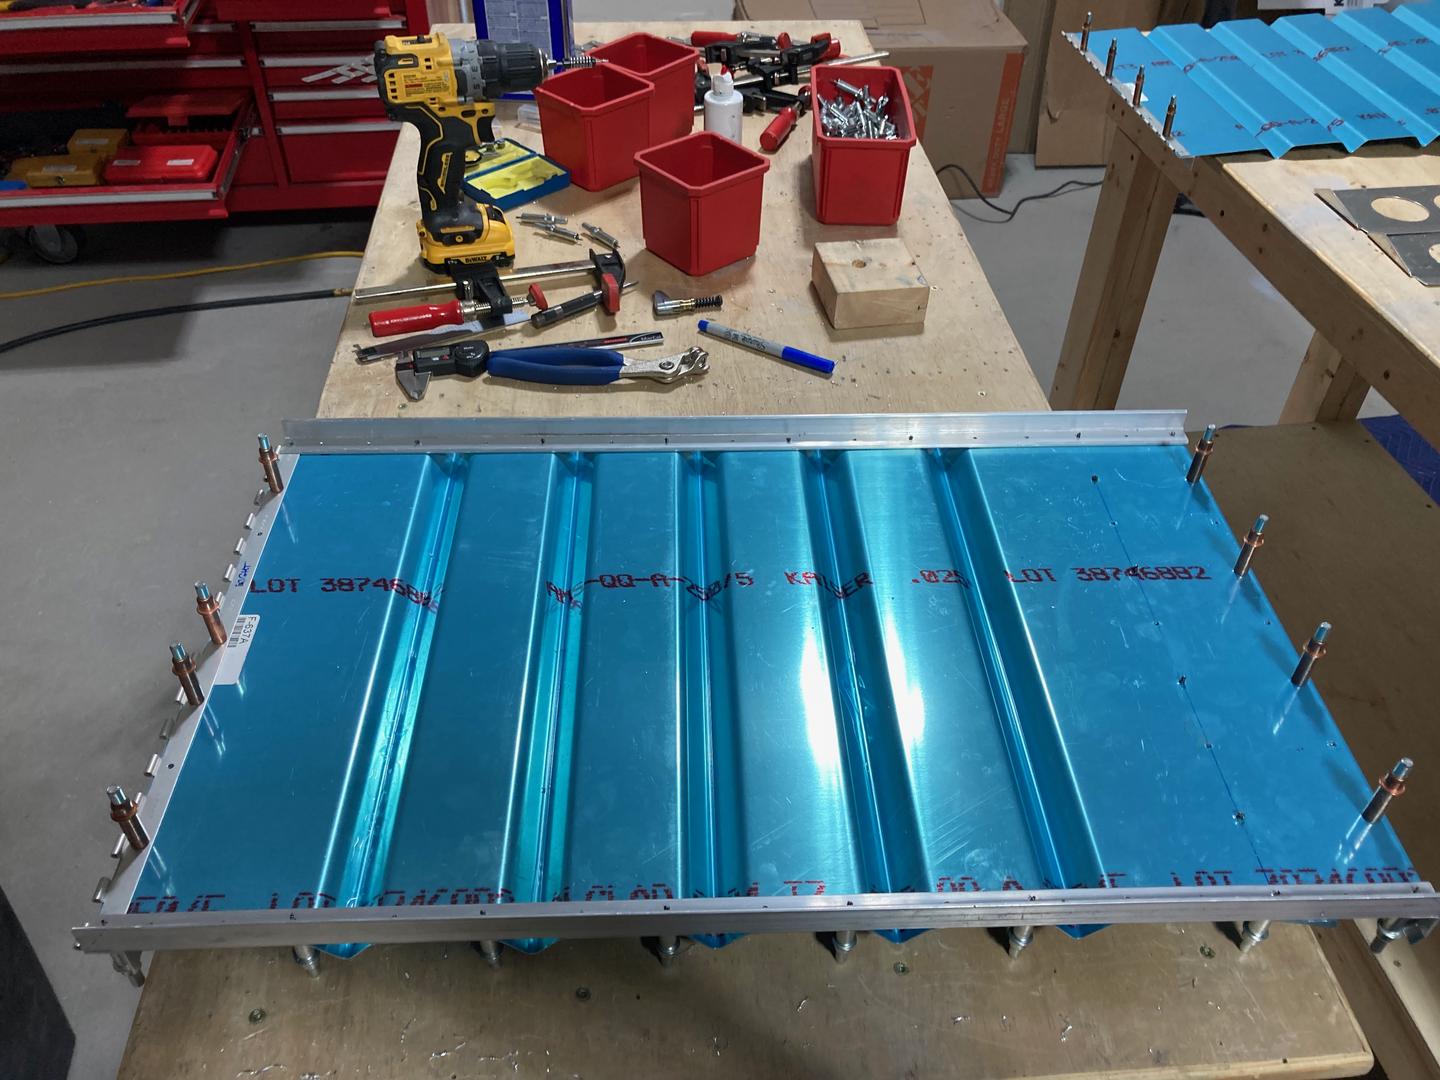
Then I drilled them to the seat back skins. I went with a slow and labor-intensive manual layout using a ruler. There are ways to make the process faster, but I was too lazy to figure them out. It worked well.
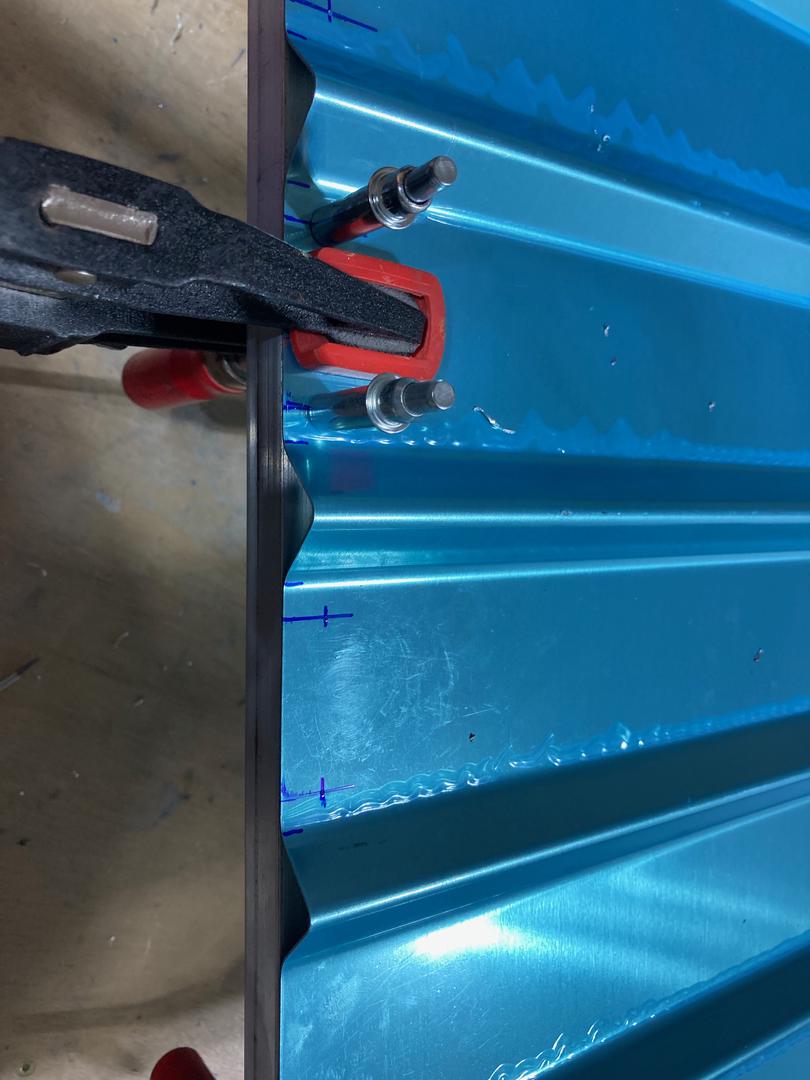
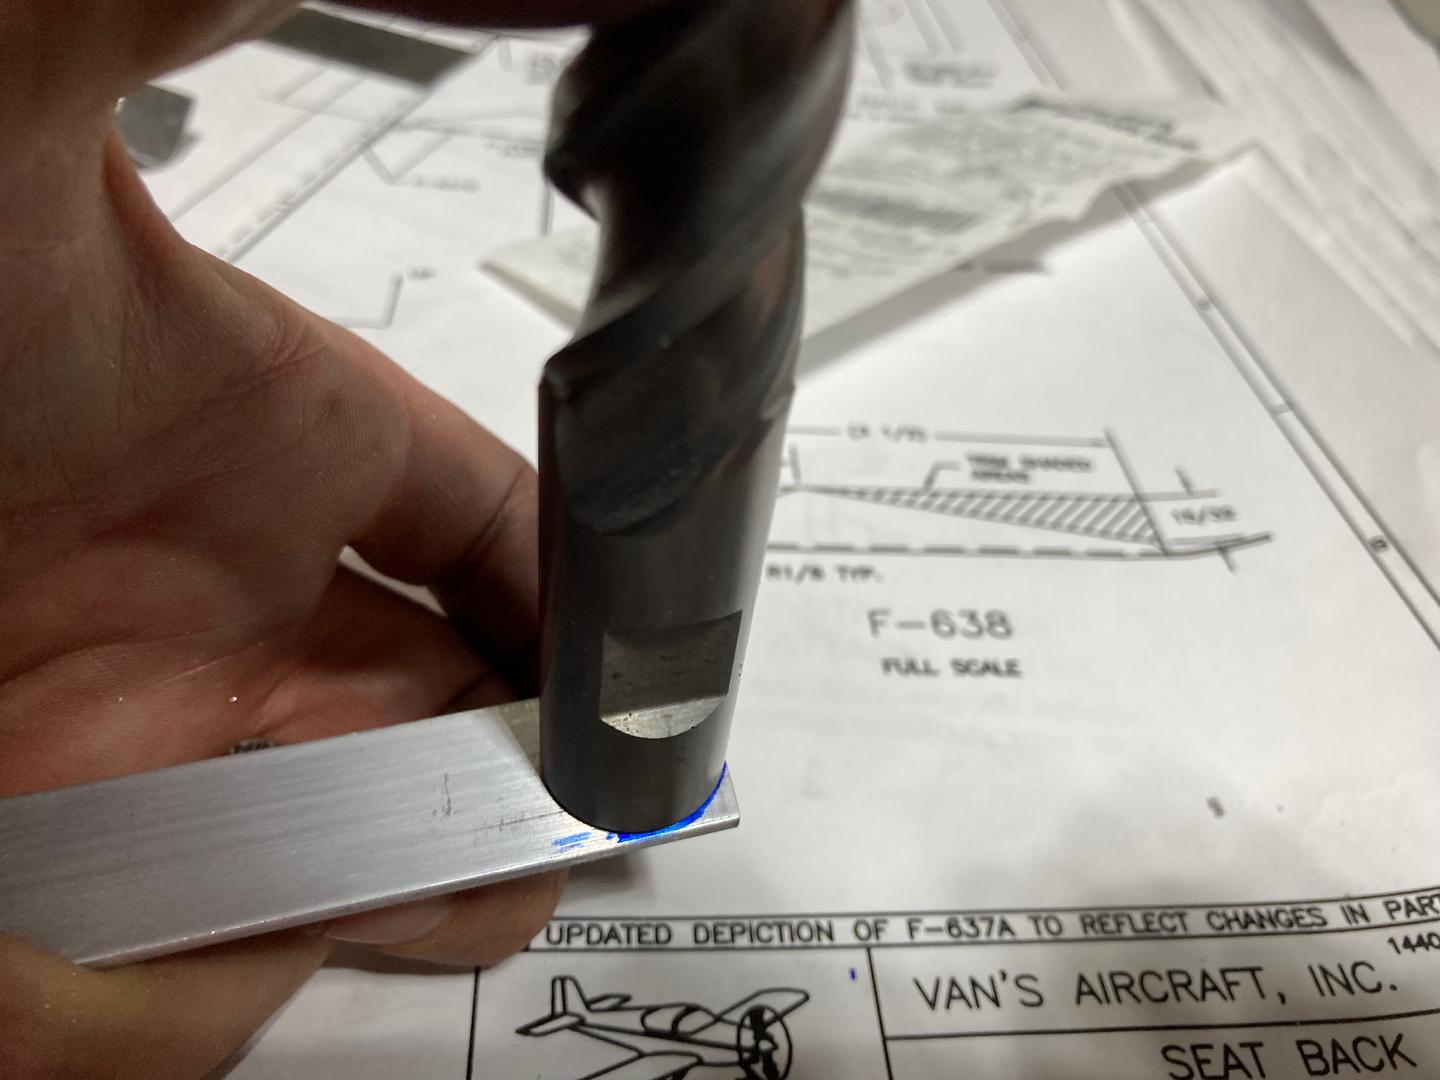
Finally, I rounded the corners. I used my 3/4" endmill to mark the corner, then a belt sander to sand it to the mark.
The final result (well, not quite -- the corners are not rounded yet on this photo).