Bending the longerons 5h
5h
January 3, 2023
The last two days I was working on the longerons.
First, I moved my vise to a different table so I can put the whole long angle in them. The instructions tell you to cut the longerons to length, but I decided to keep the whole length. I will cut them later once I fit them to the fuselage. Based on the plans, I think, they should fit all the way, except for two slots that I need to make for the F-711C bars.
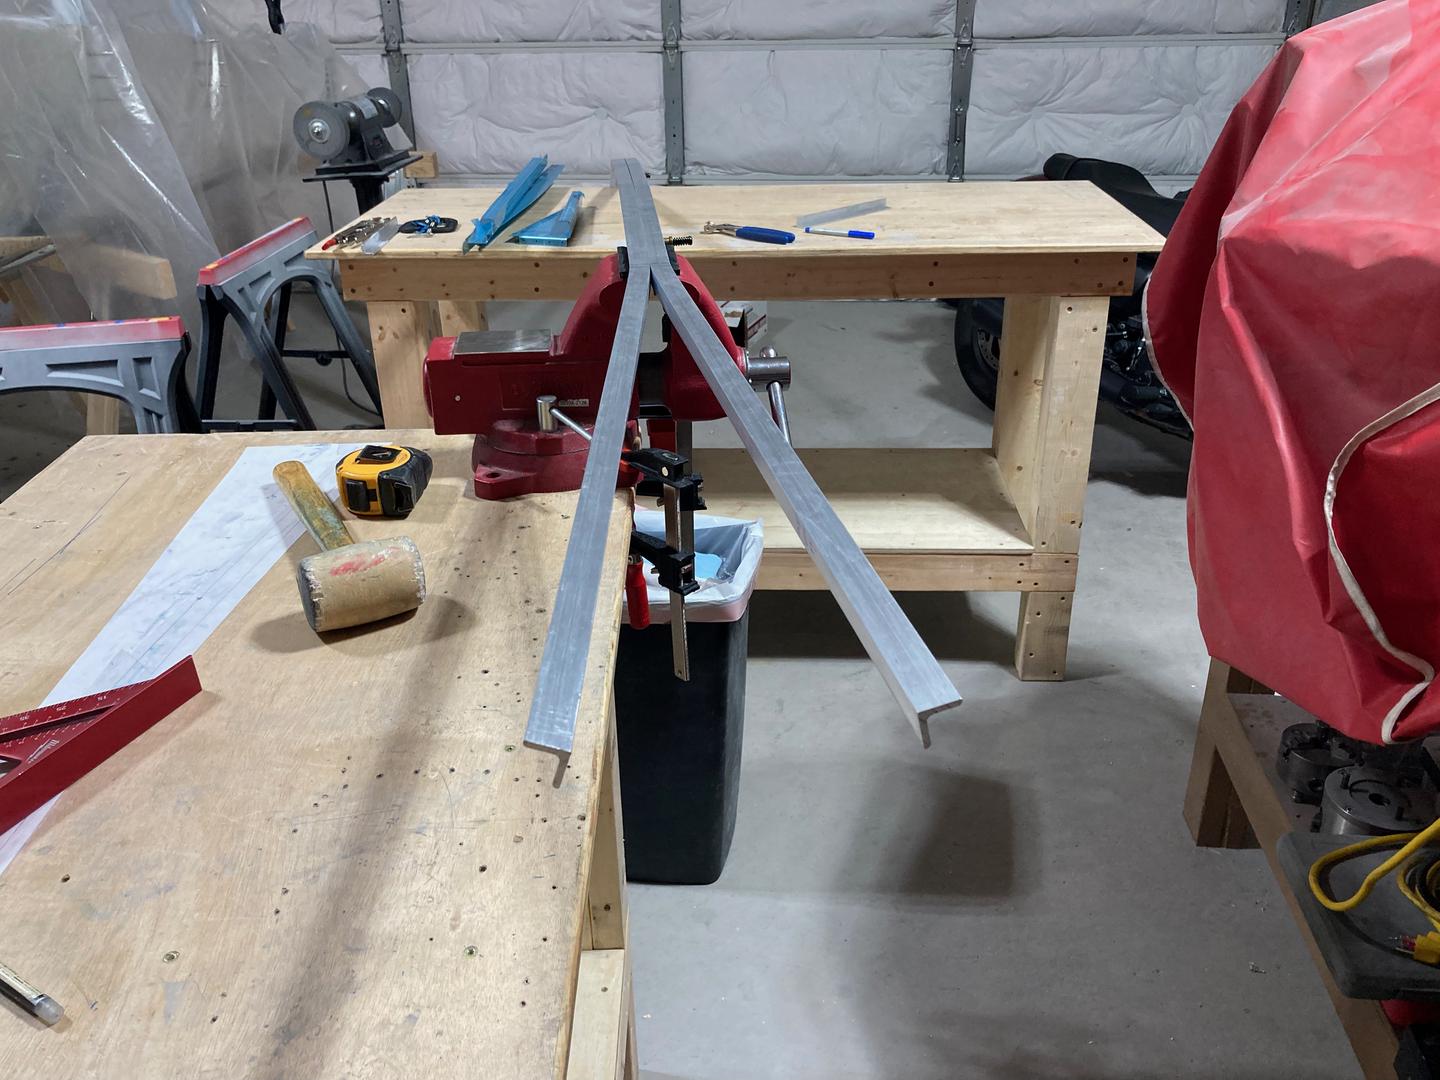
This is my setup.
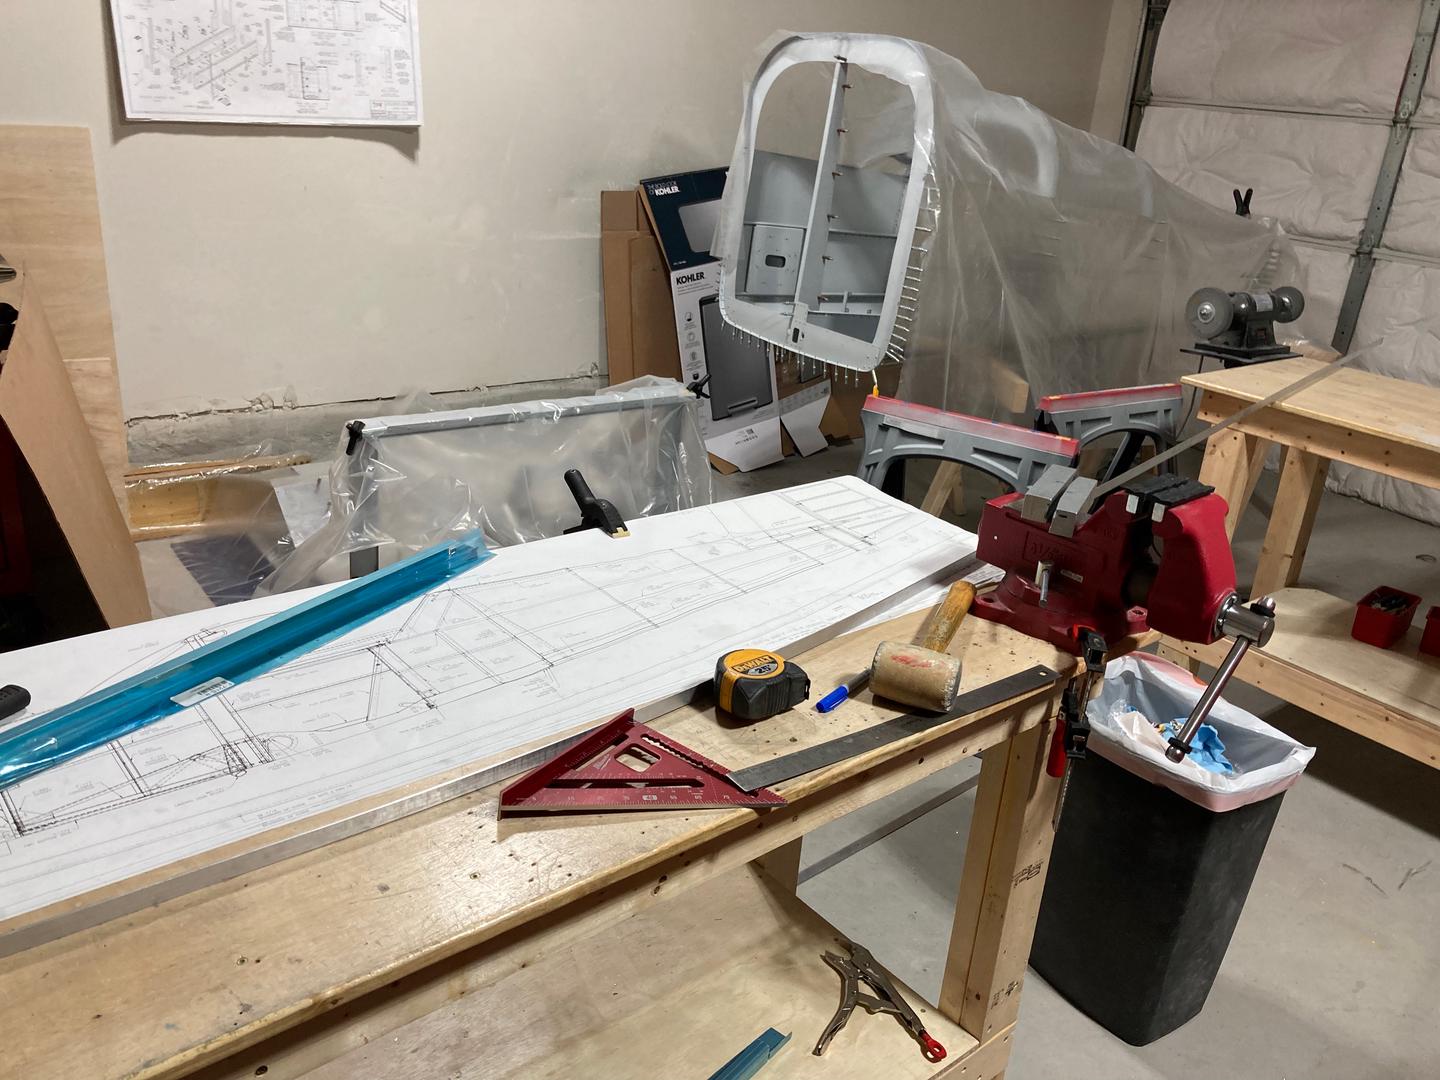
I used longeron dies I bought from Buller Enterprises.

They work very well for bending, however, I still had to resort to a mallet technique, as described in the plans. First, even though they bend mostly flat, they still introduce some amount of bend in the orthogonal direction. Second, the fine-tuning of the longerons required both bending and unbending the longerons in specific spots. And you cannot unbend with the dies.
Also, I feel that I was a bit more precise with the mallet when I needed to do a slight adjustment. With the dies, it is hard to tell when they remove the "springiness" and when they actually start to bend.
I lubricated the dies with the Boelube.

And it's a match for the right longeron! I started with the right one because it was easier to match against the plans.
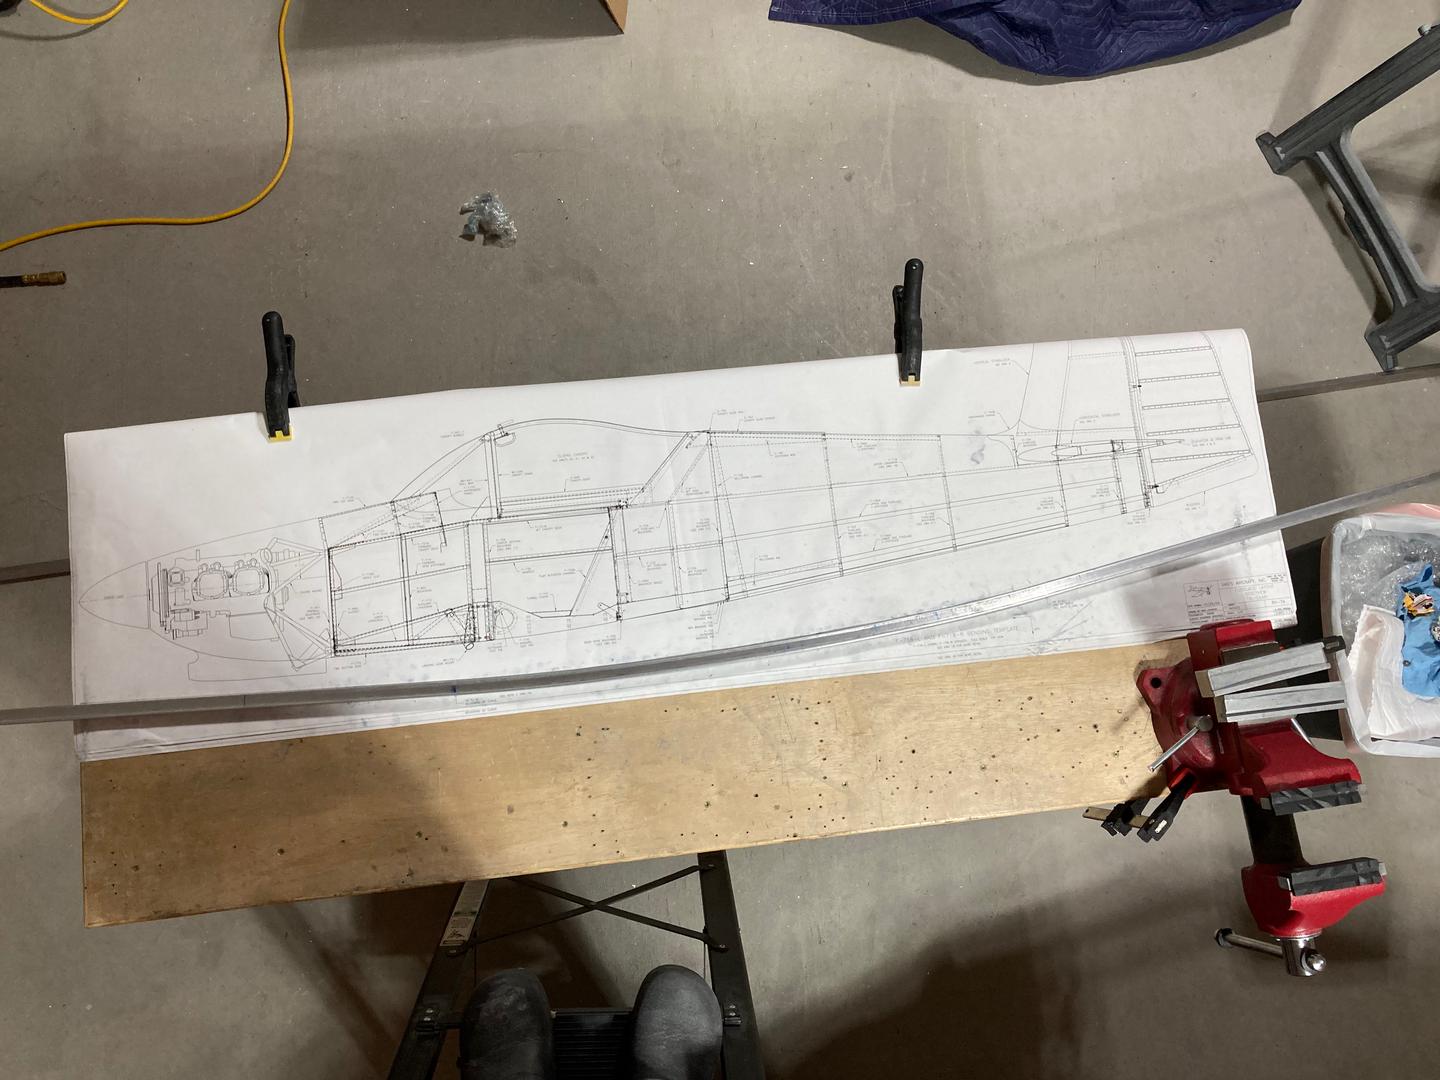
After a few more hours, the left one is ready, too. I don't know how folks knock them in 20 minutes. The second one took me even longer (because I wanted it to match the right one as best as I could).
Matching both longerons is tricky! First, it's hard to clamp the two together exactly the same way every time. A small offset introduced in one location could introduce a pretty big difference in another. On top of that, they are very flexible noodles. In the end, my strategy was to work from one end to another keeping the perfect alignment up to the spot I am adjusting next, adjust that spot, and advance.
One thing to remember is to make sure they stay flat. Removing the bend in the perpendicular dimension usually changes the bend in the main dimension, so if you don't re-adjust them for flatness periodically, there is a risk that once you are done with the main bend, and try to make them flat at once, they won't match the line anymore.
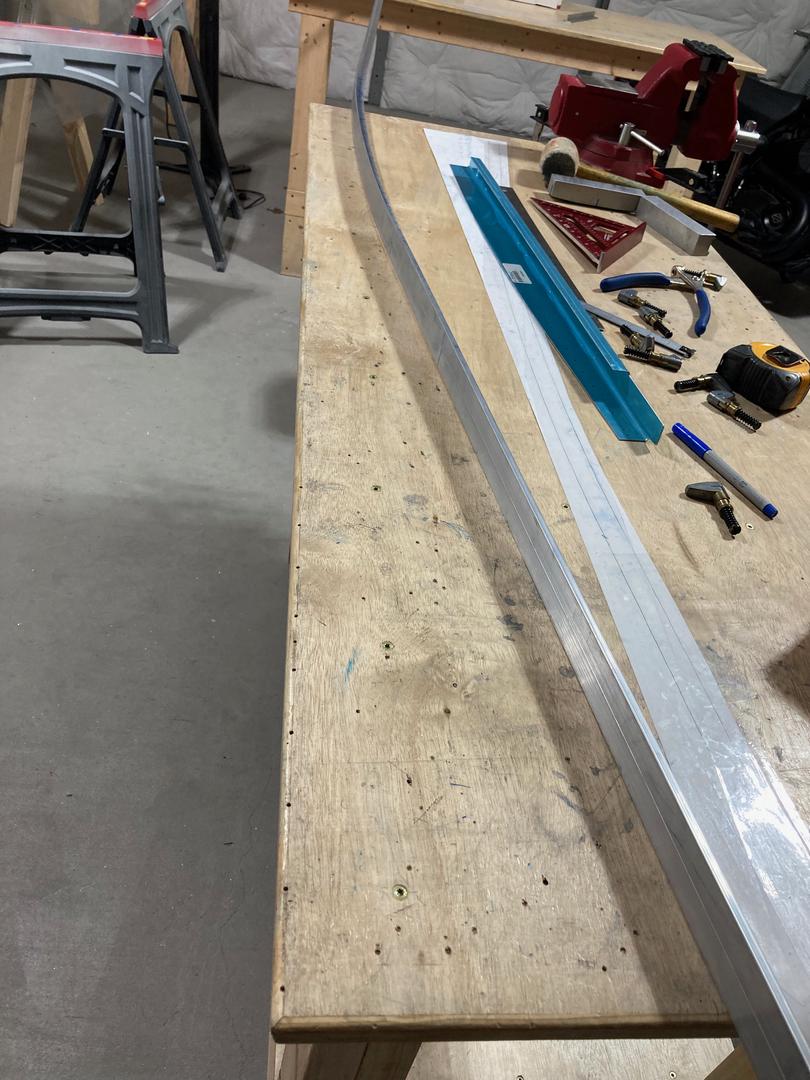
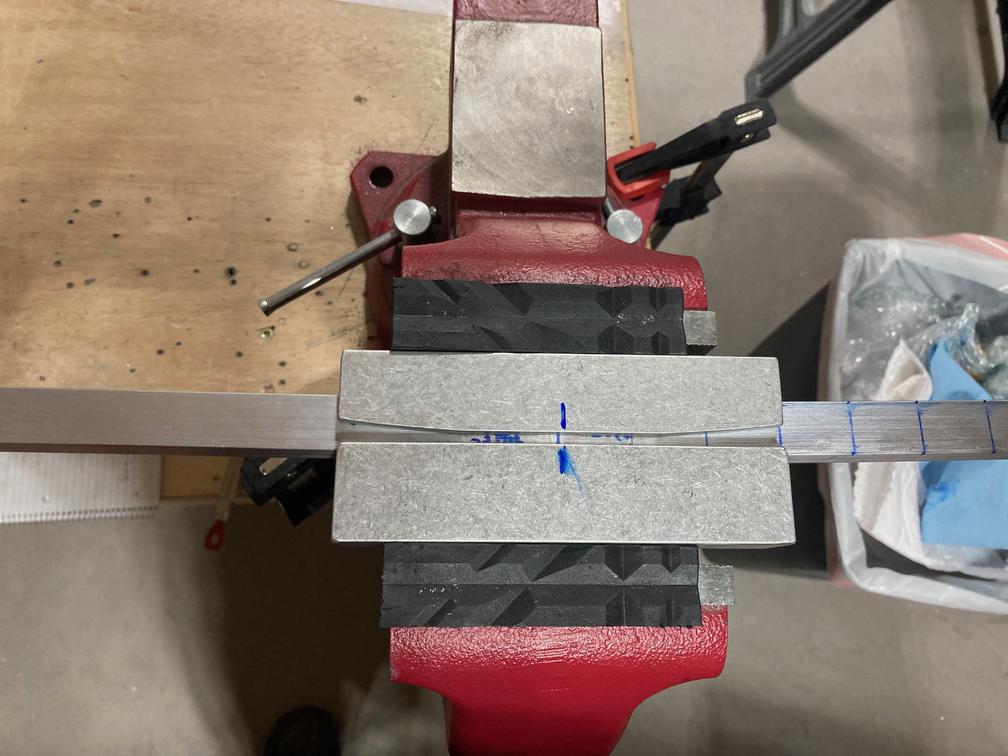
Then I moved to a downbend. I decided to do both of them at the same time, with my hands. The idea is to clamp them together and put the resulting "T" in the vise such that both downbends will spread them apart.
Like in the photo below (this is after some bending).
I wasn't sure where to put the 28-1/4" mark relative to the vise jaws. I tried on a test piece and found that the actual angle point of the bend (intersection of both straight lines of an angle) will be about 3/8" ahead of the mark that was exactly against the vise.
My first concern was to make sure I will get enough of the edge distance to the side skin. Since the angle is 5.6°, the offset perpendicular to the edge of the skin would be 3/8" * sin(5.6°), which is 0.037". So, in the worst case, if I move the bend to the wrong location, it should only introduce an error of 0.037", which is not a lot. Second, I checked against both parts F-721A and F-721B, and found that 3/8" offset does make parts to fit better (the angle point does indeed seems to be where I estimated it to be).
So I moved the longerons 3/8" out of the vise. I think I could have made a sharper turn if I used the hammer, but this should work okay. My only remaining concern is how well it will fit the F-704 part (and the skin).

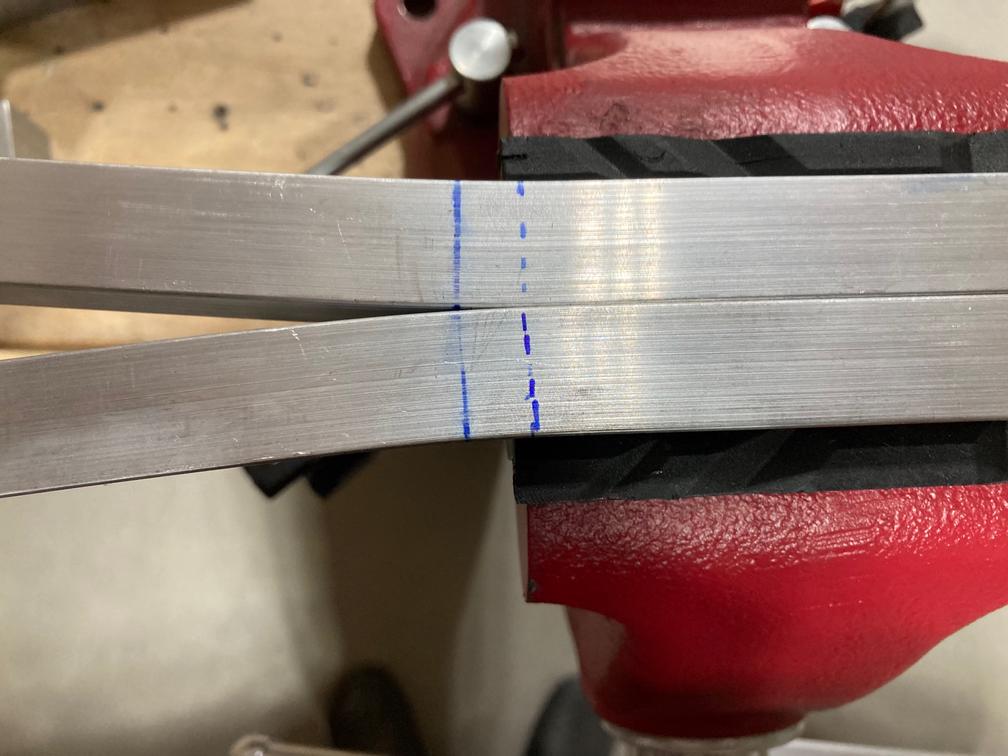
The bending process is to pull the first longeron such that the distance between vertices of both longerons is 2-3/4". This dimension is given in the plans, it is the distance between the vertex of the downbend portion and the flat portion. In the setup I used, the other longeron plays the role of an extension of the "flat" portion.
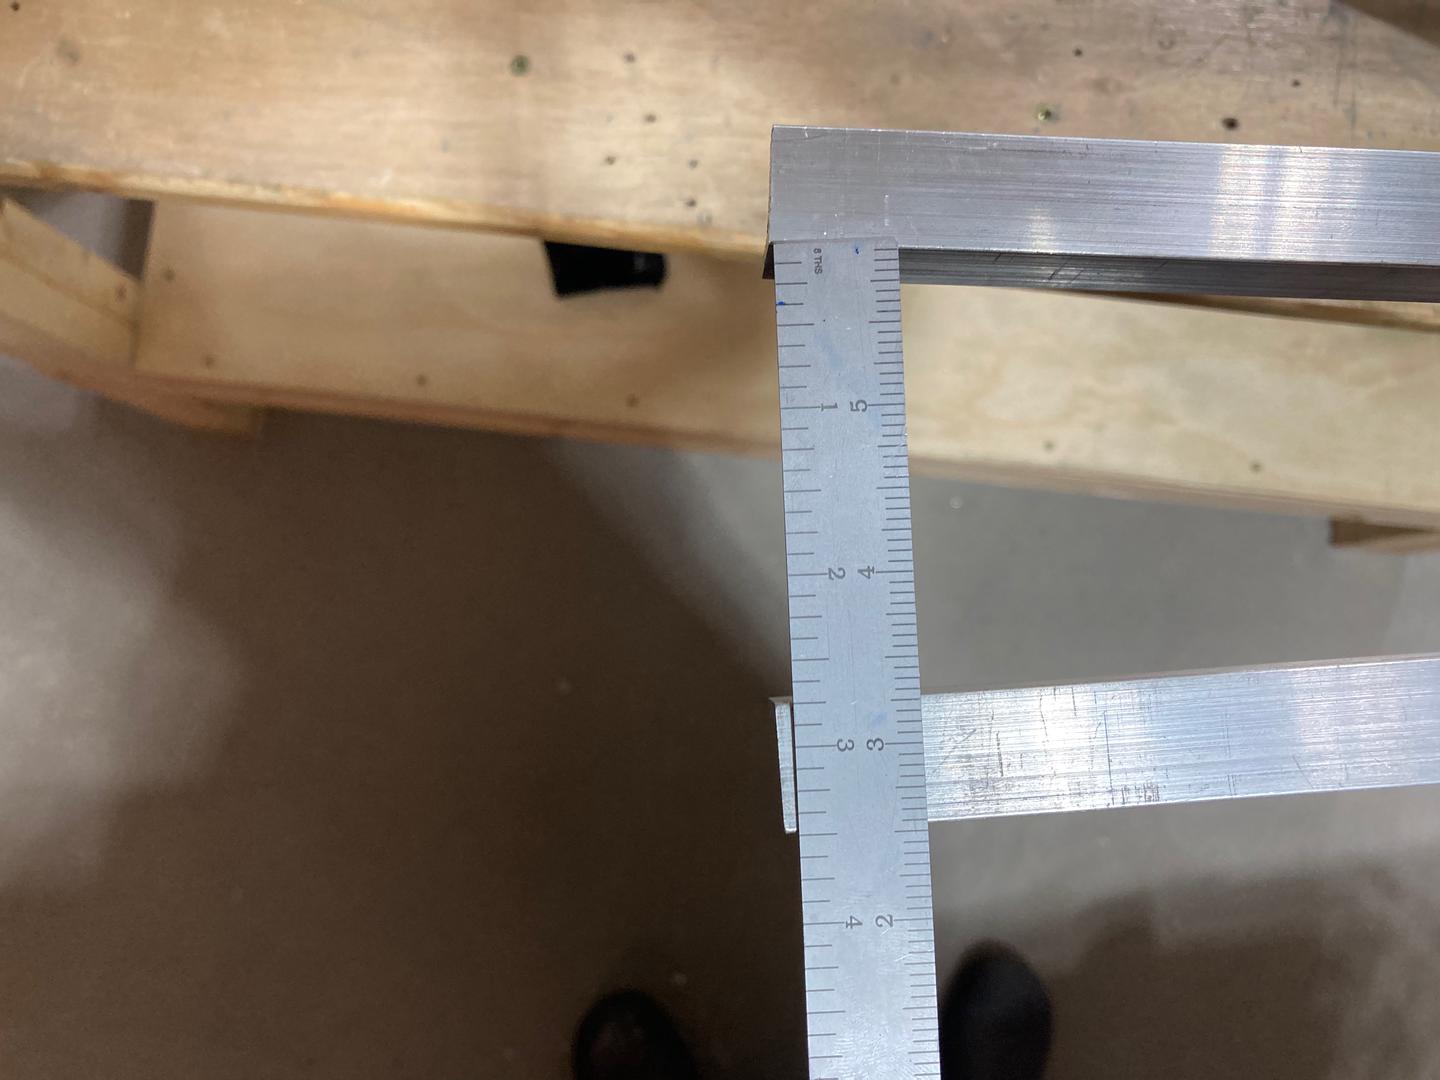
Then, pull the second longeron in the opposite direction such that the distance is 5-1/2" (2-3/4" * 2).
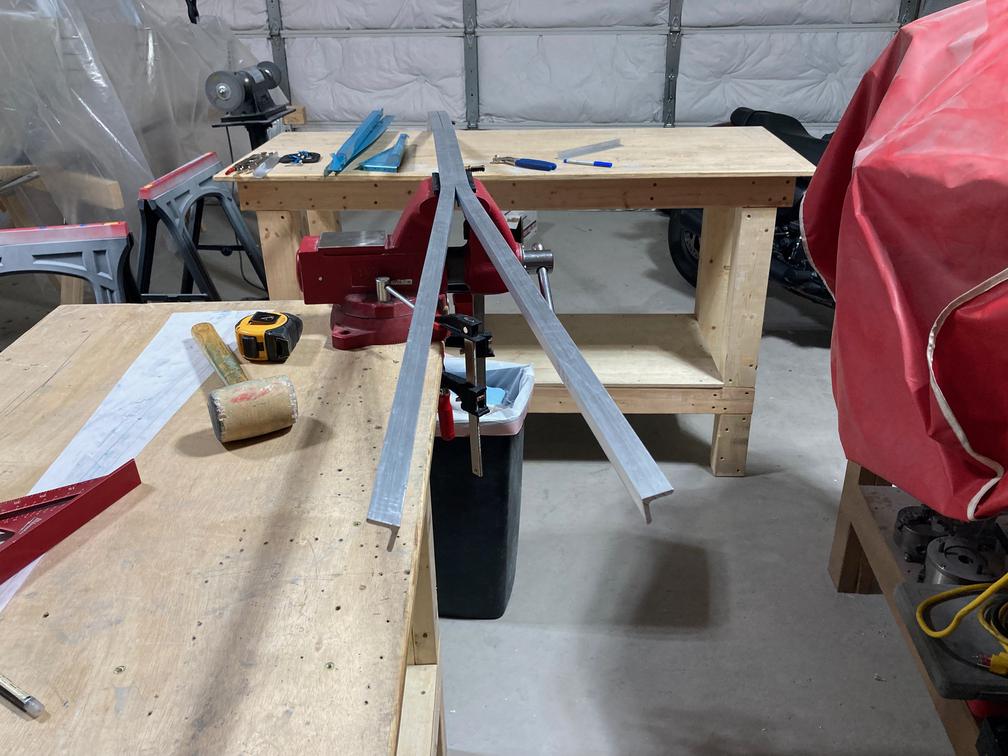
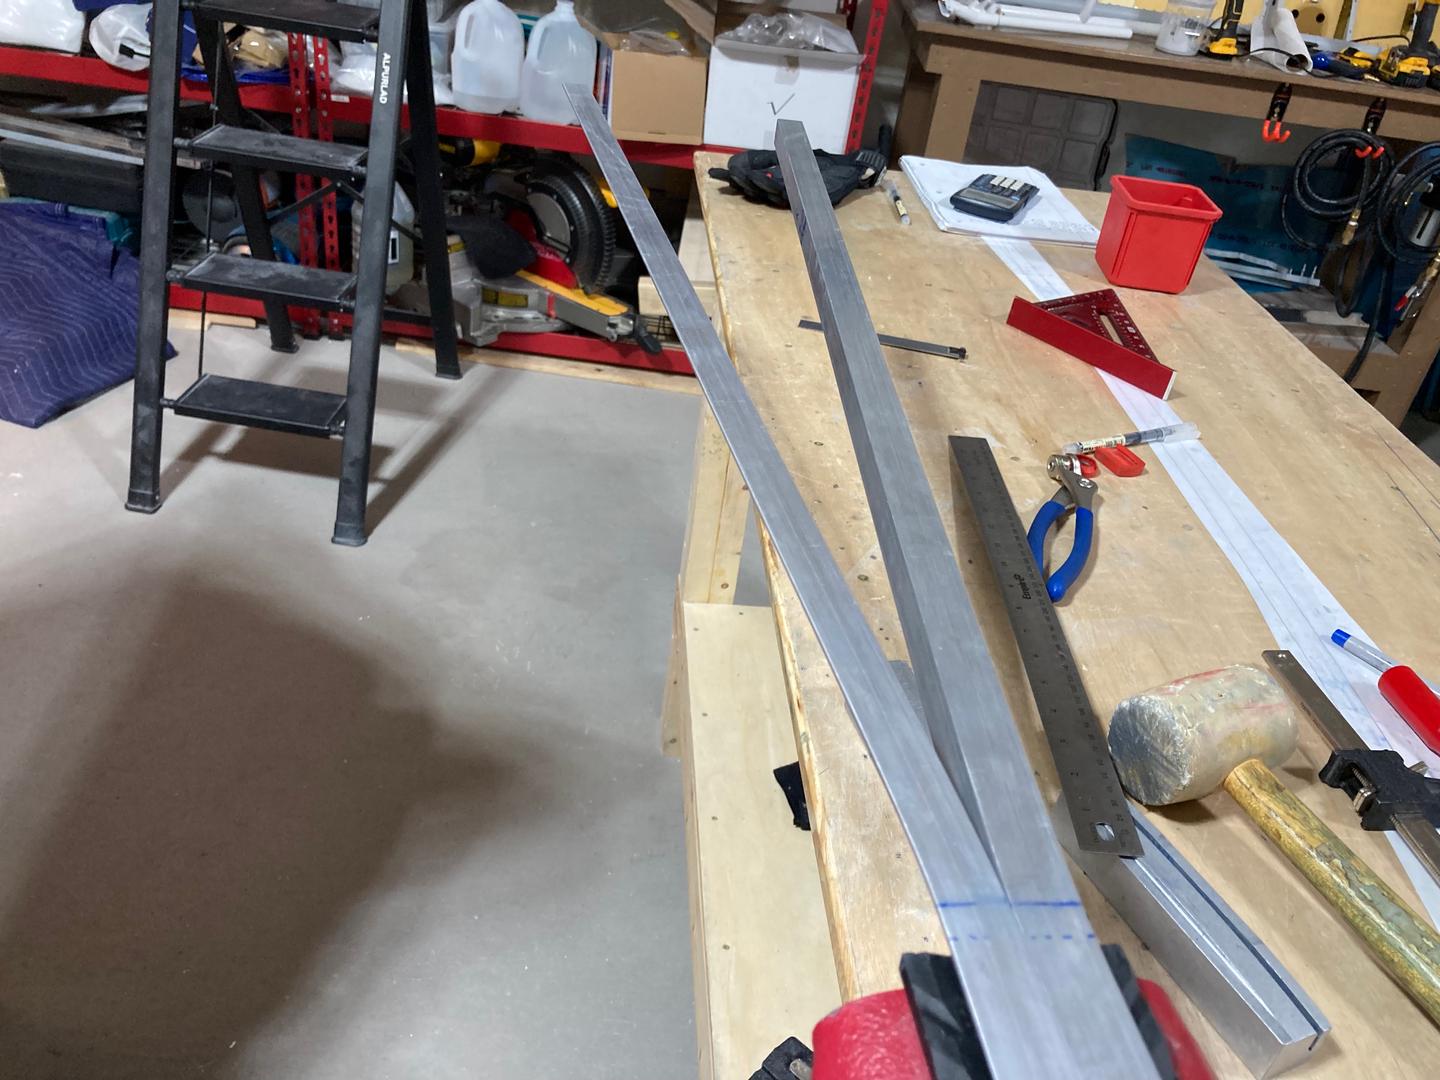
Finally, I added the twist, but without trying to make it perfect. I will adjust it later as necessary.
The final result.