Drilling the ribs and the tailspring 4h
4h
January 5, 2023
Lots of drilling today!
The last thing I did a day before was to mark the location of the bolt holes in the seat ribs. However, after giving it some thought, I decided that instead of disassembling everything and drilling the holes the conventional way, I am going to make another tool!
The idea is to make a D-bit with the taper (I think, I got a 30° included angle?) going all the way to the tip.

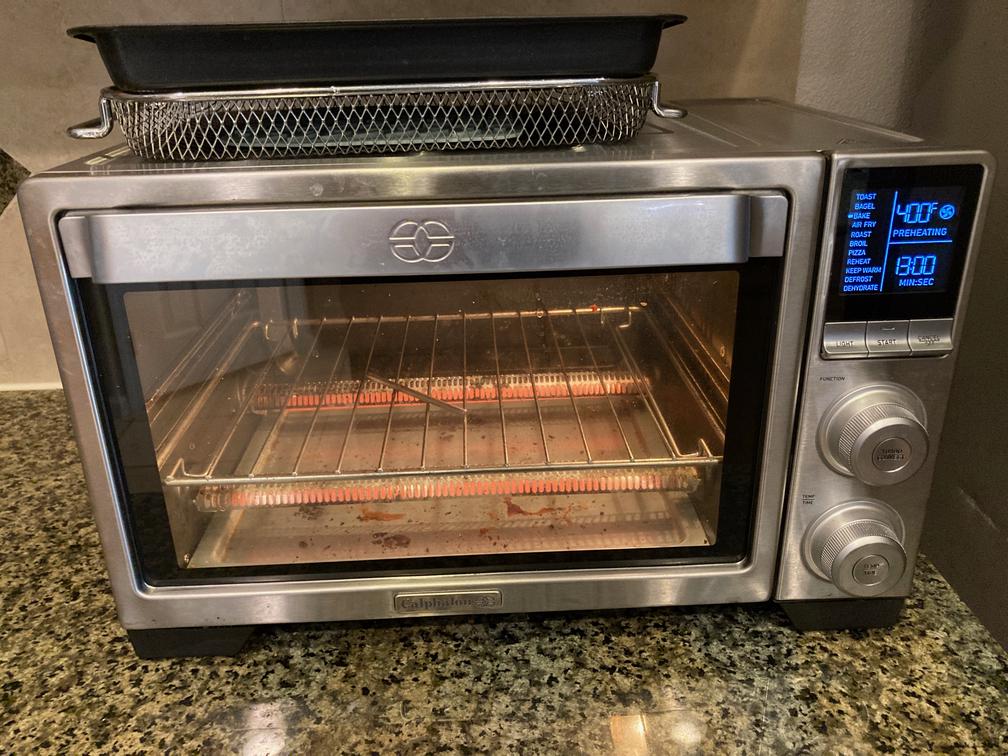
This time I hardened the bit by heating it with the torch (just the tip), then quenching in the oil. After that, I used my hi precision oven to temper the bit. I don't know how much it actually did, but then again, aluminum is a very forgiving material so precise metallurgy is probably not that important here.

The tool is 3/16" (0.1875"), which is slightly less than the hole size (a #10 drill bit, which is 0.1935", fits through the hole ). Ideally, I want a #10 sized bit, but I did not want to turn the rod to a smaller size. It's tricky to do as the rod is relatively long and I don't have a follower rest for my lathe.
While drilling the tip broke off (so it did indeed harden!), which was kind of expected. I don't know what I was thinking, I should have made a spade end from the get-go. It does not matter much as the tip is only used to create an initial hole, all the important cutting is done by the side. I sanded the tip to make it cutting edge.
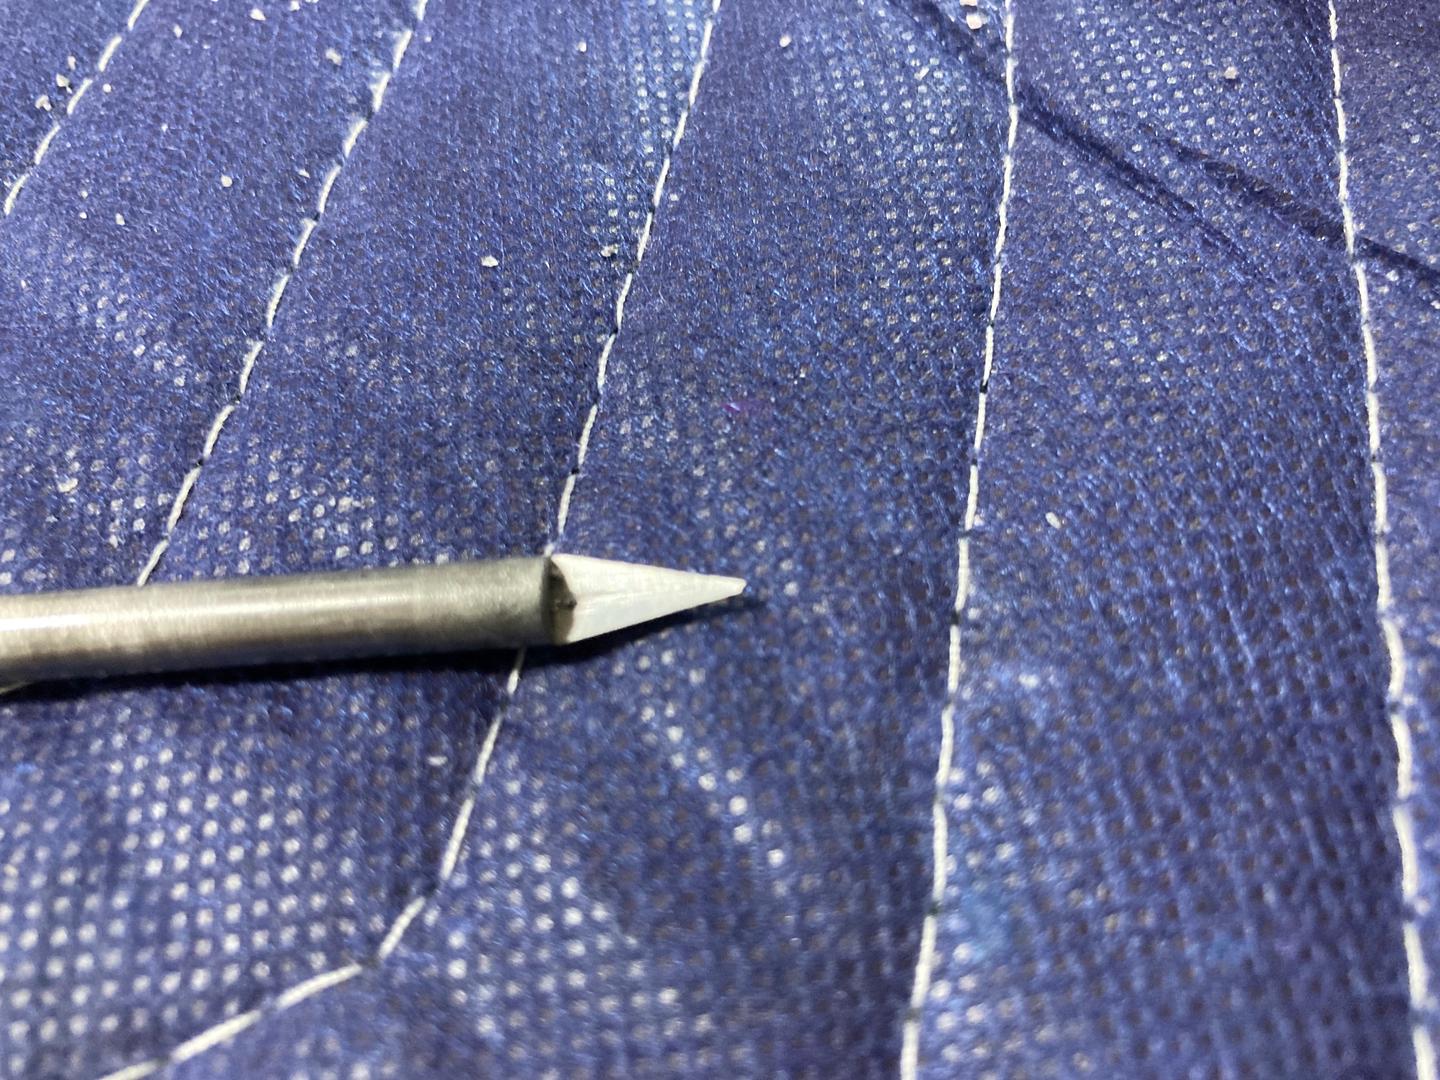
The resulting holes look nice. The cutter does leave a lot of rugged burrs on the exit side (running the tool fast makes a much cleaner hole, but the cutter wears faster).
This is what the hole looks like after deburring.
I got all the sixteen holes in no time. Perfectly round, aligned with the center section, with no tearing of the sheet metal. Love it.
I am seriously considering making dedicated tools for the snap bushings. I find that unibits require some finesse if you want to get perfect holes. If you don't stop at the right moment, it might start chewing into the next hole size. If you stop it too early, you have a partially cut hole that is difficult to restart (it might restart in a different spot). Also, they move the hole sometimes.
Whereas this tool is extremely forgiving. It can only cut round (well, oval, too) holes because of its shape. It does not grab. It does not oversize the hole because of the cutter geometry -- due to a neutral rake and no relief angle (my theory), it requires some pressure to cut so once the hole is of the correct size, it won't cut into the sides.
I recorded a short video drilling a new hole in some scrap rib.
Then I decided to drill a tail spring rod which I received today. It's an aftermarket version from Flyboy Accessories. Should be a direct replacement for the original one. I chose it because I know that shipping from Van's takes some time.
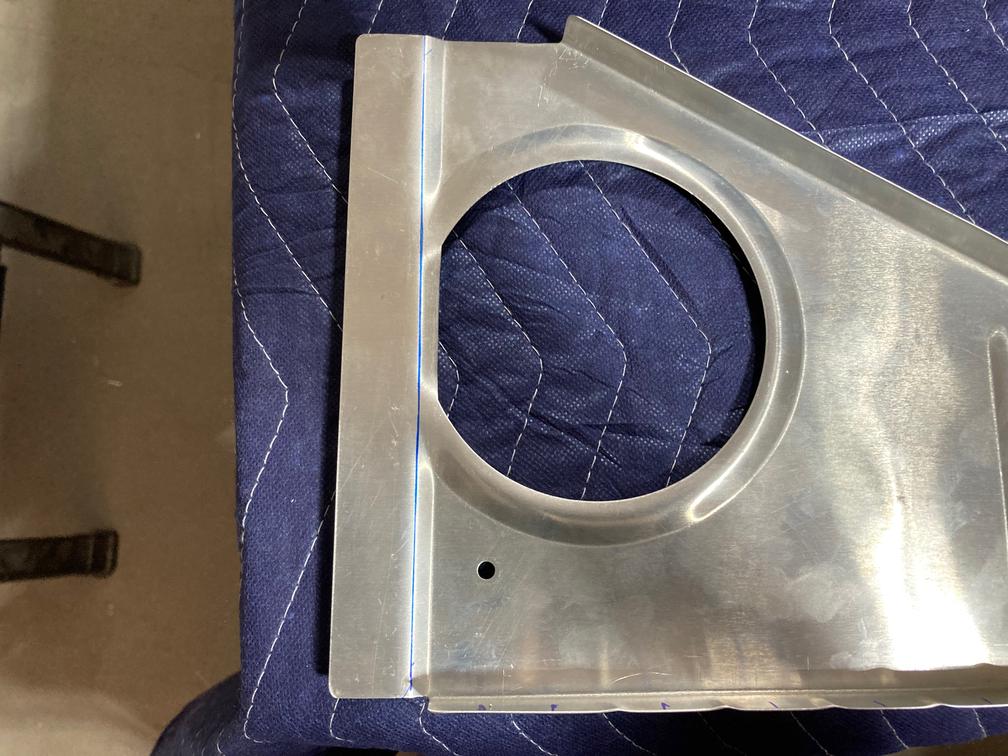
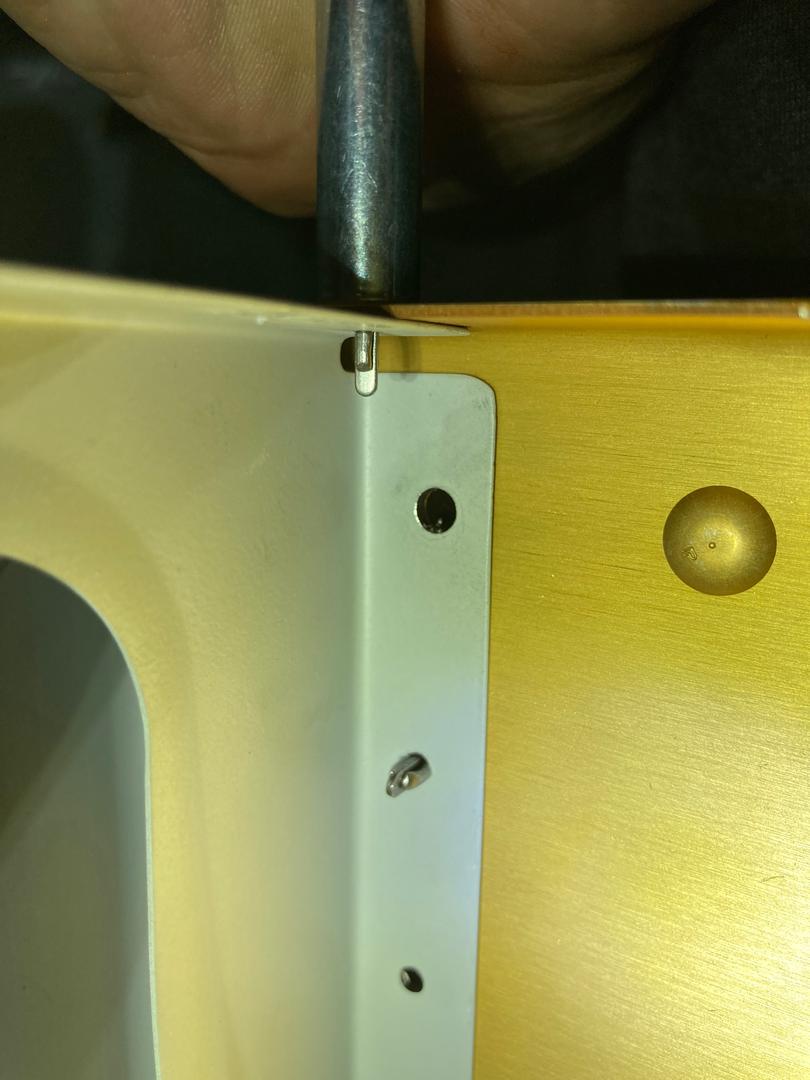
I started by drilling the tail spring mount. It seems to be a relatively soft steel, so did not have any issues with drilling.
However, after I opened the hole to about 3/16", I noticed that it is not centered. It was off by maybe 1/16"? Not good. I think it happened when I lowered the drill from the top hole. I did not have a spot drill to start the second hole, so the drill bit wandered a bit. Also, I've realized that even if my holes are perfectly in the center, what's next? How am I going to drill a perfectly straight hole in the tail spring?
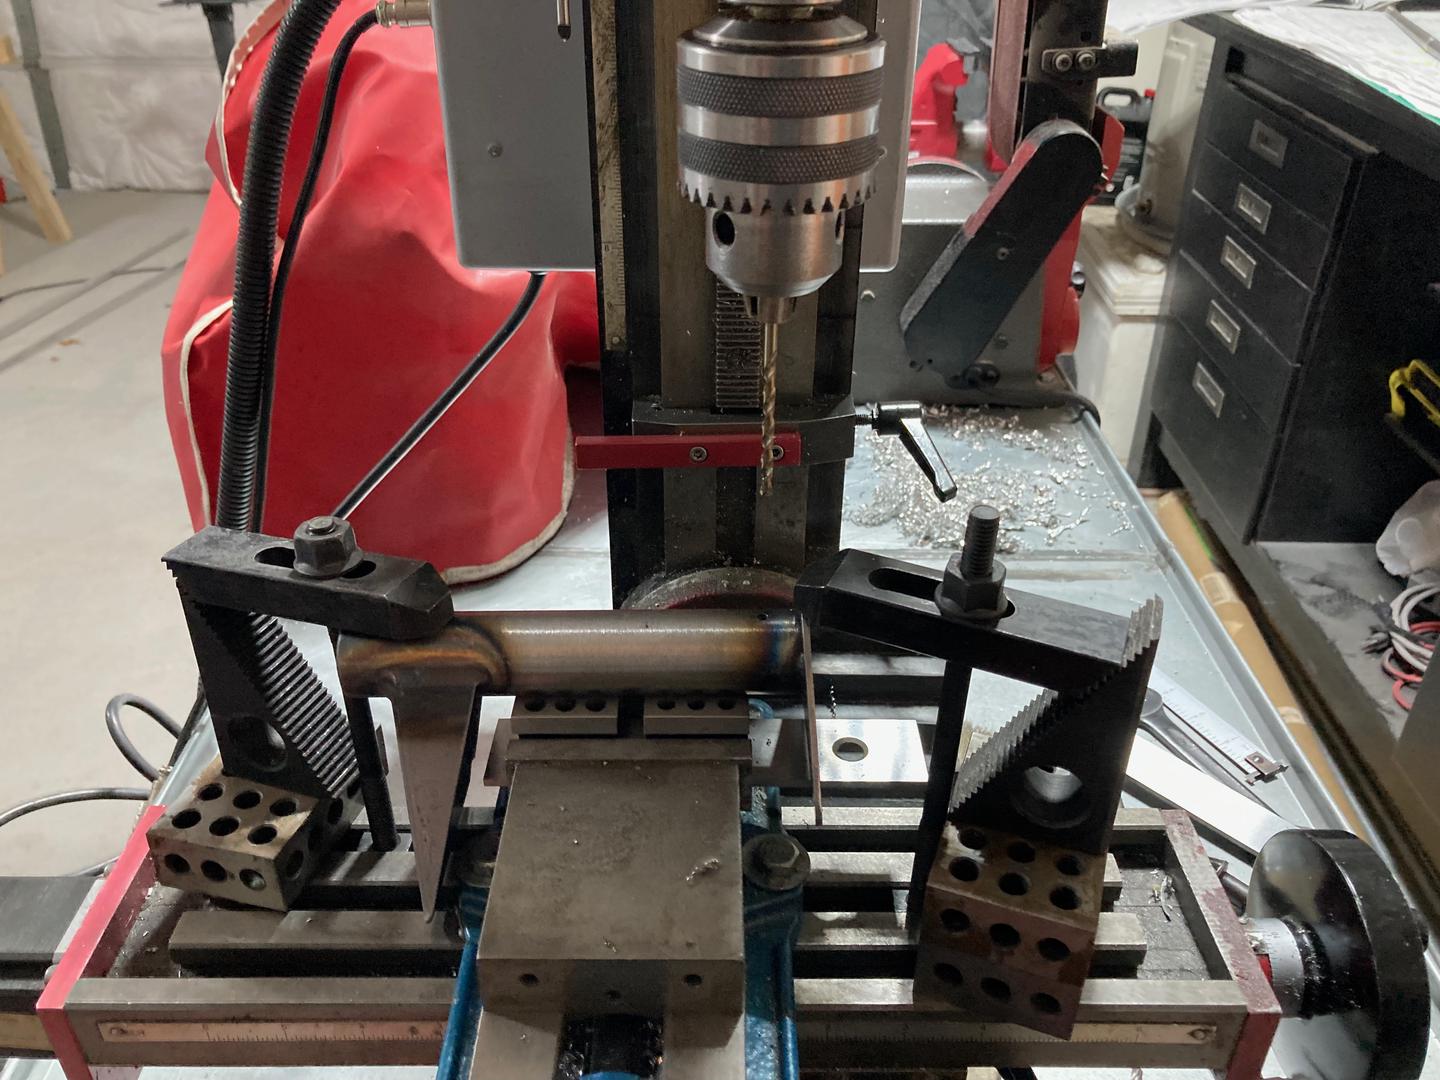
So I changed the plans and put the tail spring into the mount, so I can drill both of them together. I clamped it such that it is pressed against the mount, keeping it from moving.
The drilling was interesting. I knew that it is a partially hardened steel, so I tried to run my mill as slowly as possible with as large a feed as it deemed safe for the tool. The idea is you don't want to run the tool too fast as it will overheat (and lose its cutting edge) and work-harden the material (by rubbing it). Also, I did a "peck drilling" to clear the chips.
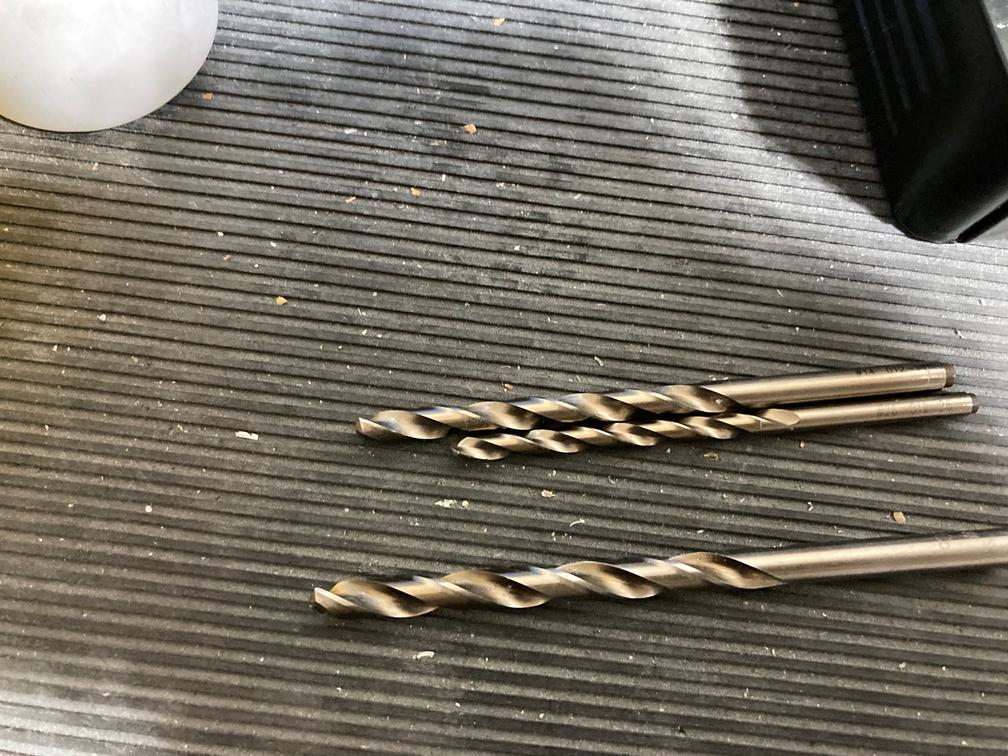
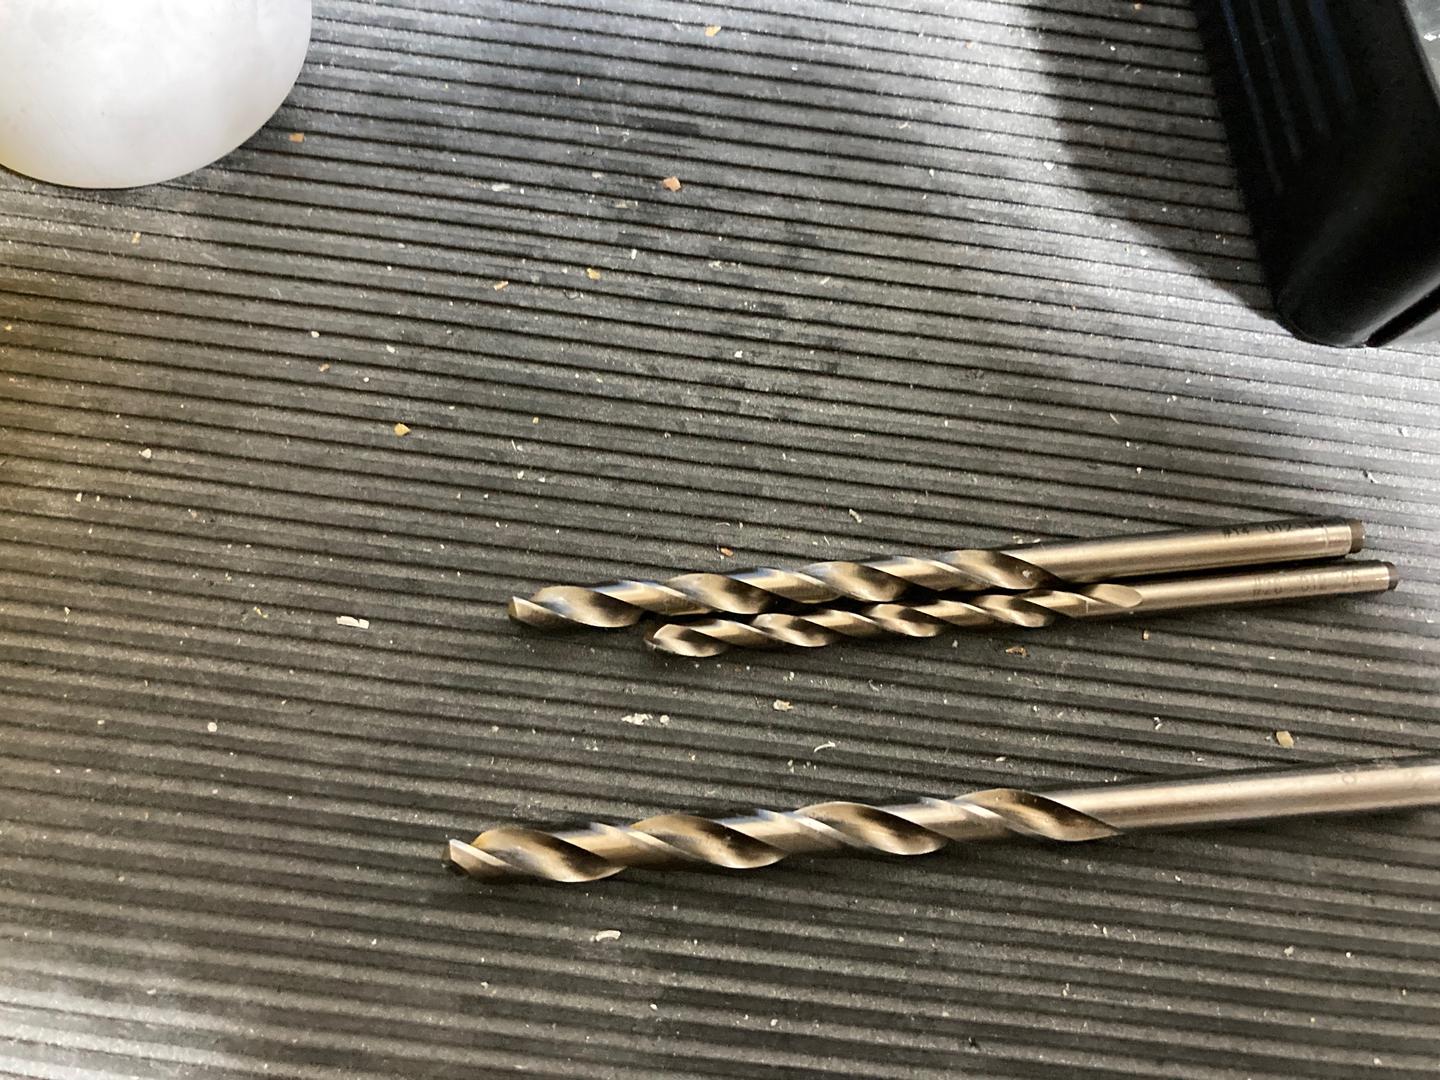
I sort of succeeded, but all three drill bits I used have broken cutting edges. I think it happened when I was exiting the hole, I still cannot figure out the proper procedure for exiting the hole when drilling steel.
Another possibility is it happened due to my "peck drilling" technique. When you retract the tool, it leaves a burr (which is hardened steel!) on the bottom of the hole which then hits the cutting edge once you re-engage.
Finally, I ran a reamer. First I wanted to run an undersized reamer I had, but it didn't work. It was making squeaking noise and wouldn't advance. So I used a 1/4" reamer, which worked okay.
All in all, I call it a moderate success. The hole is round, there is a good alignment between the mount and the tail spring. The bolt is relatively tight, but it does not really matter as I plan to ream the hole for the taper pin.

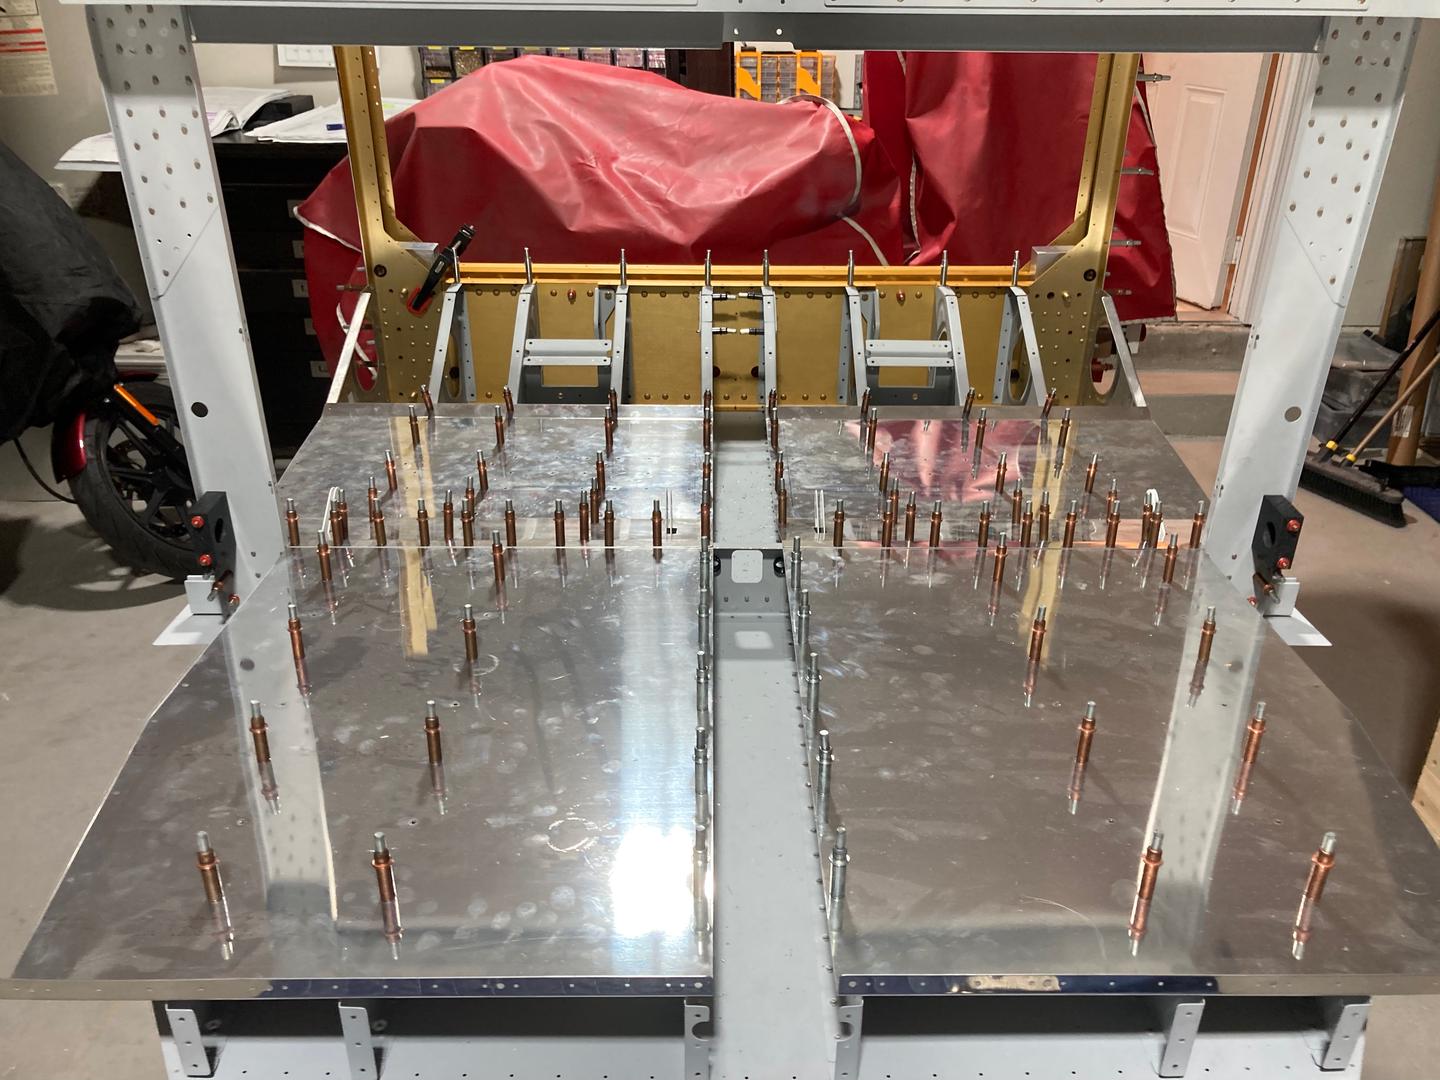
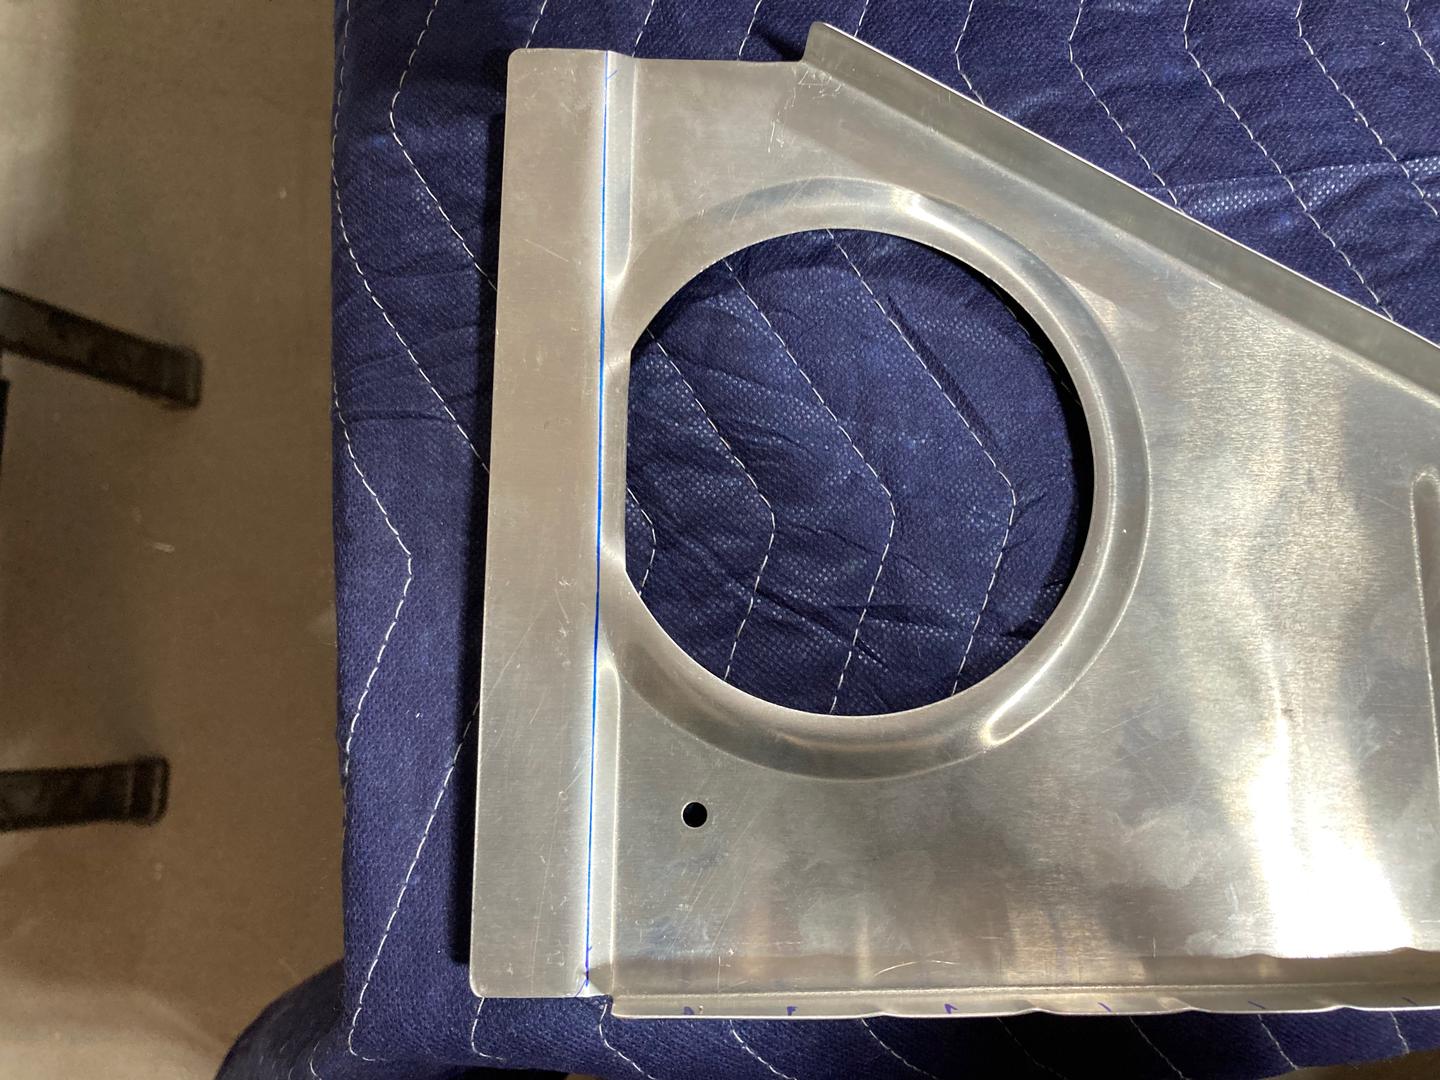
Then finally, the last thing I did today was to drill the outermost seat ribs and the floors. First, I trimmed the F-715 seat ribs as their flanges looked way too long (the blue line is NOT the line of the cut, it is the line from the F-704 flange I used to find the line to trim).
Drilled the ribs to the floor.
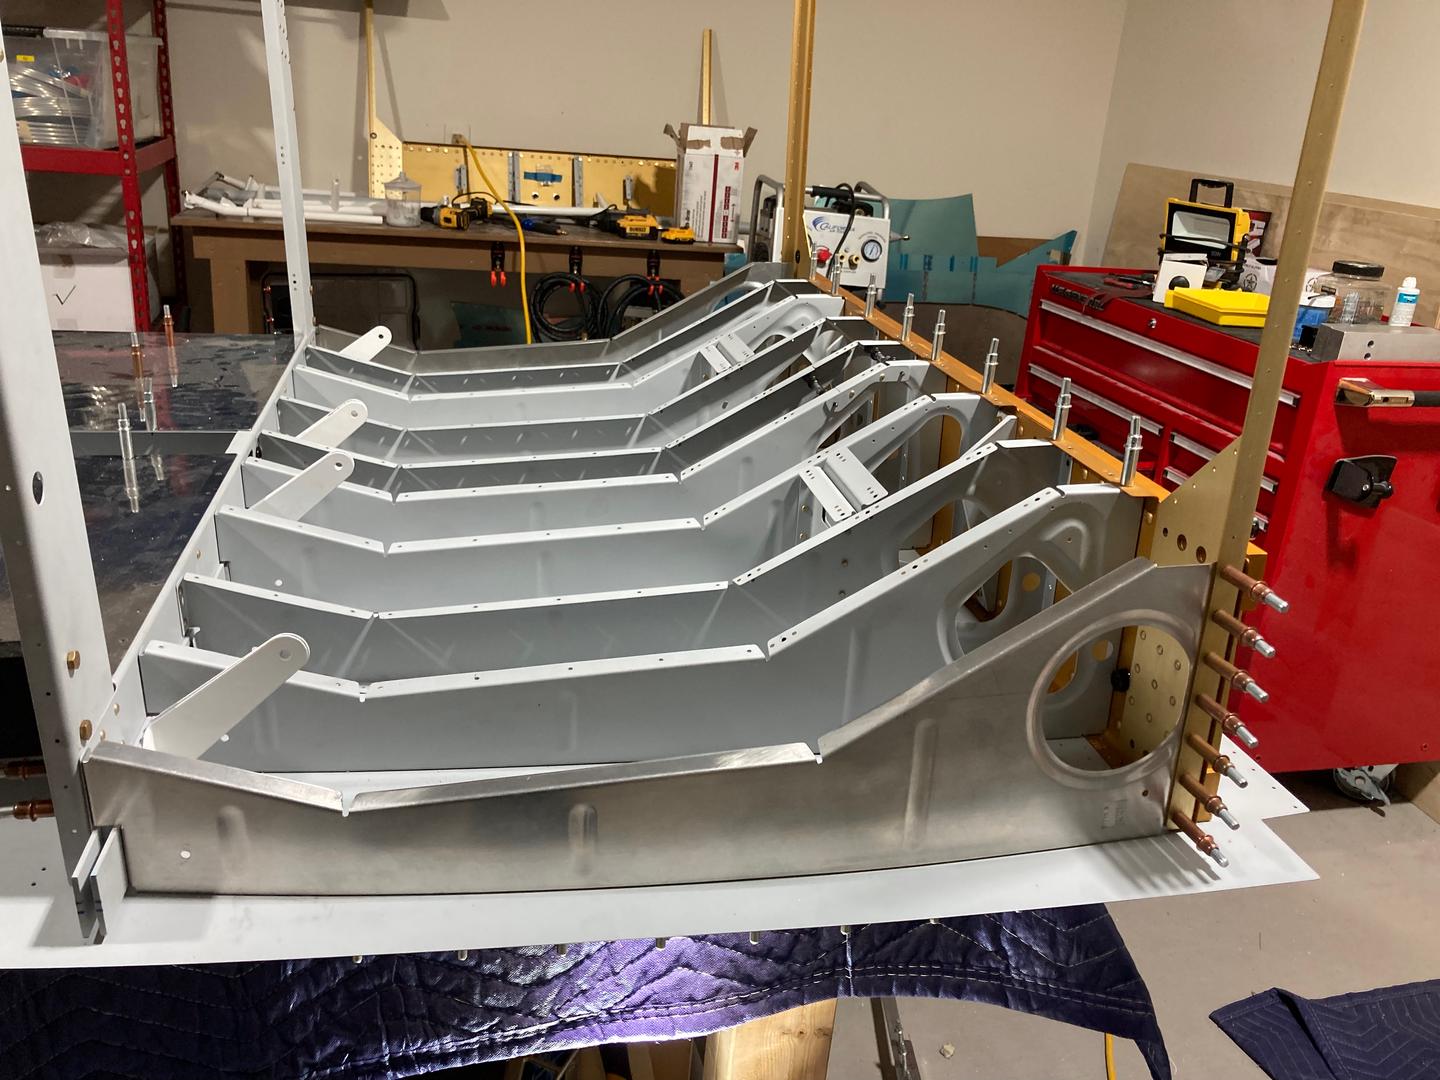
Finally, drilled the floors to the ribs (except the F-715 ribs).