Service bulletin SB-00036 REV 3 1.5h
1.5h
August 22, 2023
All right, since I want to install the empennage, the first step is to apply the service bulletin SB-00036 REV 3.
The service bulletin is about cracks forming on the spar around the outboard hinges. Since my stabilizer was not in service, I have no cracks there and I don't need to repair.
I have two options:
- Inspect the stabilizer annually until I get the cracks, then repair them.
- Apply the changes to the outboard hinges and never worry about it again.
The difference between the repair (when possible, in some cases the whole spar needs to be replaced) and the modification is that in case of repair you, install one additional doubler on the forward side of the spar.
The modification is to put a doubler that ties to the spar flanges under the hinges. Since the doubler adds some thickness, shorter hinges are installed.
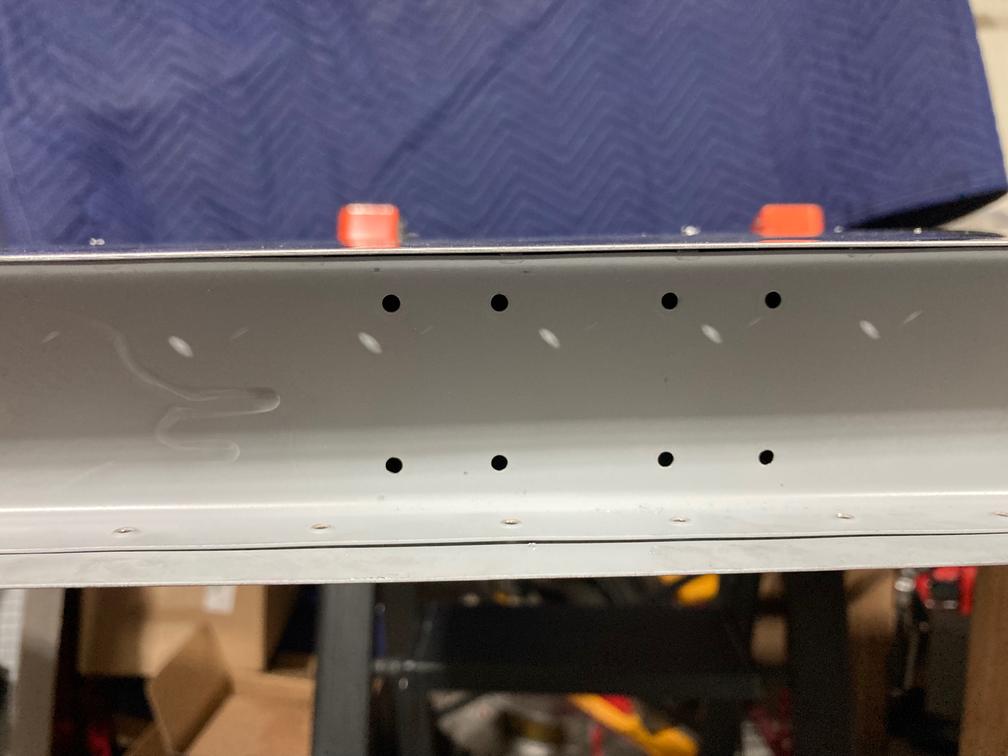
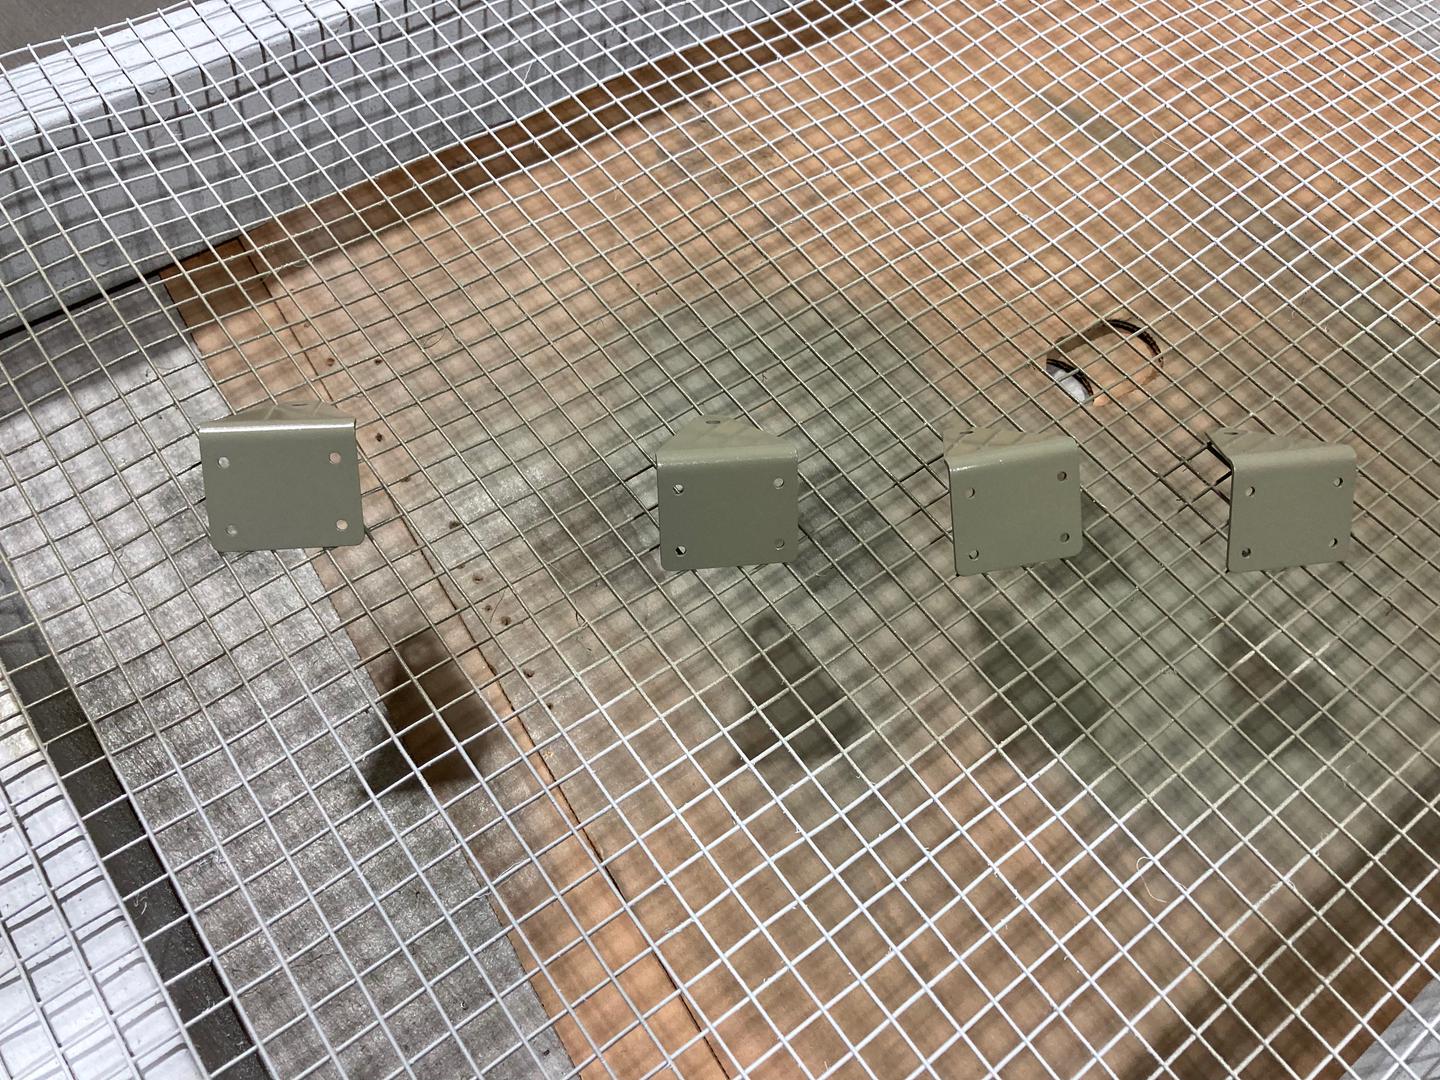
First, I drilled out the rivets that attach the hinges and 6 rivets on each spar flange -- these are the rivets that will be tied to the doubler.

The holes look good. I drilled through the head of the rivets, broke off the heads, then punched the shop end inside the stabilizer using a punch. Also, my early day's priming was not very good, you can see the drip of the primer!
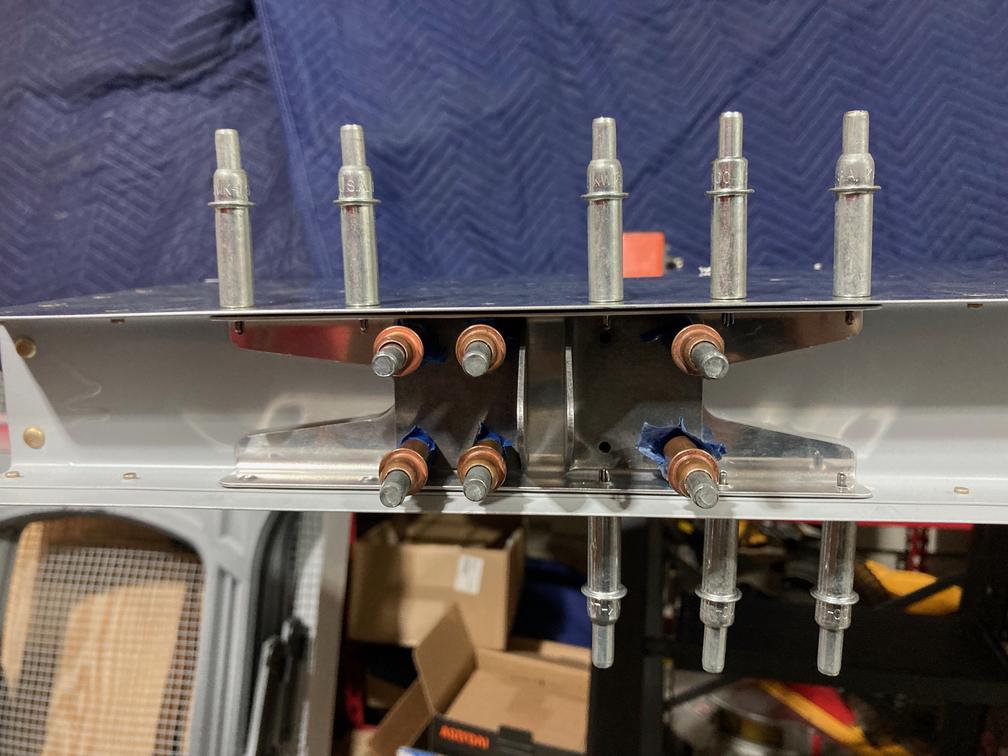
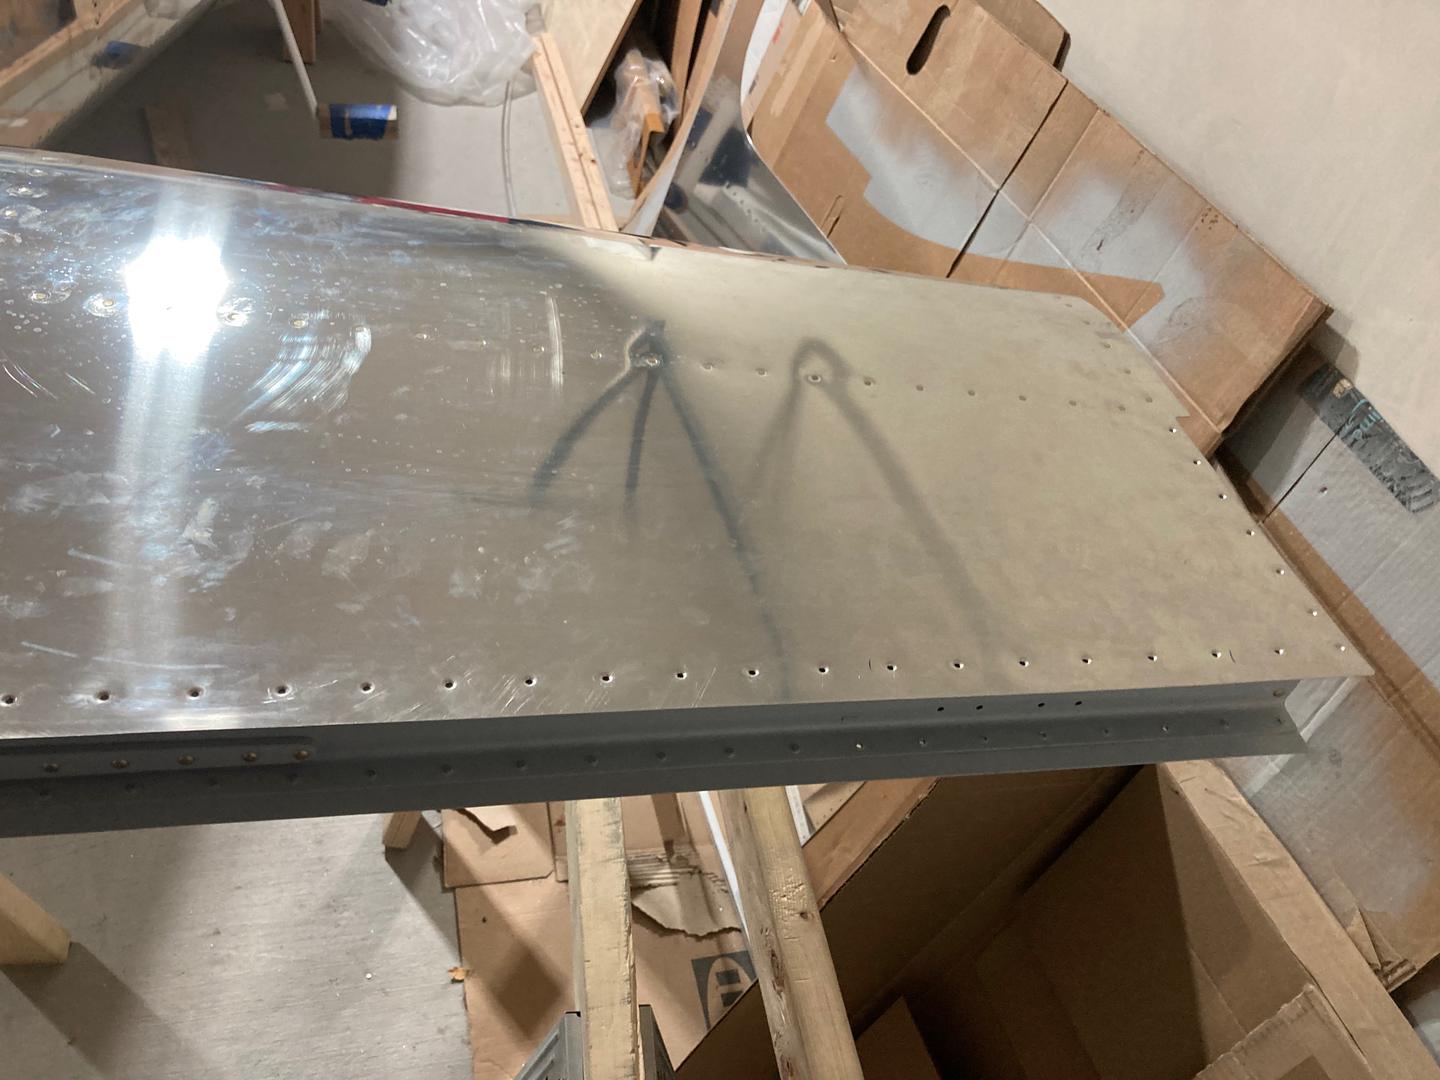
I skipped the match-drilling and simply upsized the pre-punched holes instead. In my experience, on parts without complex curvatures, the holes match very well. This removes any potential for mis-drilling the holes on the horizontal stabilizer spar. I tested the fit, and everything looks good.

The hinges came without the powder coating, so I had to prime them. I used SEM Ez Coat.
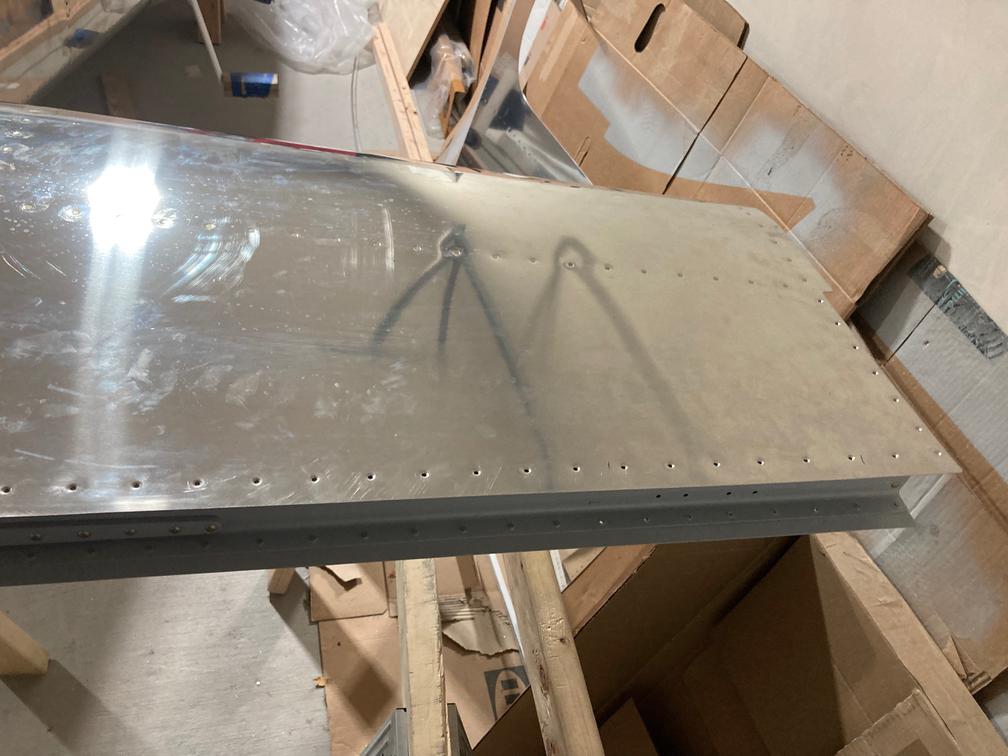
The kit offers CherryMAX rivets to install the hinges. However, after giving it some thought, I decided to go with the solid rivets. To get enough access so I can fit a bucking bar inside, I drilled a bit more of the rivets on the bottom skin.
Also, there is a forward doubler in the kit that you are supposed to install if you get cracks. I don't have any cracks, but I think I will install it anyway.
My experience with AD4 rivets shows that they are not very gentle with thinner materials. Even though the shop heads of rivets I had originally were on the thin material side, I installed them with the squeezer which doesn't deform the material as much as the gun. Since now I don't have a choice in which direction to install them (I cannot fit the gun inside the stabilizer), I think, the doubler will help. It will provide some thick bearing surface so if I don't set the rivet perfectly, I don't risk damaging the spar.
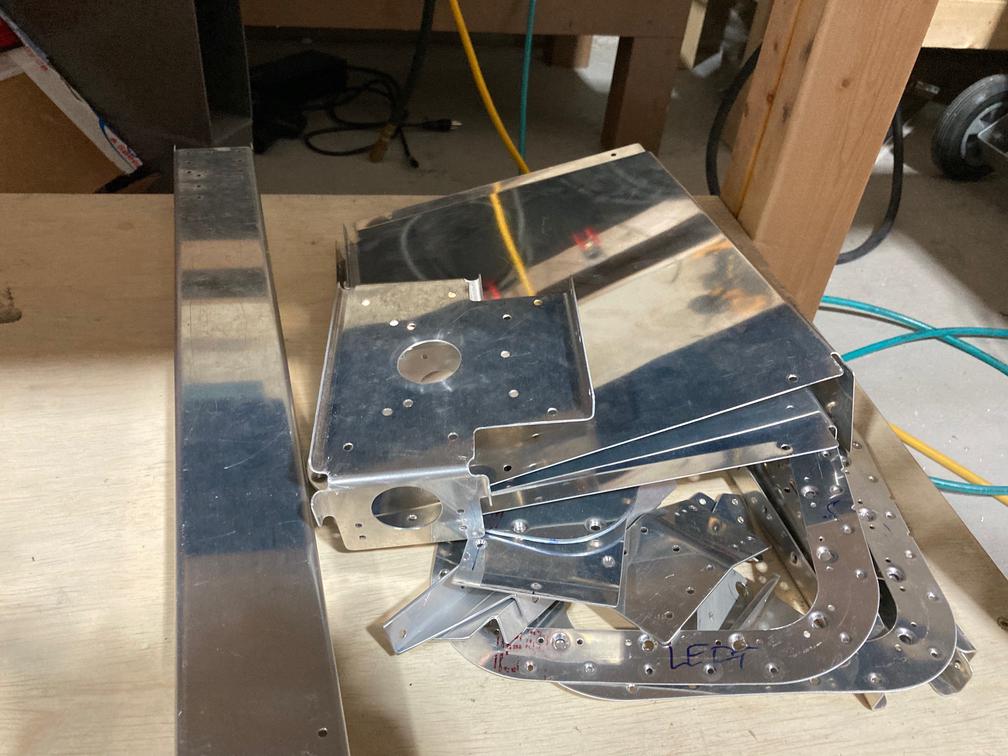
And then I removed some other parts that I need to prime (the flap actuator parts, and the central tunnel cover parts).