Finished mounting the vertical stabilizer 3h
3h
August 28, 2023
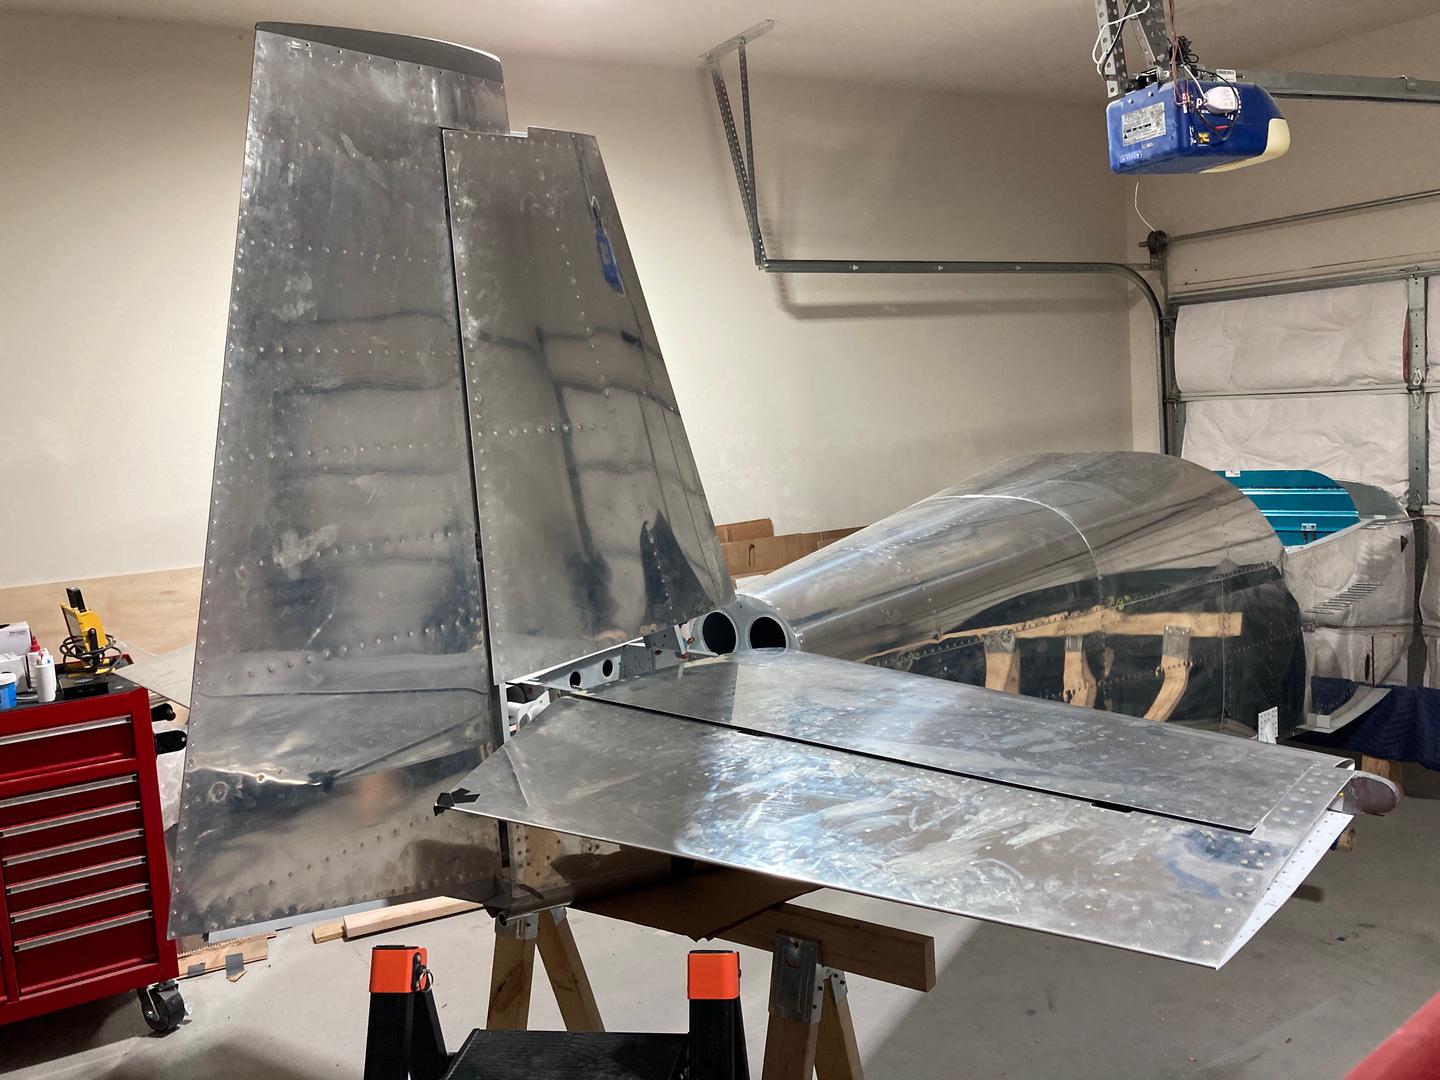
Finished mounting the vertical stabilizer.
While removing the horizontal stabilizer, I noticed that my hole pattern on the front spar is a bit funky: the outboard bolt on the left side is ~1/16" forward of the line where all other bolts are. I think, when I was locating the left hole I moved it just a bit along the longeron, just to get a better edge distance on the horizontal stabilizer HS-714 splice angle. Apparently, I forgot to do it while doing the right hole?..
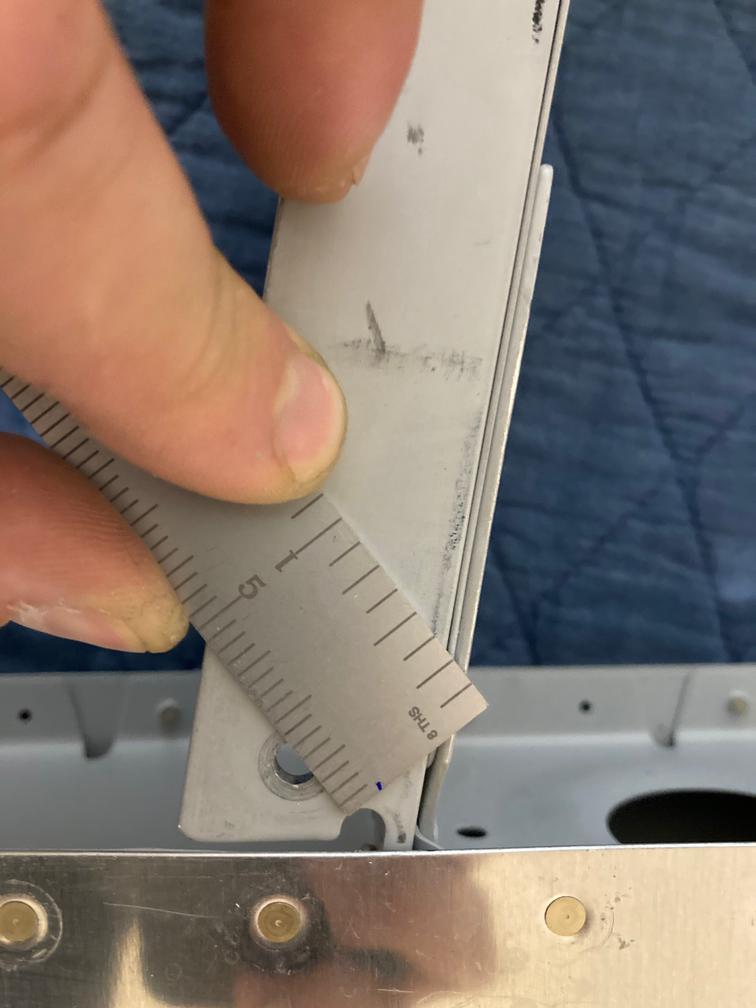
This is what the edge distance looks like on the right outboard hole:

It's about 5/16", which is ~1.66D edge distance. I think, this is okay because that's the edge distance we get on the longeron anyway. The manual says "the bolt must center in the available 5/8” of the horizontal leg", which gives 5/16" edge distance.
Then I drilled the bottom hole on the vertical stabilizer. I removed the stabilizer first, then drilled the #30 hole from the outside, using the tooling hole as a guide (the plans locate the hole over that tooling hole). Then I used my angle drill to mark the hole on the vertical stabilizer rear spar.
Then, I put it back, upsized the hole for the AN4 bolt, and drilled two other holes. The manual says to double-check the edge distance on both the VS-410PP hinge bracket and the WD-409 tailwheel mount.
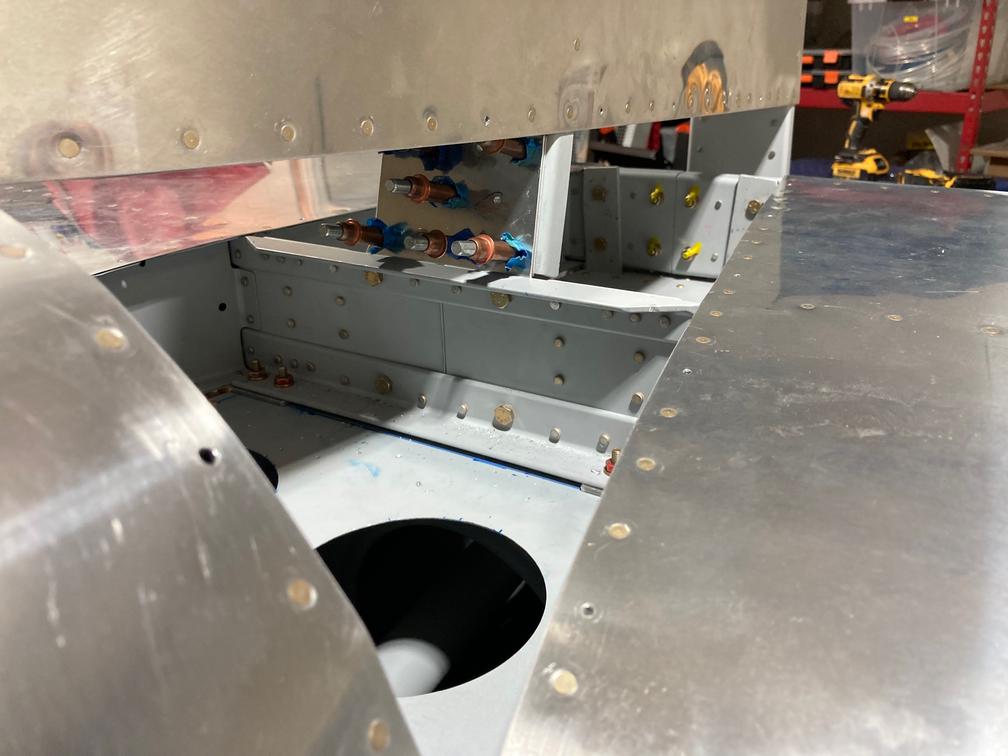
Since the tailwheel mount is inside the fuselage, it is a bit tricky to measure the edge distance. What I did is I put a small aluminum strip such that its top edge is aligned with the WD-409 tailwheel mount top edge and then marked the location of the bottom hole. This way, I could move the strip to the outside and mark the location of the tailwheel mount against the hinge bracket.
The overlap was slightly above 3/4", which gives that 3/8" edge distance they are asking for.
Then I drilled the holes, first, using the #30, then upsizing them slowly to the almost final size, and then reamed them to 0.250". In the past, I had a lot of issues with my drill bits grabbing the steel too much. The drill bits I normally use are 135° split points, which are usually recommended for tougher materials, like steel. However, they tend to grab more, especially when exiting. I tried using my "trash" 118° drill bits I use for anything non-critical (yeah... the irony), and they worked much better -- much less grabbing on the steel. And the final hole was reamed anyway.
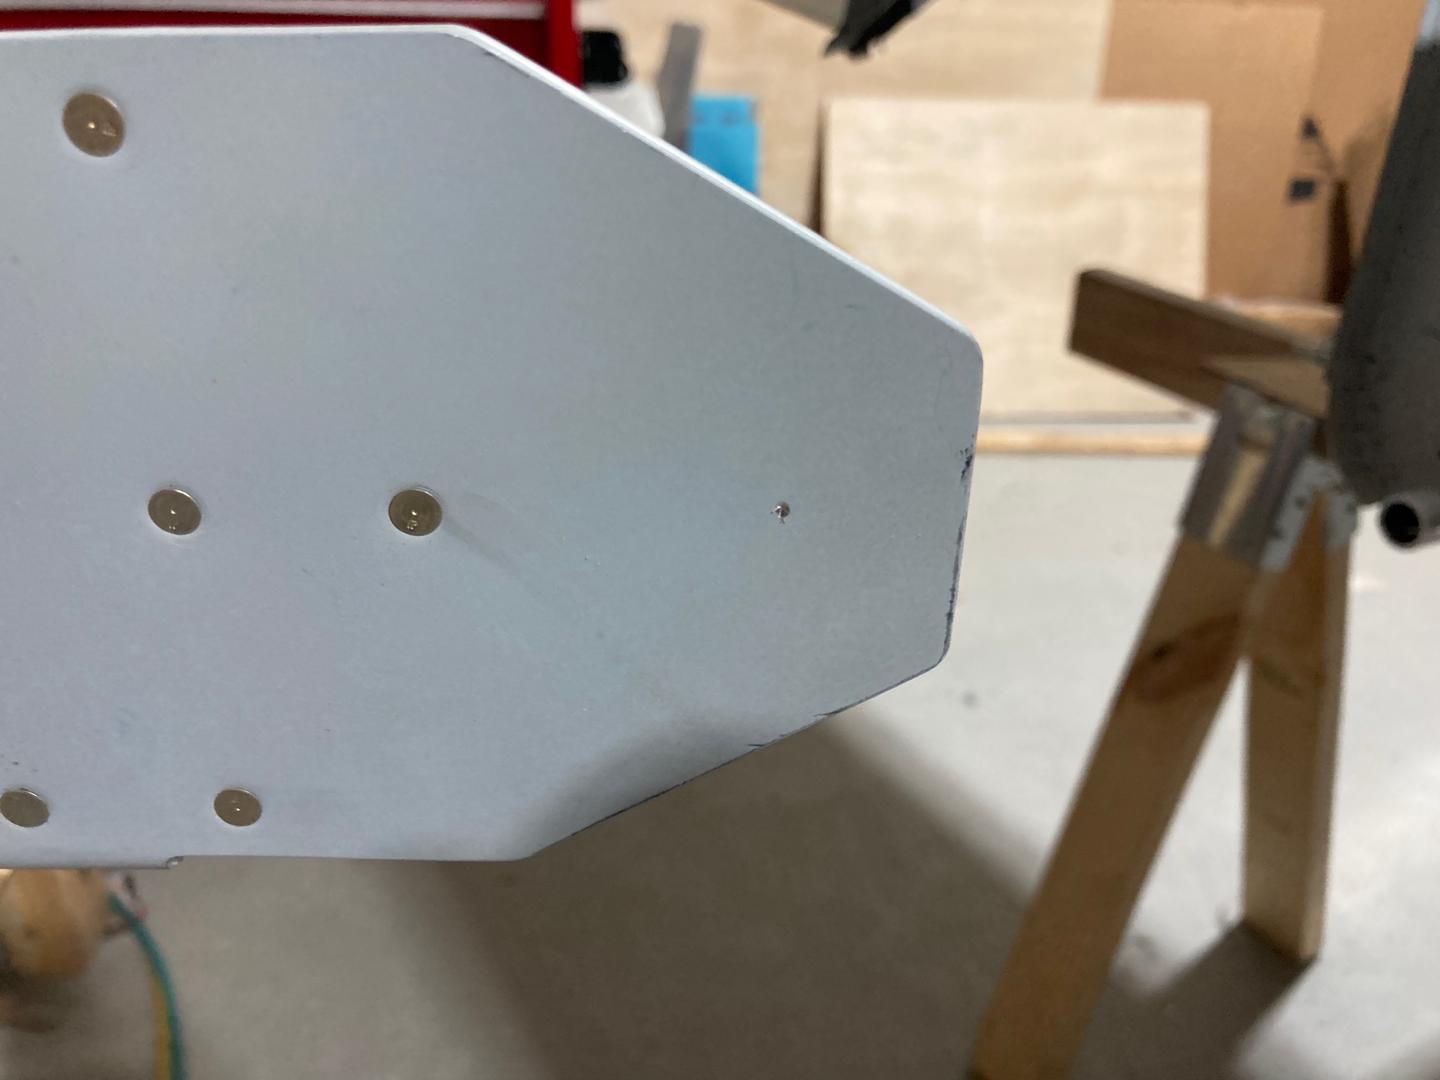
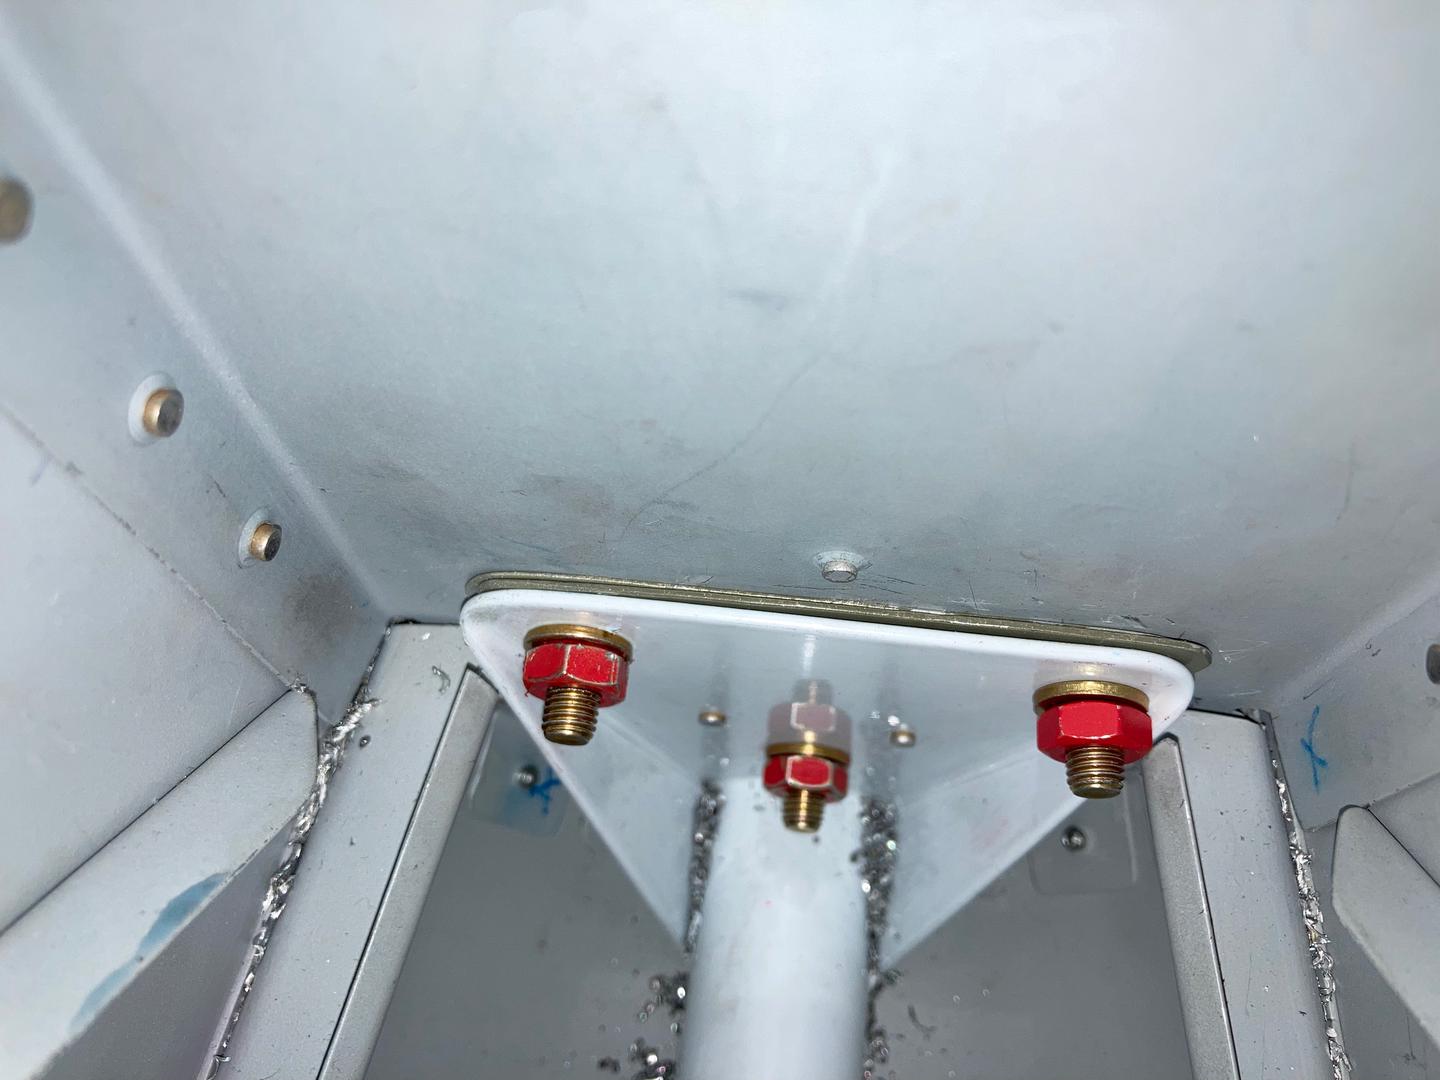
This is what I got in the end. The left hole is a tiny bit too close to the flange on the tailwheel mount but seems like I can bolt it anyway (the washer required a bit of filing to fit).
Then I upsized the four holes that mount the front spar to the horizontal stabilizer. Nothing too fancy there, drilled a bigger hole, then reamed it.
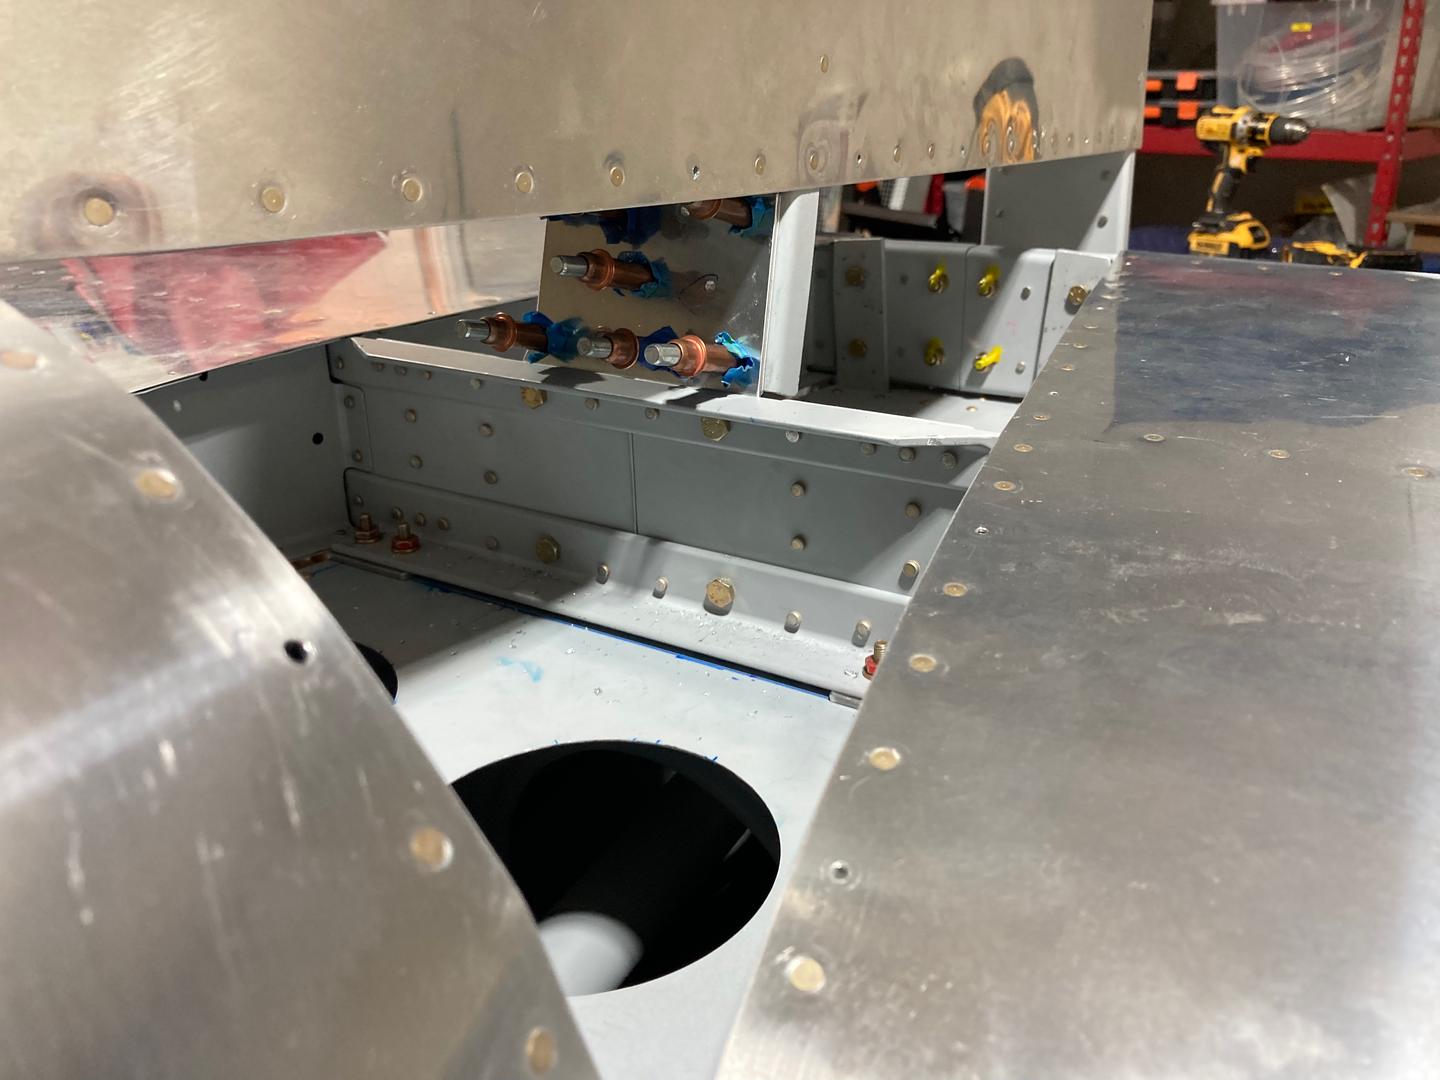
Finally, the whole empennage is attached. It was kind of stressful, and I am not 100% happy with the results but seems like everything is okay, though, the edge distances, the accessibility of bolts and nuts, and the size of the holes.