Bolting some of the control system 3h
3h
September 2, 2023
Today I fitted some of the parts for the control system.
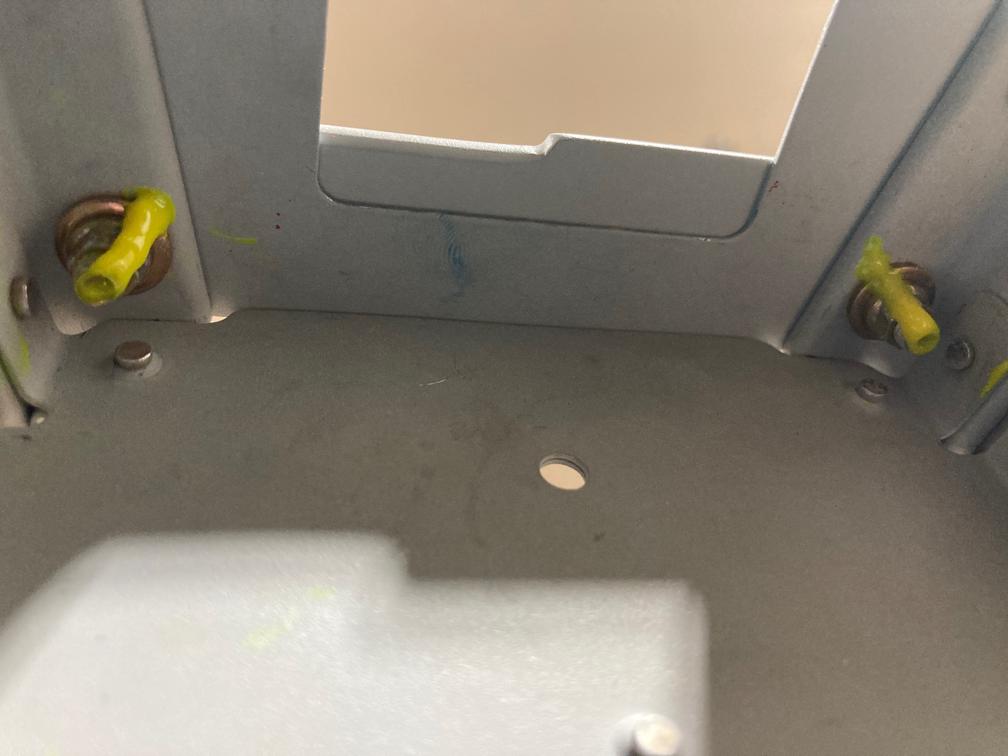
First I bolted (and then riveted) the up elevator stop. I used smaller MS21042-3 nuts, so I could fit a socket over them.

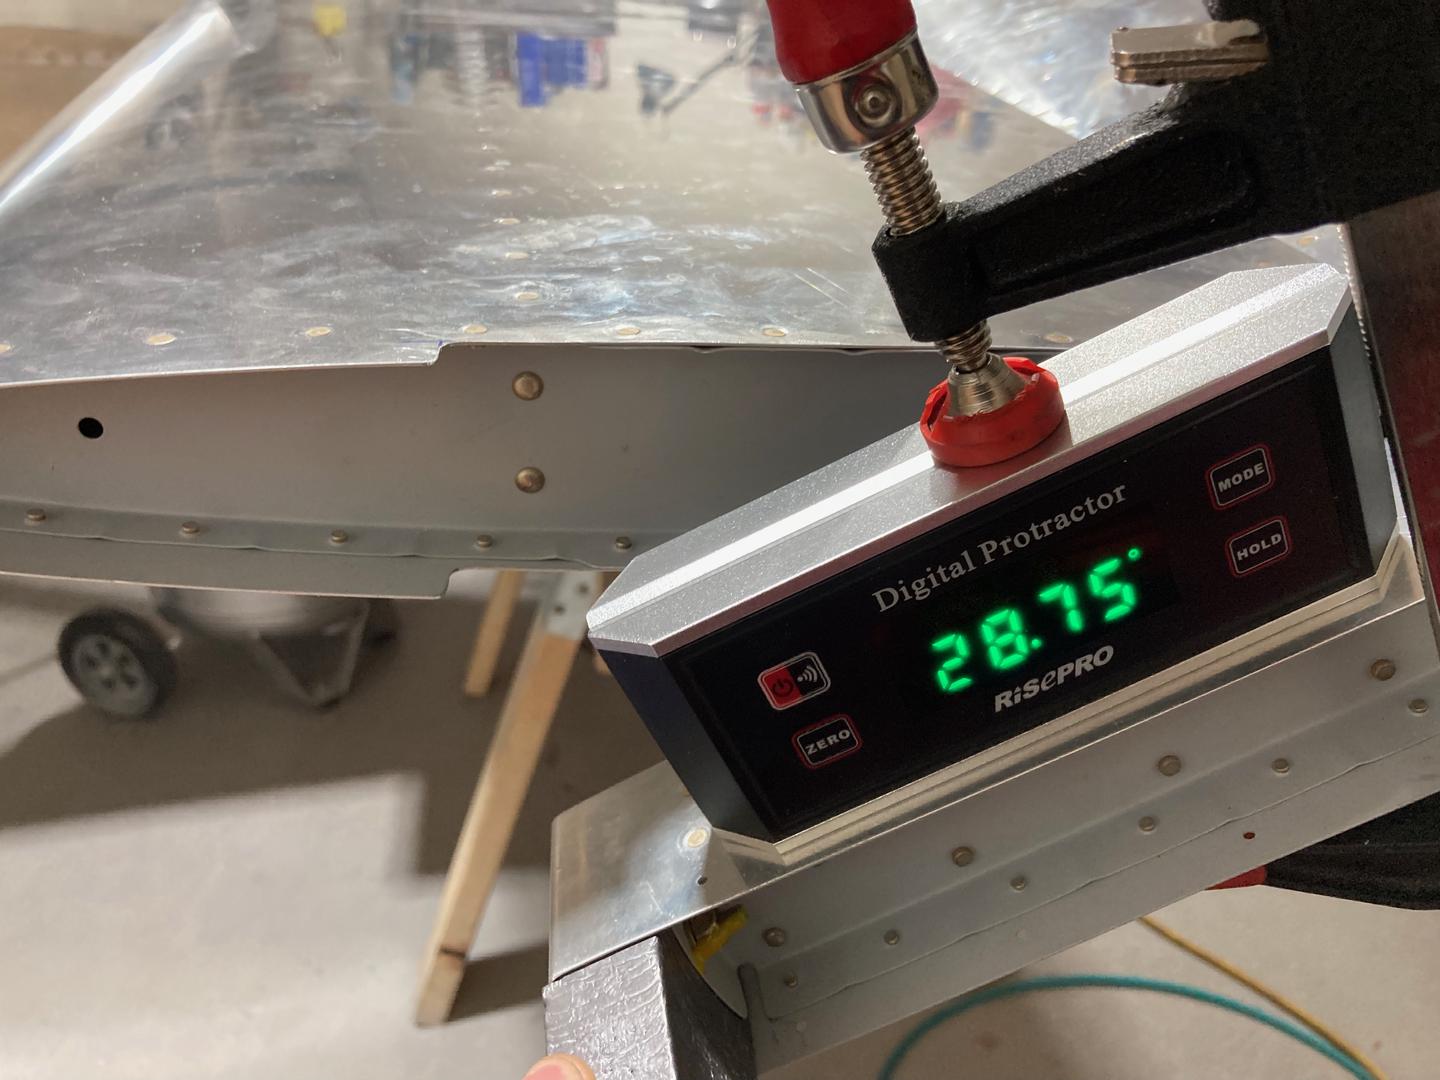
The result of my elevator stops fitting was this.
The horizontal position.

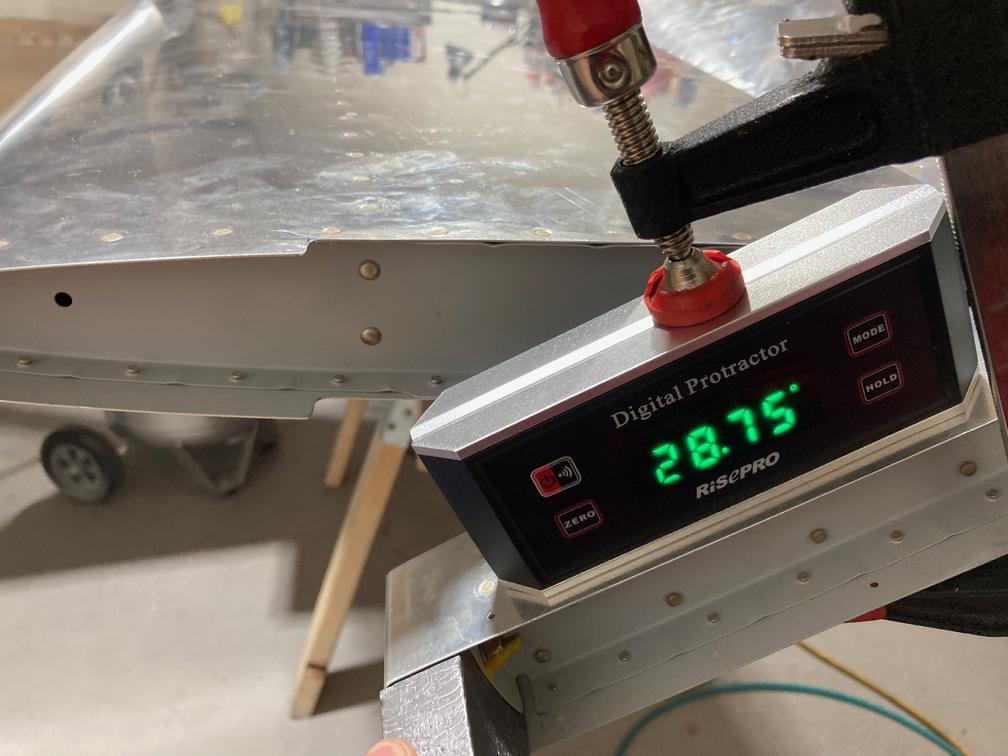
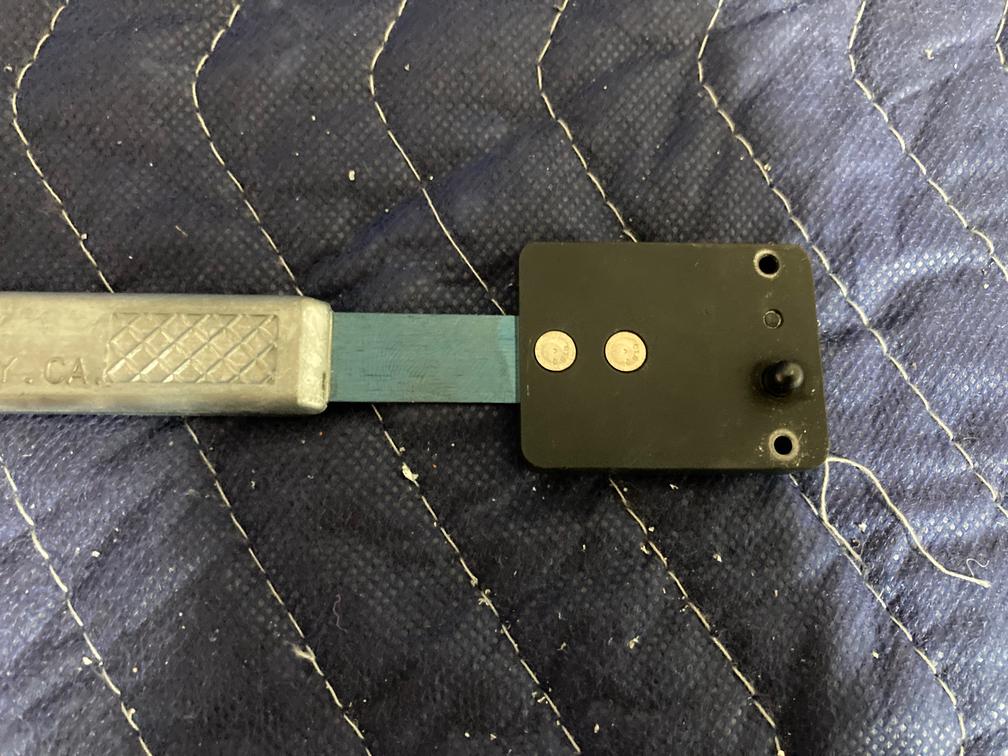
In the full up position, I get ~28.75° of up travel.
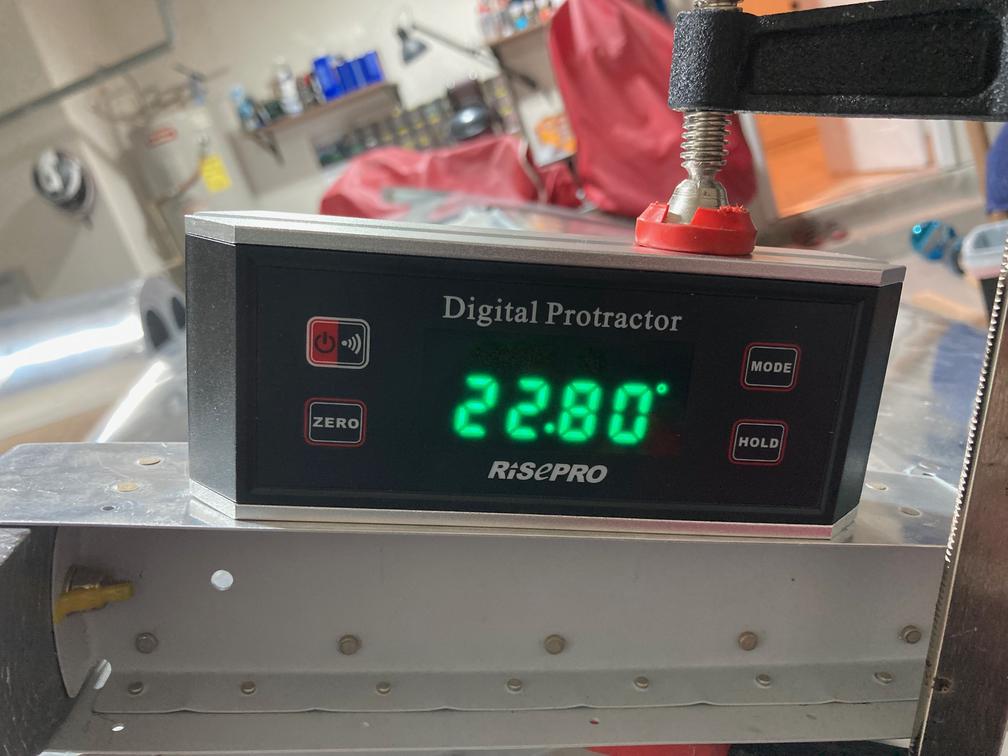
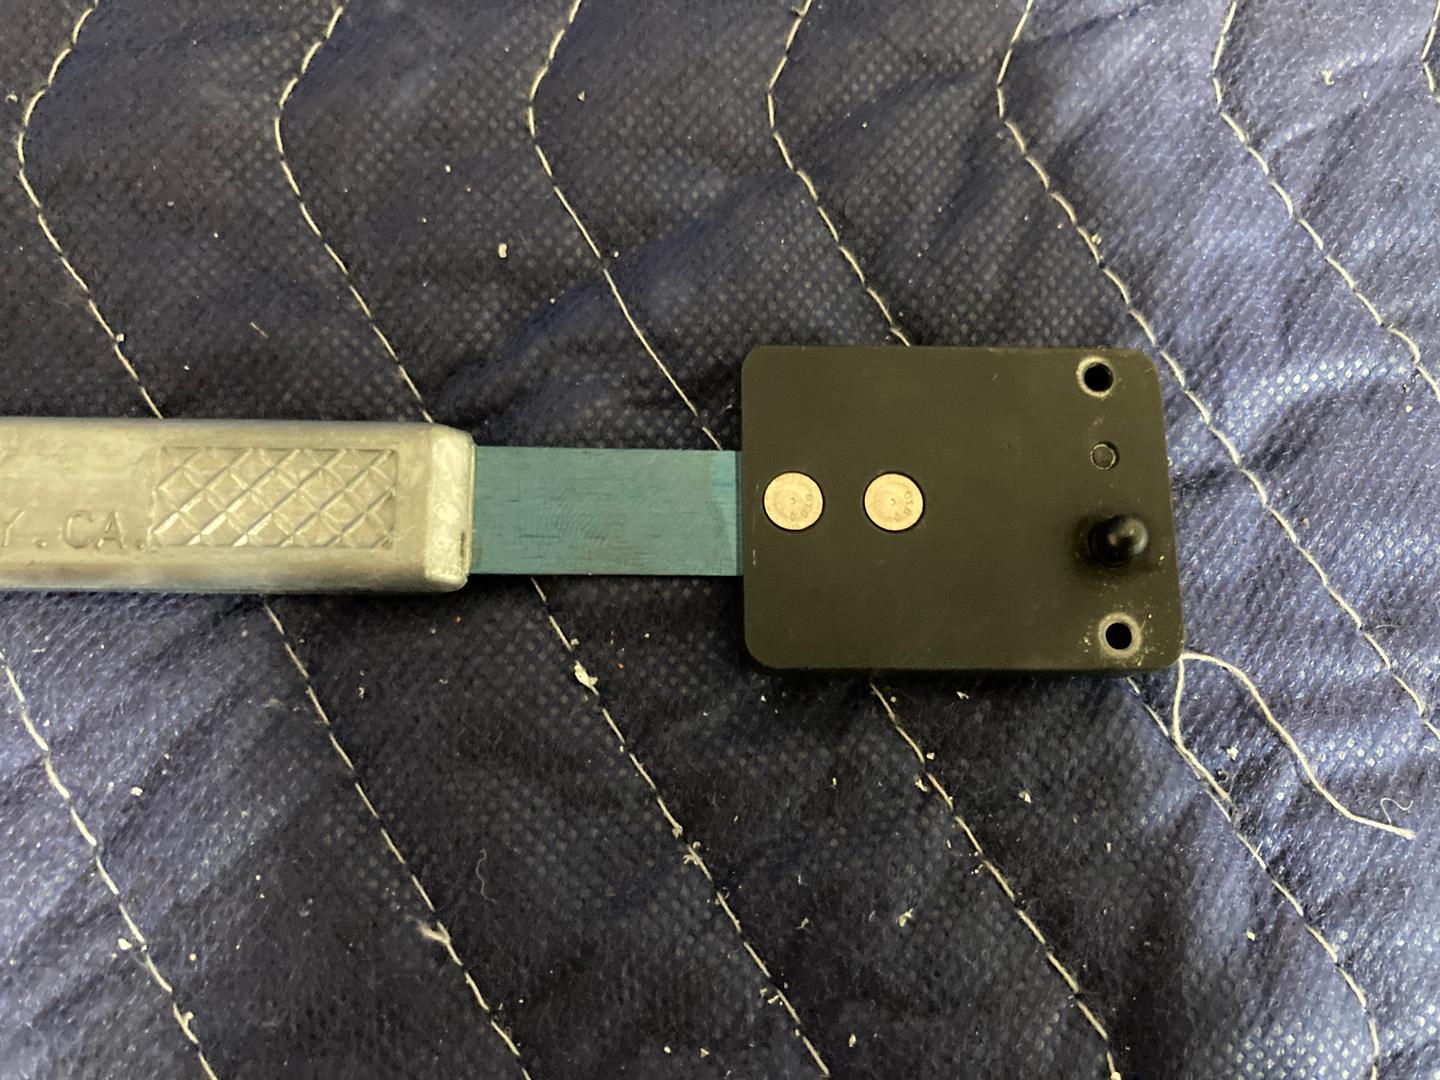
In the full down position, I get ~22.8° of down travel.

When the elevator is full up, only one horn is touching the stop. I also opted to not trim the angle to the size in the plans. That could have saved some small amount of weight, but I did not know how to trim it. I did not want to make the left part of the stop stick out since the hinge doesn't even touch it. On the other hand, I did not want to remove it in case I file the right side a bit more (I can still go up about 1°) and if that would make the left hinge touch the stop (I doubt it, though). So I kind of went lazy and left it the way it was.

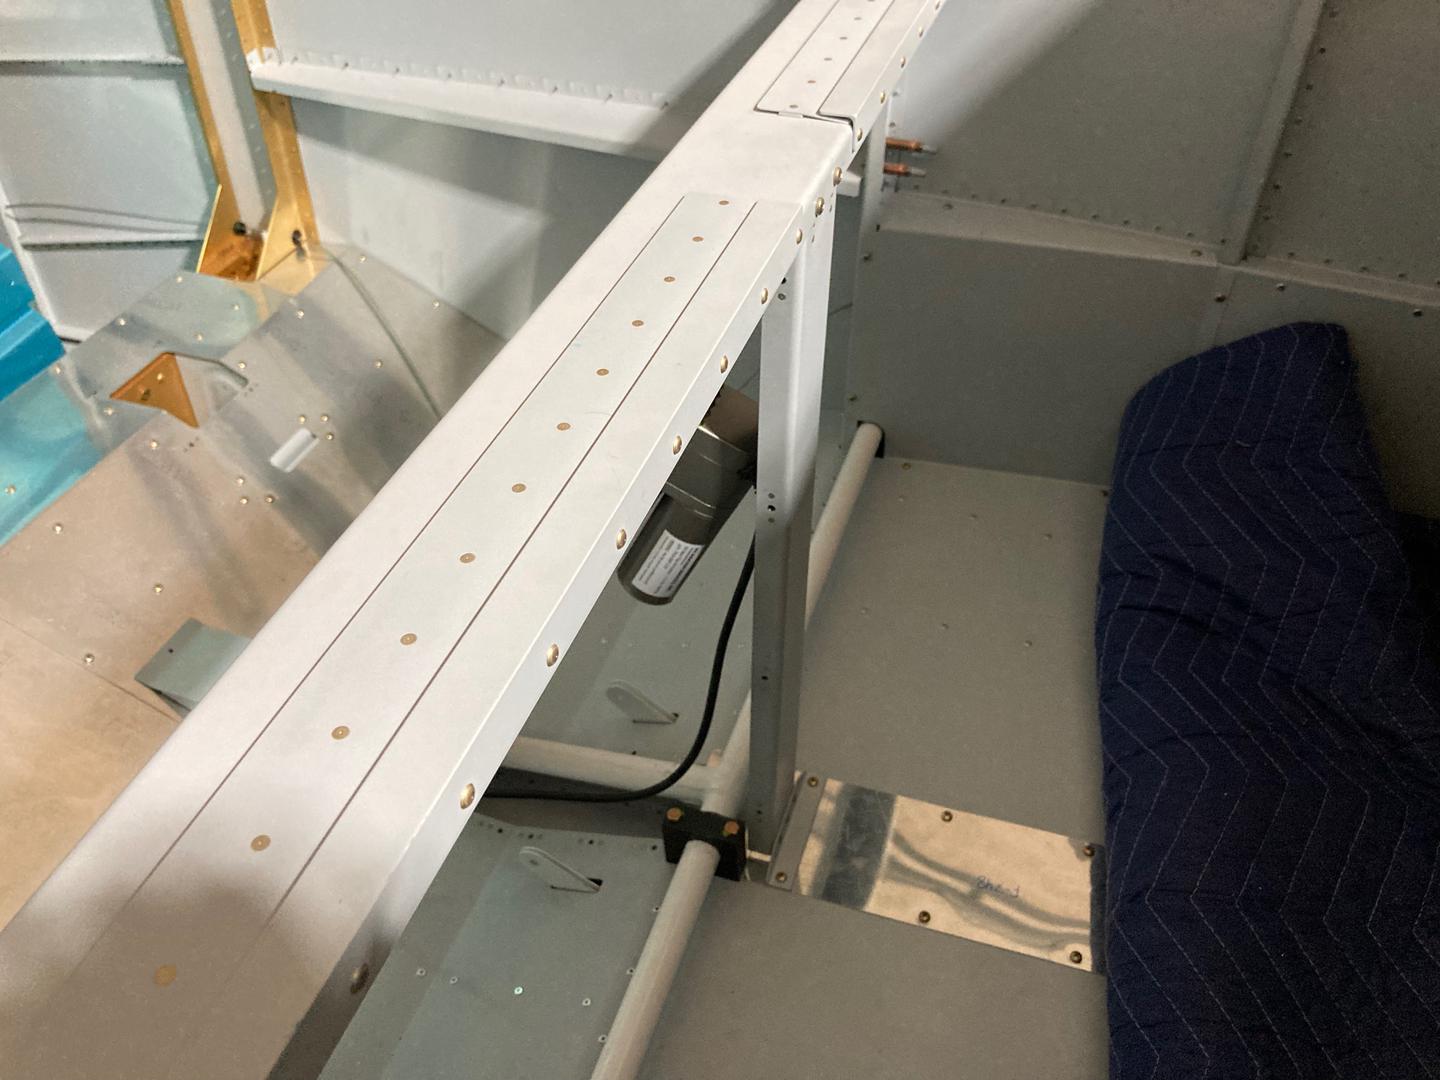
Then I used my new nutplate jig to install the nutplates into the F-785A backrest support for the flaps actuator.
And installed the backrest support. It's noticeably to the left of the center but will do for now. I actually wanted to replace it, but the part is on backorder, so I decided to prime this one and install it for now. Remaking it wouldn't be a big deal since it is attached with screws (and the small angle on the bottom is easy to make).
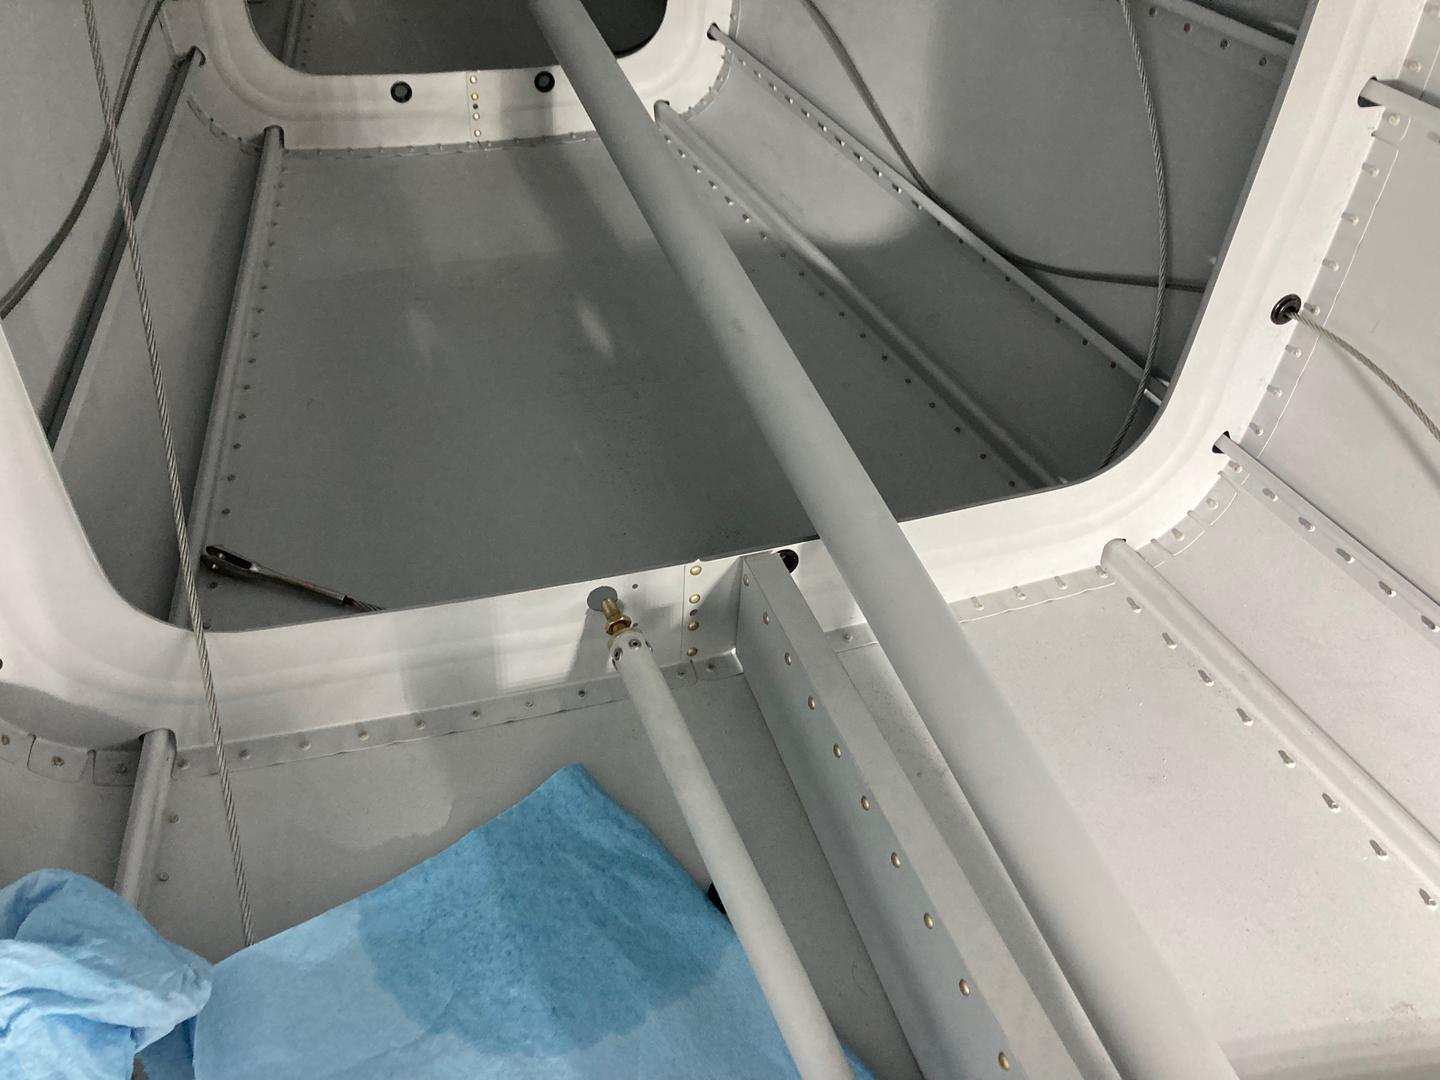
Finally, I spend the majority of the time fitting parts of the control system. First, I put the F-789 pushrod in its place. To do that I first made it to go through one of the wiring holes on the F-707 bulkhead, which allowed me to put the other end through the hole in the F-705 bulkhead. It was very tight, but I managed to get the whole pushrod through.
The one thing I forgot to do is to verify its length. I guess, this wouldn't have helped much since I had to remove the end fittings to make it fit through.
I attached the control column, which fit just perfectly (since I pre-made the spacers of the exact thickness I needed). It moves very smoothly and without any play.
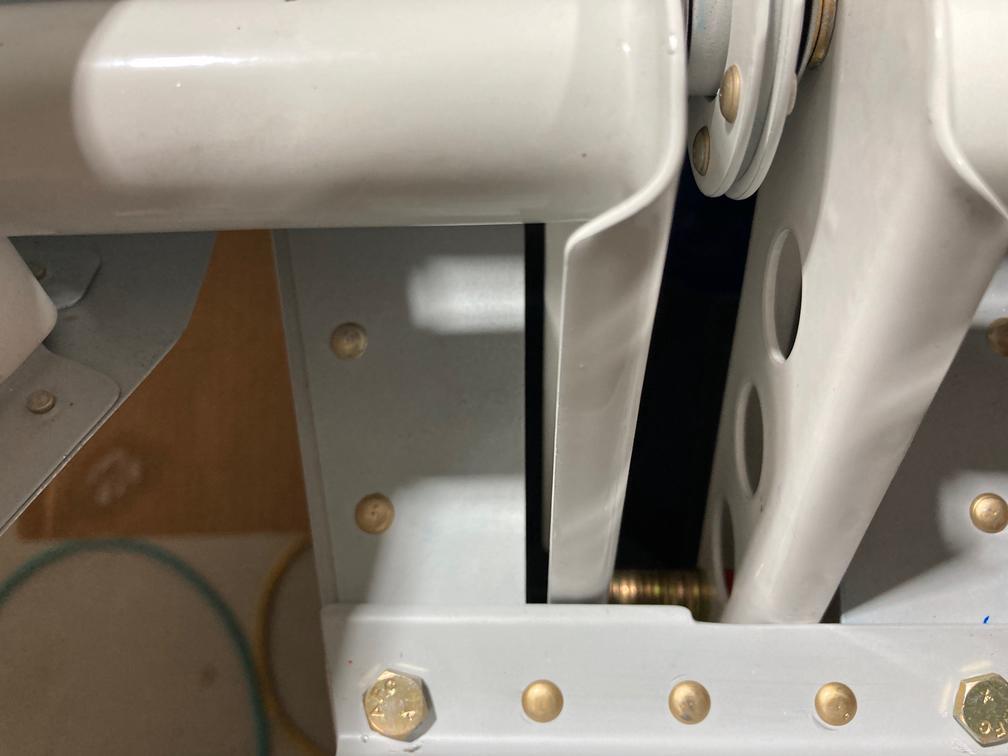
Attaching the F-789 pushrod was a major pain. The only sequence I was able to make work was to attach the pushrod to the bellcrank first, then put the bellcrank where it should be, then attach the front part of the pushrod to the control column.
I checked the neutral position of the bellcrank and my control stick was, idk, maybe 8° forward off vertical? After reading the forum, I decided to go with this value. I kind of went with a bit more conservative length for the F-789, too (screw the fittings a bit more), and having stick a bit more forward than the "standard" (?) 5° was recommended by some.
Changing it later would be a major pain, though.
After checking the fit, I had to repeat the process because I needed to torque the jam nuts on the pushrod, and torquing the rear one required me to remove the bellcrank, so I could pull the pushrod to the back to reach the jam nut with the torque wrench.
In the end, I torqued for the final specifications the control column itself, the bellcrank, and the F-789 pushrod both to the bellcrank and to the control column. Will see if I need to undo it later.