Assembling FlyLeds landing lights and the controller 3h
3h
September 18, 2023
Slight change of plans -- I got my FlyLeds order, so I decided to assemble the landing lights and the controller.
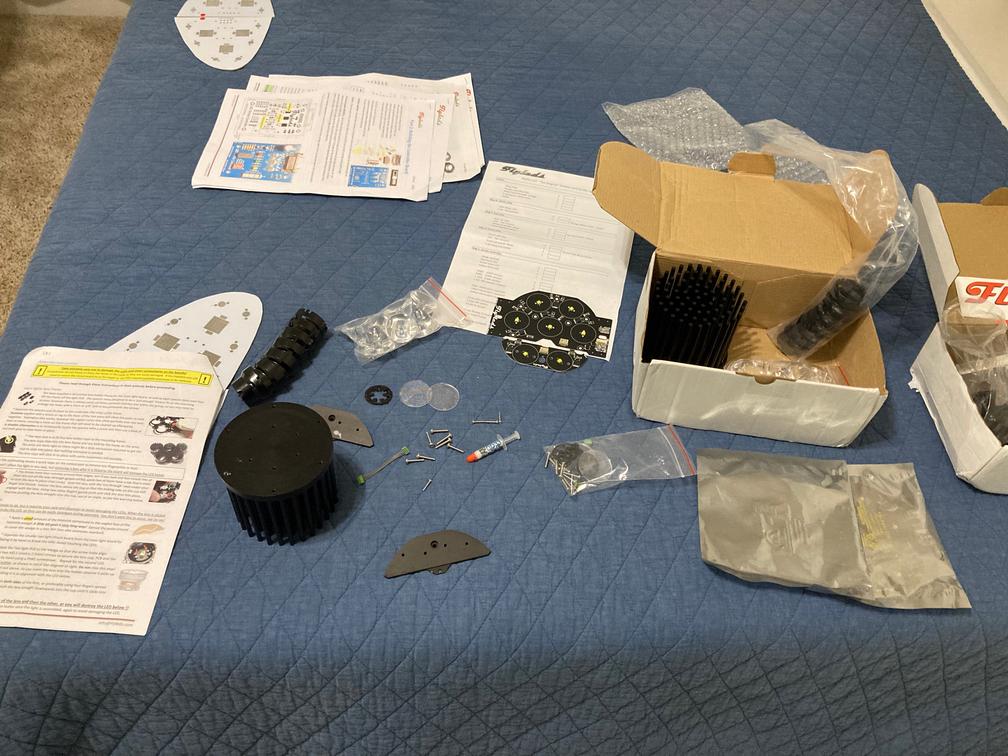
The FlyLeds kits are pretty much a bag of parts that you need to assemble into a working unit. Not everything needs to be assembled, some components are already soldered to the PCBs. The landing lights are fully soldered and only require some assembly to install the lenses and the heatsinks.
The landing light kit.

The lights I got are designed for tail draggers, hence the top two lights (the taxi lights) are angled. All the lights are just LEDs, with big collimating lenses. The lenses for the main lights are assembled in a 3D-printed frame, then the whole frame is fastened to the board and the heatsink.
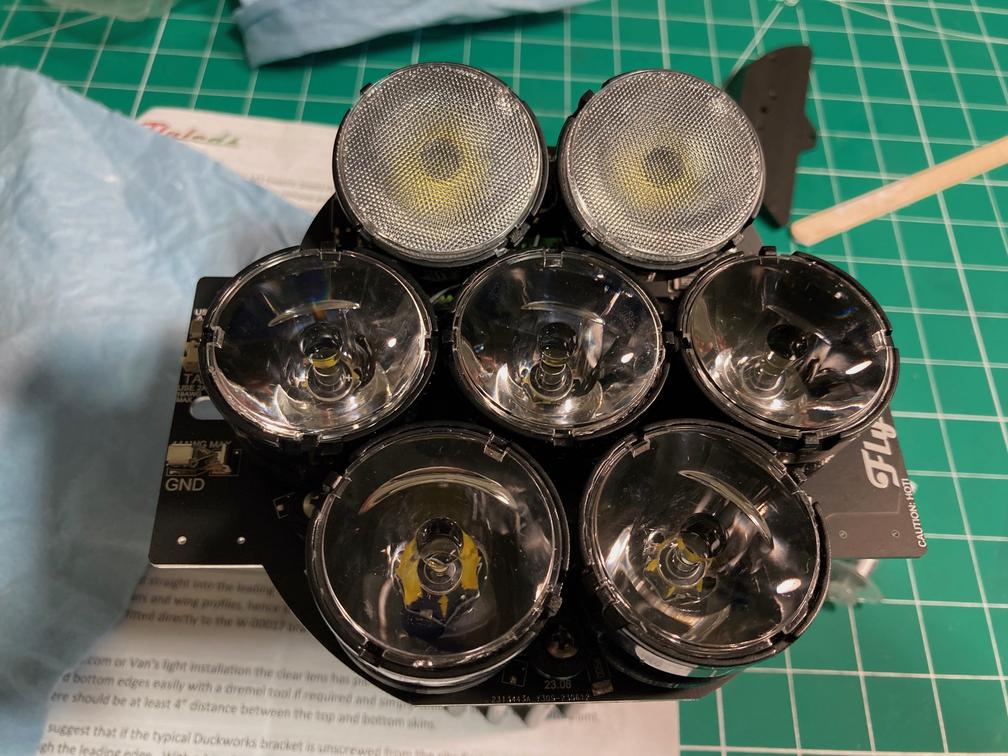
I didn't quite like the frame -- it is relatively soft plastic, and the lens holders didn't click very well on it. However, once everything is assembled, the whole thing is pretty solid.
The taxi lights have their lens holders screwed to the PCB and the heatsink. I liked it more, however, the downside is that you need to "click" the lens into the holder, and do it very carefully, otherwise, you can break the LED.
To help with the lens installation, the kit contains a little funny part that looks like a star. It's a 3D-printed part that works as a spring, pushing the lens back. This helps with the alignment. Or at least that's how I understood that part.
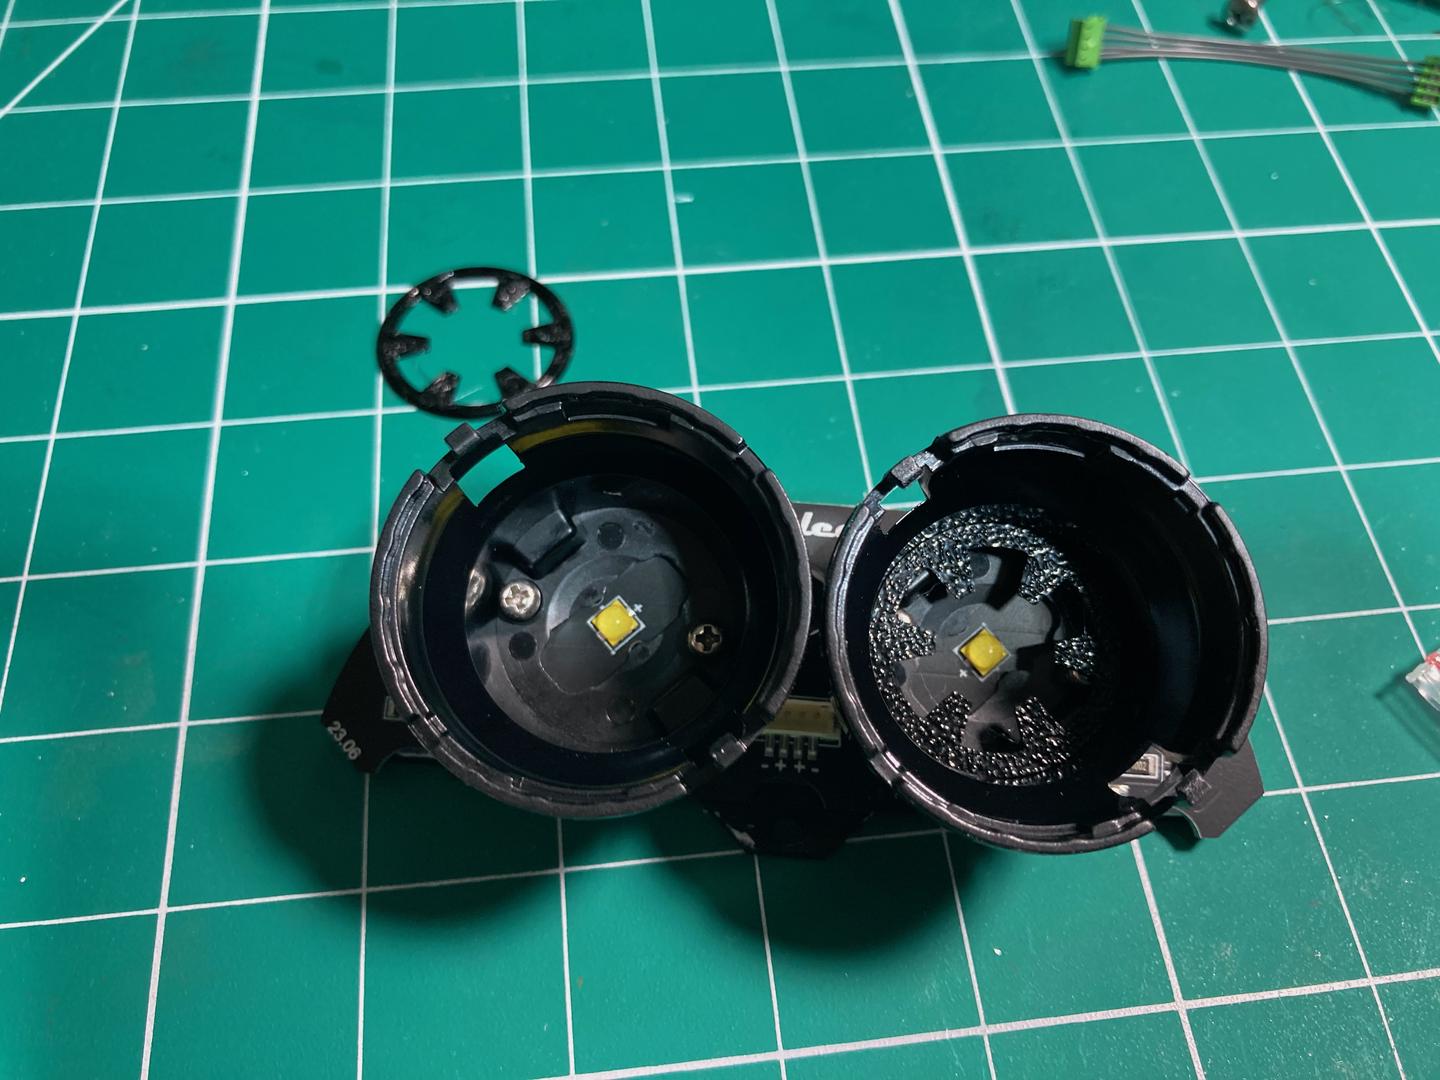
And the assembled lights look like this.

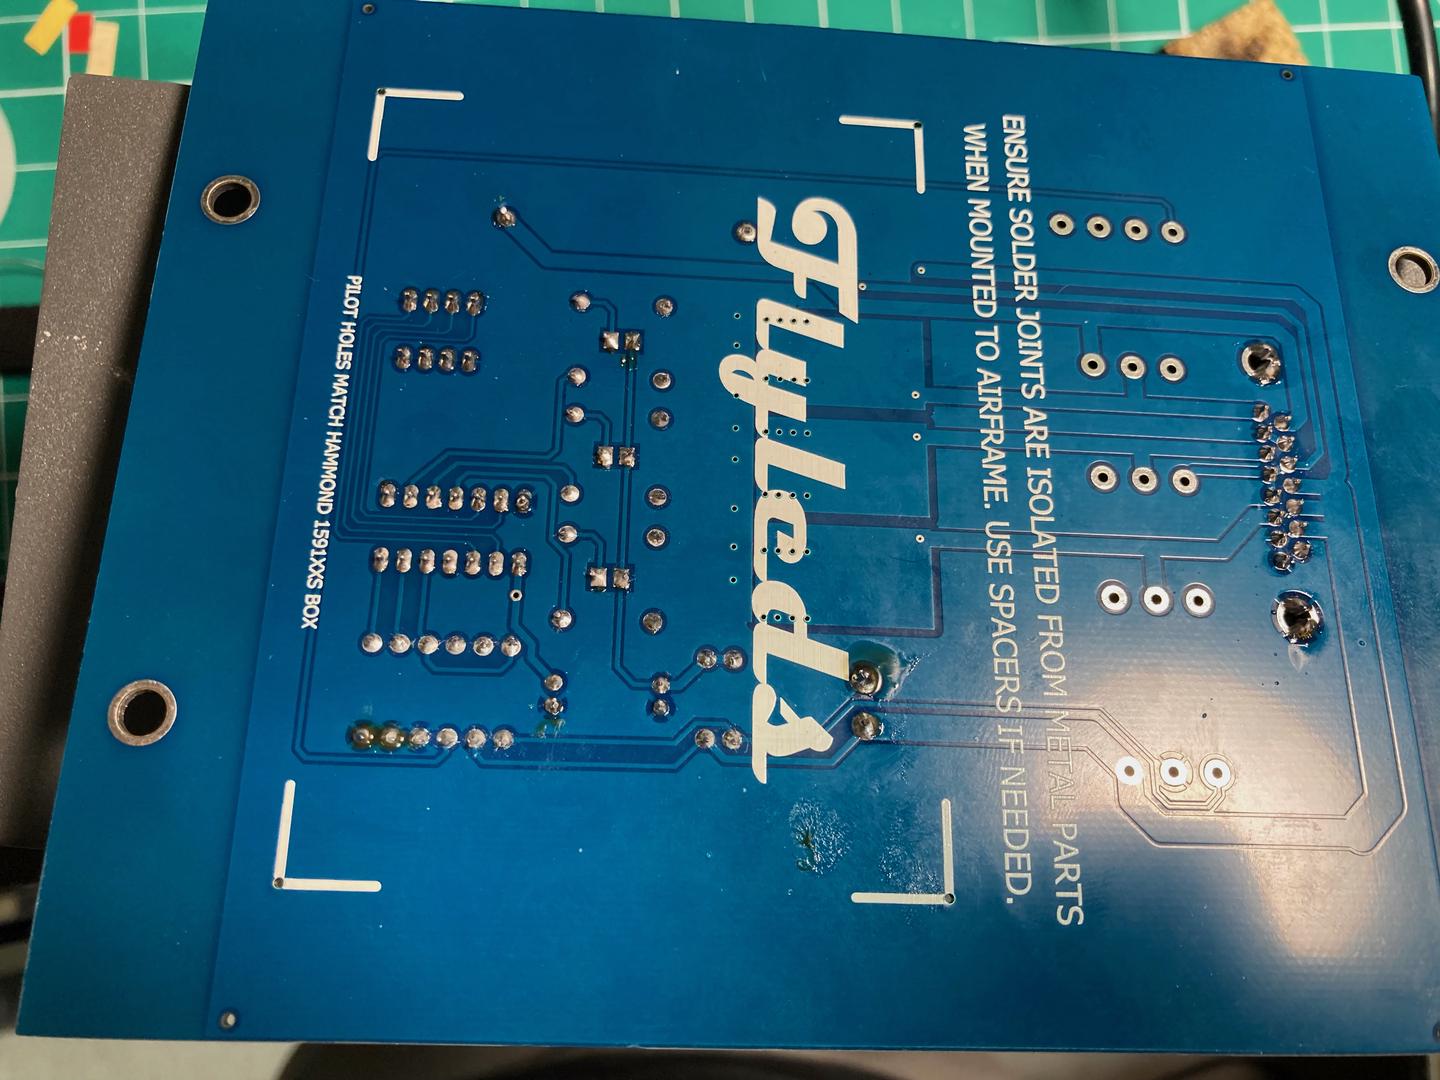
Then I switched working on the controller. The manual says that the light modules are to be soldered first, but I was concerned that I didn't have enough thermal paste left so I decided to solder the controller instead.
I did not take photos of the controller parts, but it is pretty straightforward soldering on a PCB.
Once I finished the controller, I tested it with my lab power supply. It didn't work! Can you guess why?
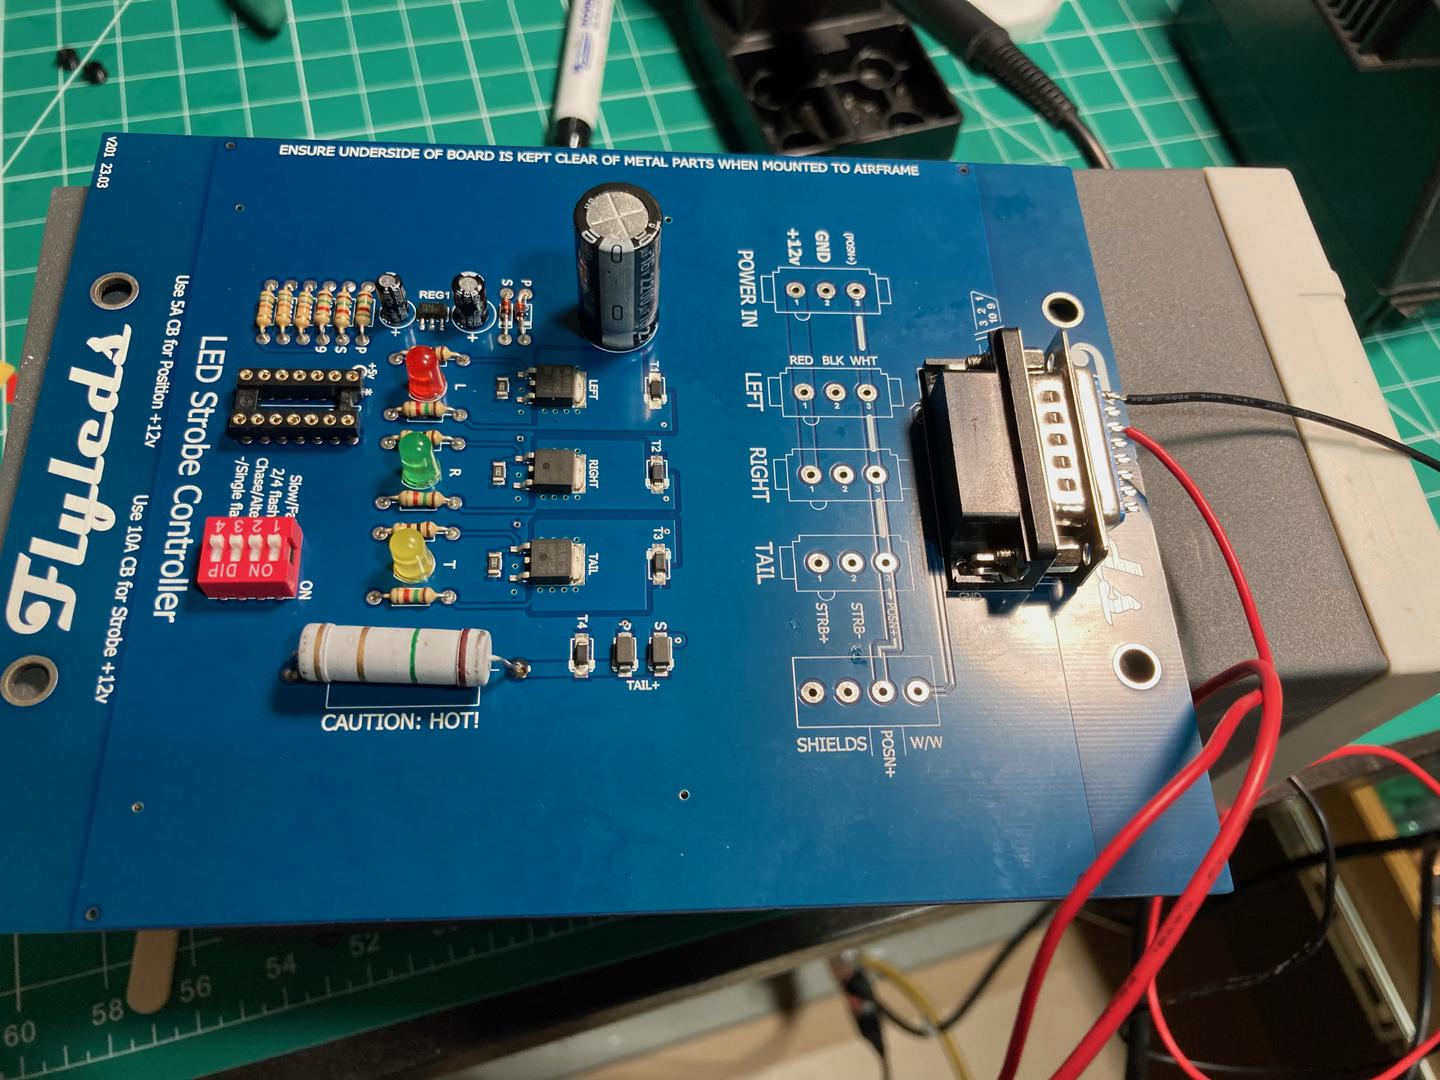
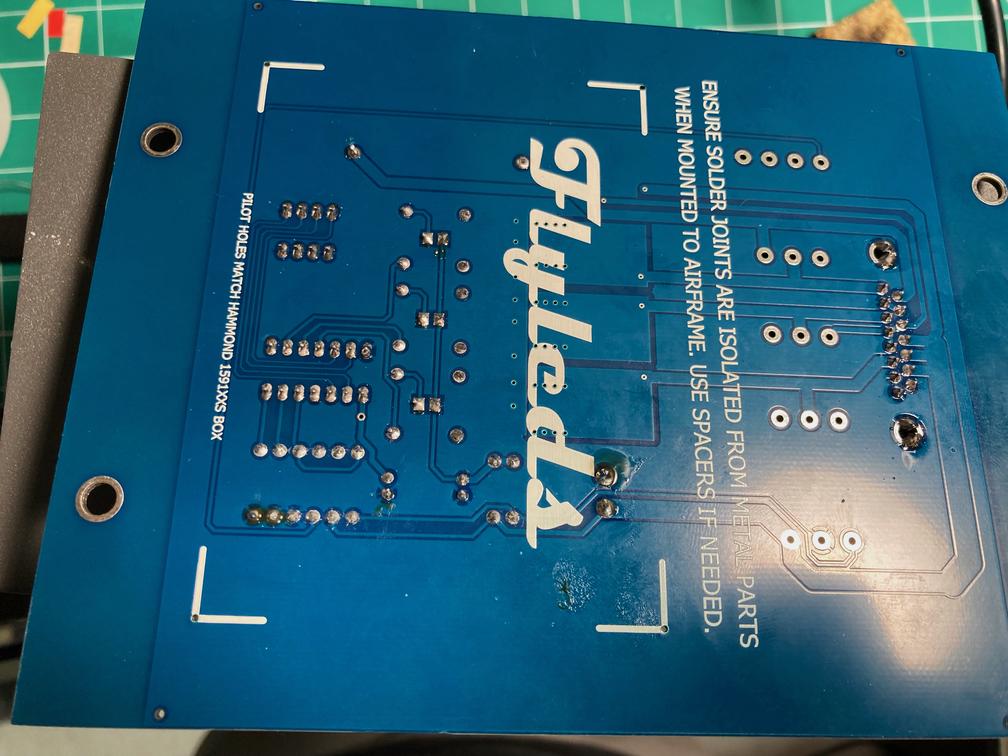
Exactly. The microcontroller chip is missing. Once I plugged it in, everything worked just fine. I tested it with the tail light, and it worked, too.
The backside of the board.