Finished riveting the rear spars 1h
1h
March 25, 2024
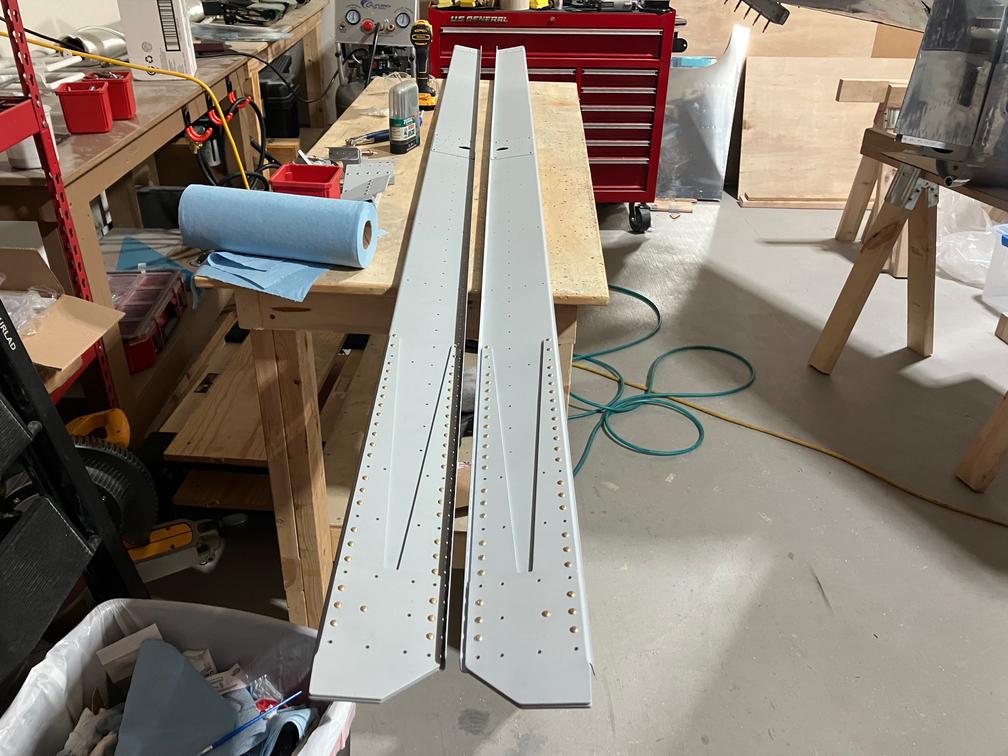
Finished riveting the rear spars today.
Riveted everything I should have to the rear spars: the reinforcement fork and the doublers.
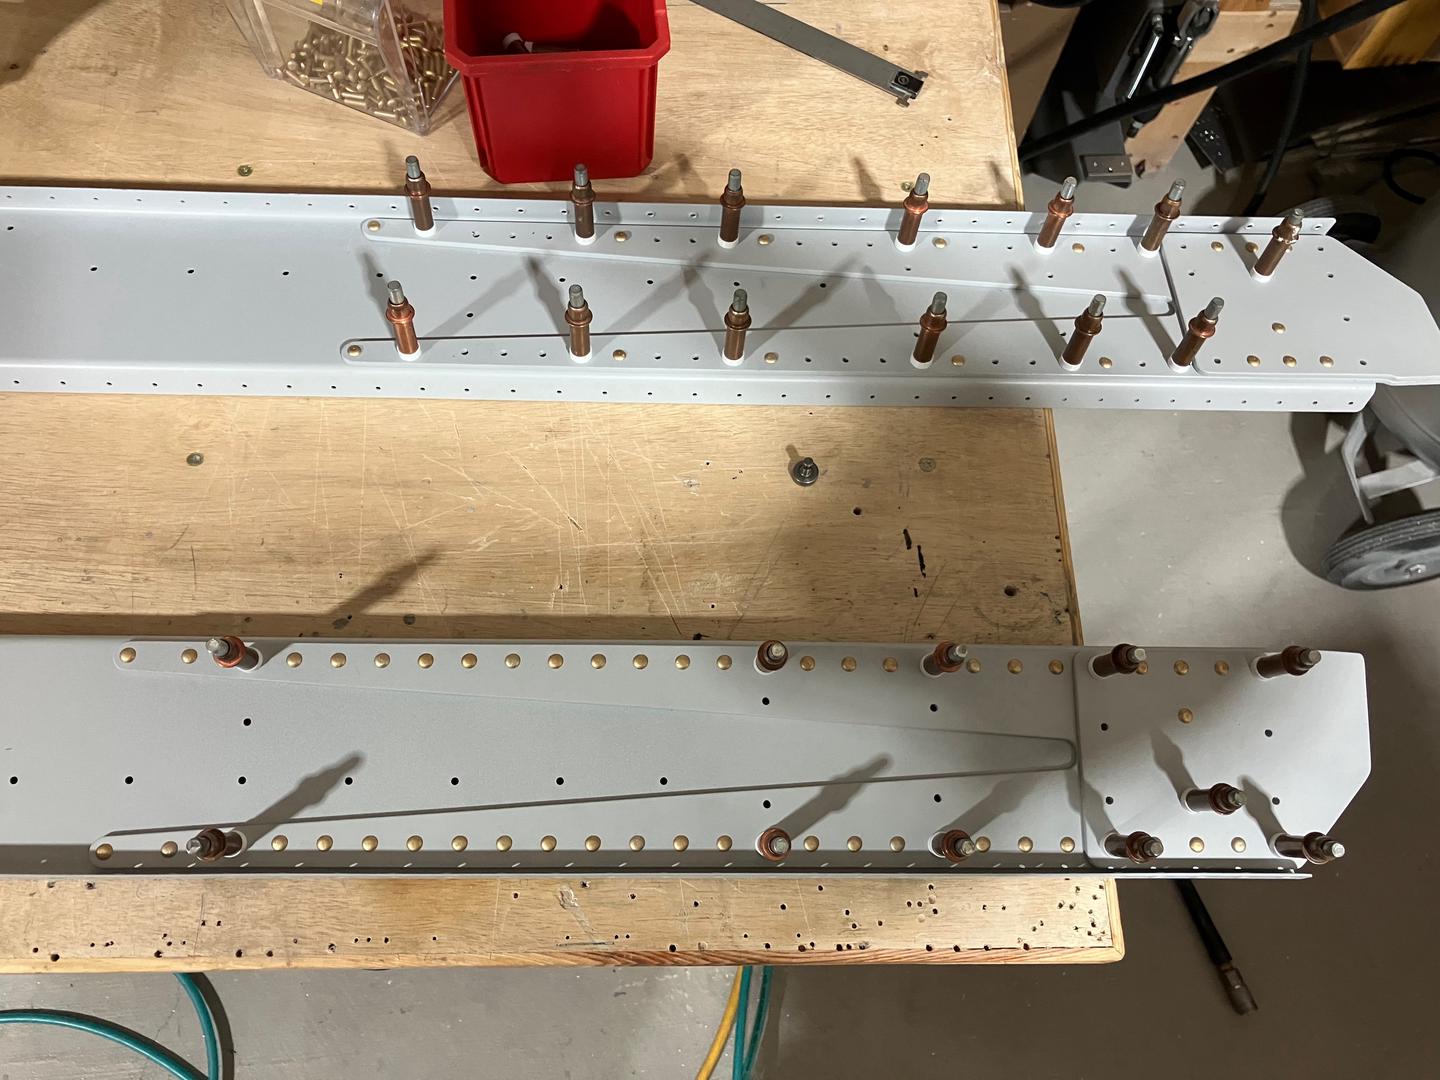
I put the factory heads of the rivets on the outside since it looks nicer that way.
Generally, it is recommended to put the factory head on the side with the thinner material (which would be the inside side of the spar), but it is acceptable either way. Also, squeezing rivets does not produce as much deformation on the shop head side as bucking does, so it is not as critical.
The final product.

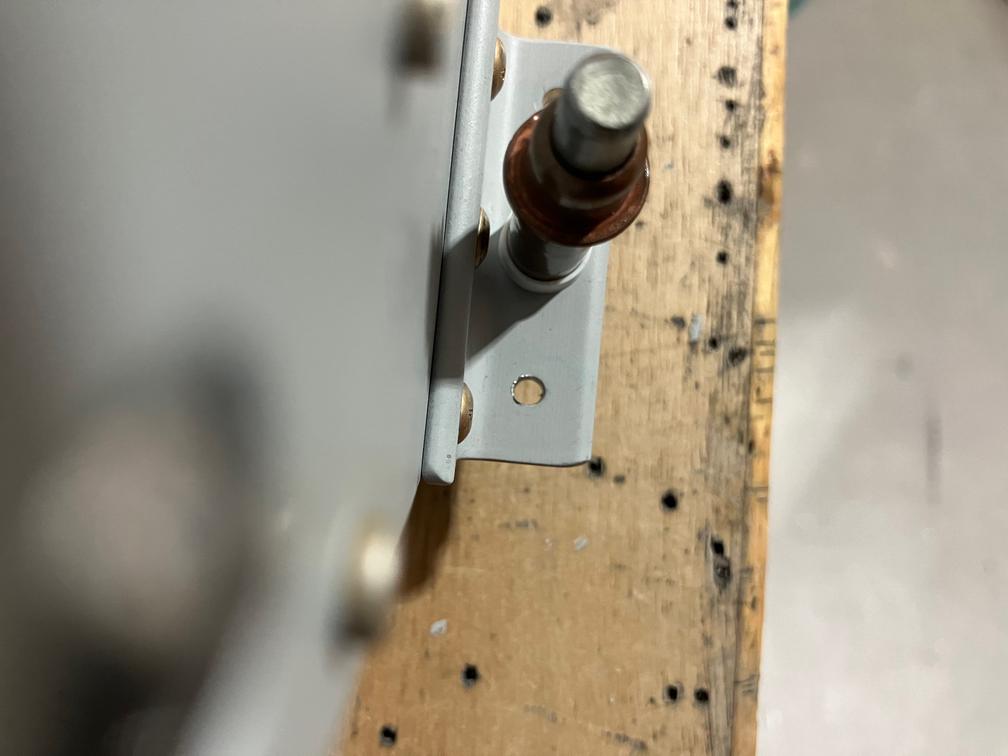
I also managed to destroy one of my aileron hinge brackets. First, I started drilling the bracket to the spar just so I don't have to do it later when the spar will have all the ribs installed on it. I decided to go with the reamer, which is a mistake I keep repeating. Reamers don't work well for thick materials without extra caution taken to make them exactly perpendicular to the surface. They don't do round holes, but rather round tunnels, and if that tunnel does not align with the existing hole -- it will be elongated. Which is exactly what happened.
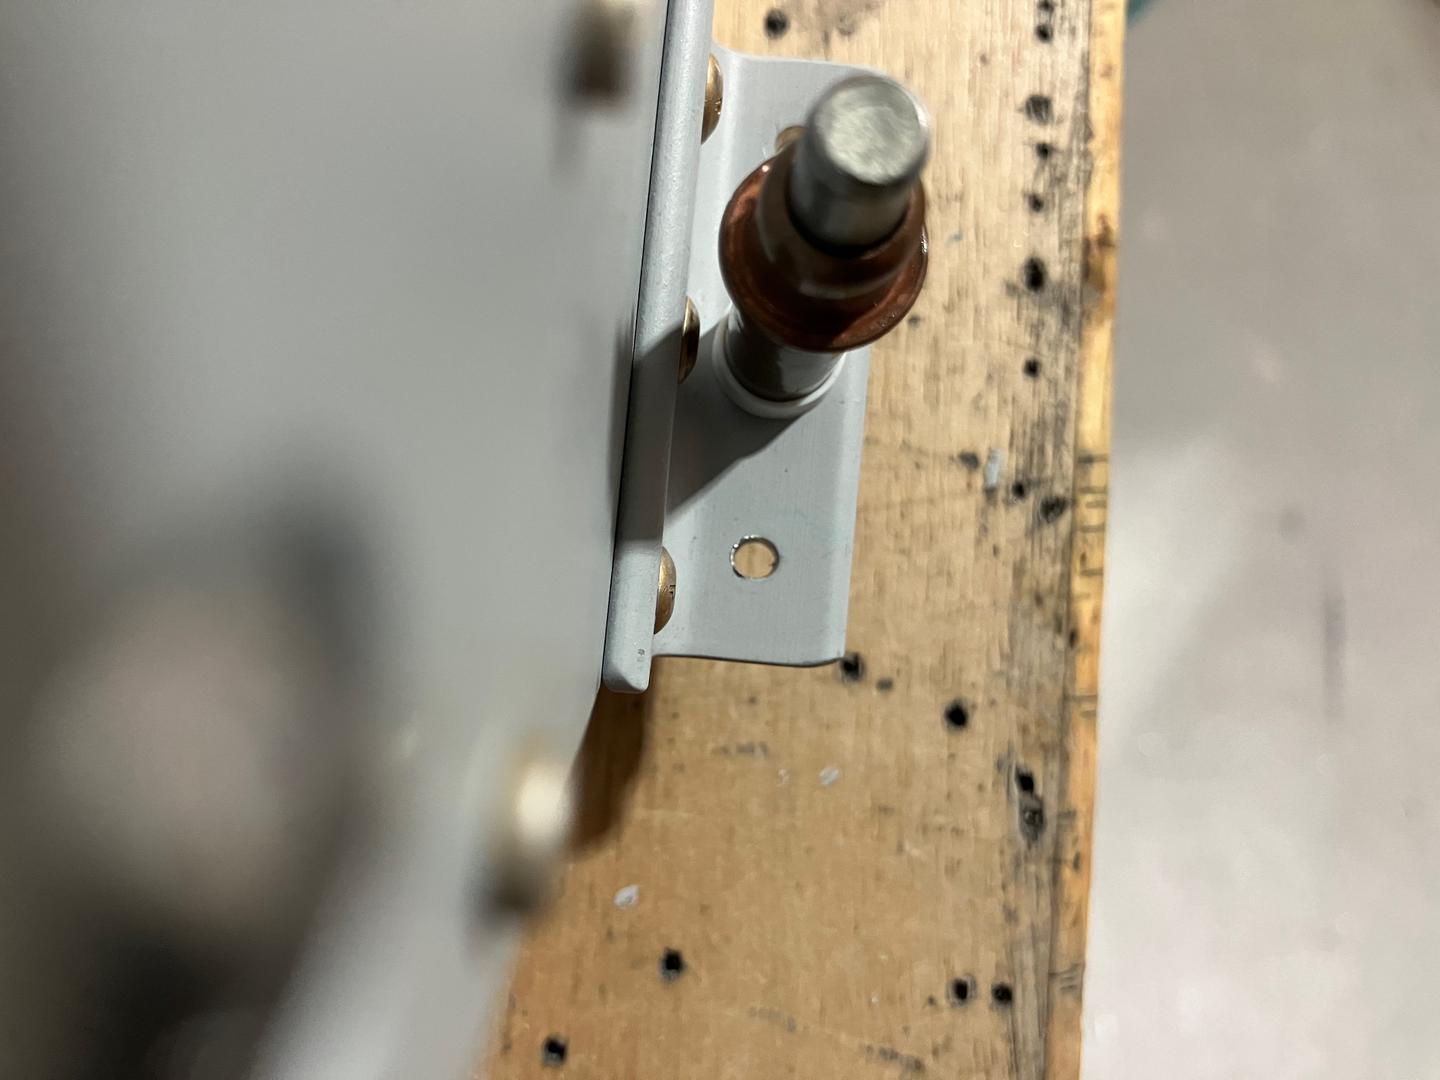
I think the hole wasn't too bad. It was only maybe ~0.140", so I could have used my NAS1241AD4 oversize rivets.
However, since the spar side wasn't damaged (I started drilling on that side so the hole there is still in spec), I decided to replace that angle on the hinge bracket. This way I can use regular AN470AD4 rivets when the time comes to install the hinges. Well, long story short, it was too late, I was tired, and I just didn't do my rivet removal well enough (kind of hard to remove from thicker materials). Instead of trying to recover the parts I just ordered all the parts for the new hinge bracket.
Not sure what's next. I probably will finish the fairings for the empennage parts so I can remove the empennage and put it on the shelf. This should allow me to move the fuselage to the side and give enough space for the wings work.
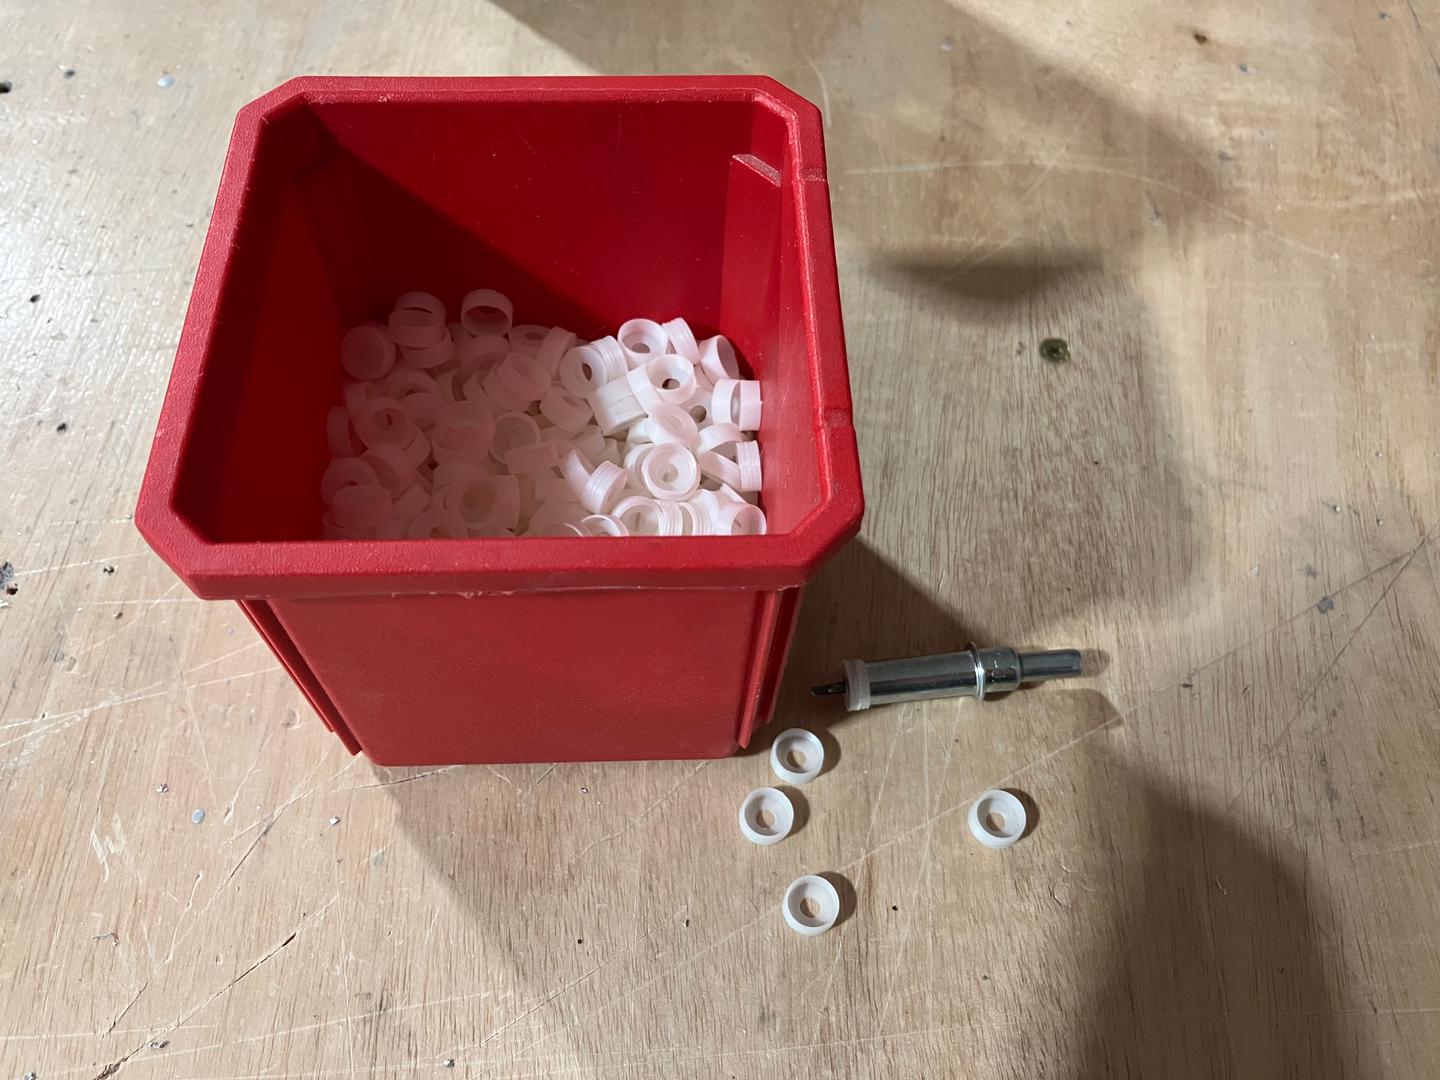
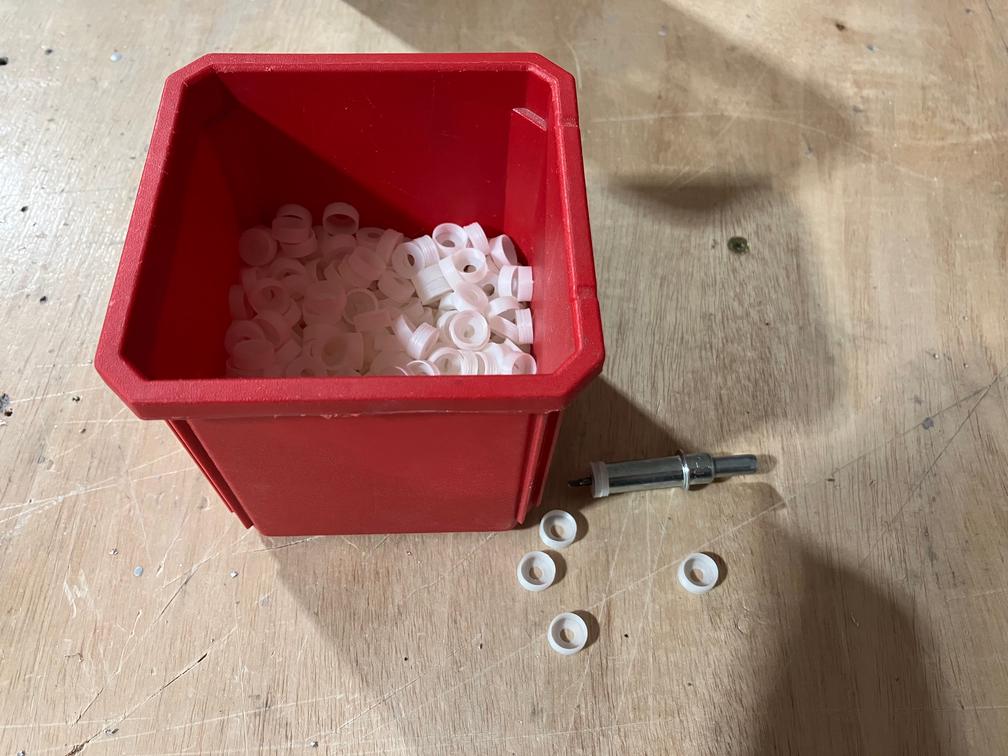
On the positive side, I played a bit more with my 3D printer and optimized my script to generate the G-code for the cleco caps (to stop them from scratching the parts). I printed them from ABS, which is not the best material (still a bit too hard), but seeing the printer print 64 caps in one run was too satisfying, so I printed a couple of hundreds of them. I'm getting TPU filament, which should be softer, will see how fast I will be able to print it (ABS was ~30 minutes for 64 parts)