Started mounting the horizontal stabilizer 3h
3h
August 25, 2023
I started mounting the empennage!
Since I don't have wings, I decided to mount the empennage. Normally, you mount it after the wings, but it doesn't matter -- you just need to make sure that the empennage is square to the fuselage (I used the wing spar box for leveling).
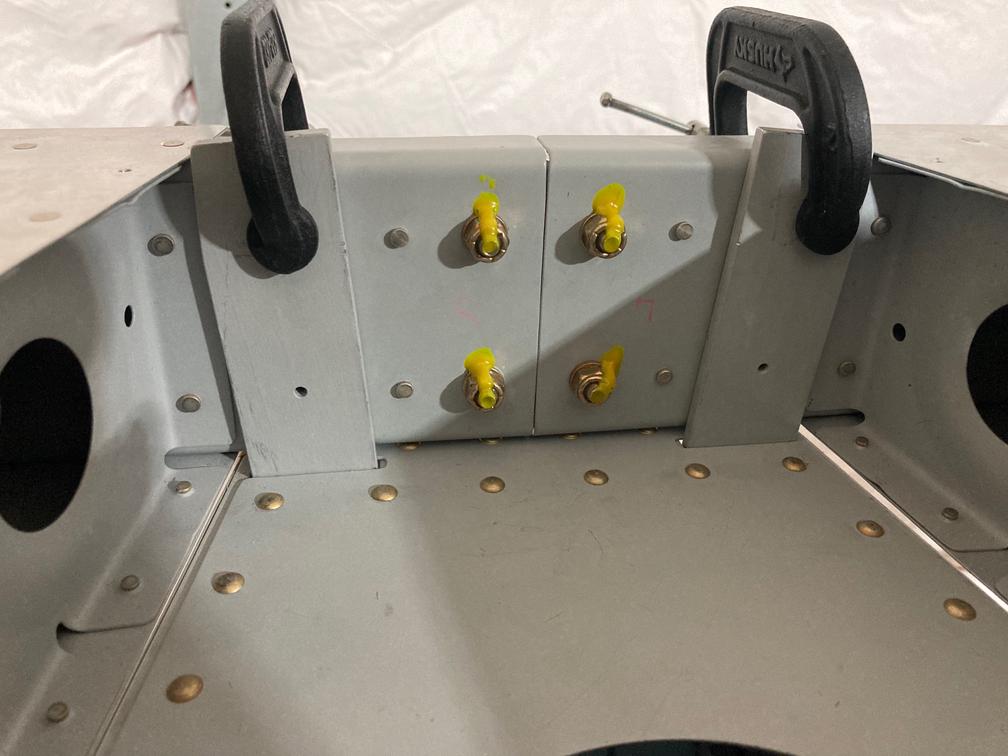
The first step was to drill the horns.
Not much to say here. The plans tell you to mark which elevator has the aftmost horn when both elevators are level and drill that one first, so you get a good edge distance on the other horn. When I marked the hole, I found that the hole on the other horn would be a bit closer to the edge than the 3/8" given in the plans. So I moved the hole by maybe 1/16" up.
Then made a jig to drill the other horn -- simply, a square piece of aluminum that fits between the horns and has a hole drilled in my mill.
The result (yeah, I know, it doesn't look very exciting!).
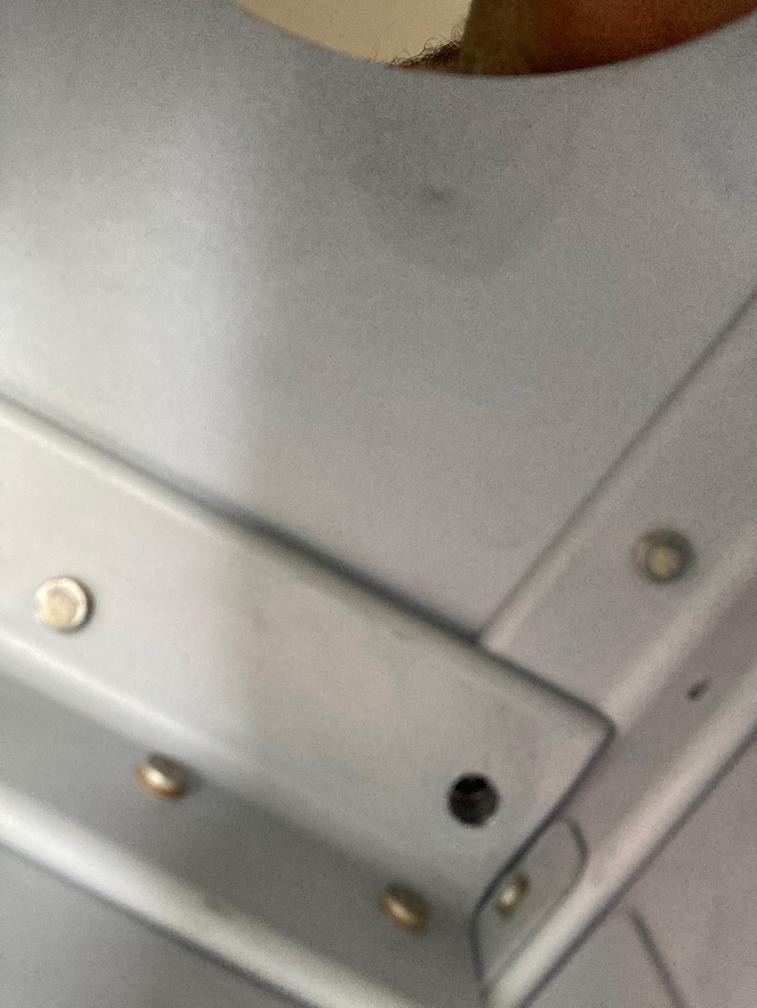
Then I started positioning the horizontal stabilizer on the fuselage. I could not make the tool holes to be lined up for the 0º incidence of the stabilizer. Then I looked at the hole on the other side...

Well, yeah, the aft holes are not centered on the part. No wonder they did not align with the front holes. I think the instructions were written for the original parts before SB 14-01-31 was integrated into the plans. The SB changed the ribs from HS-405 to HS-00005, and it seems like the new ribs have holes slightly offset.
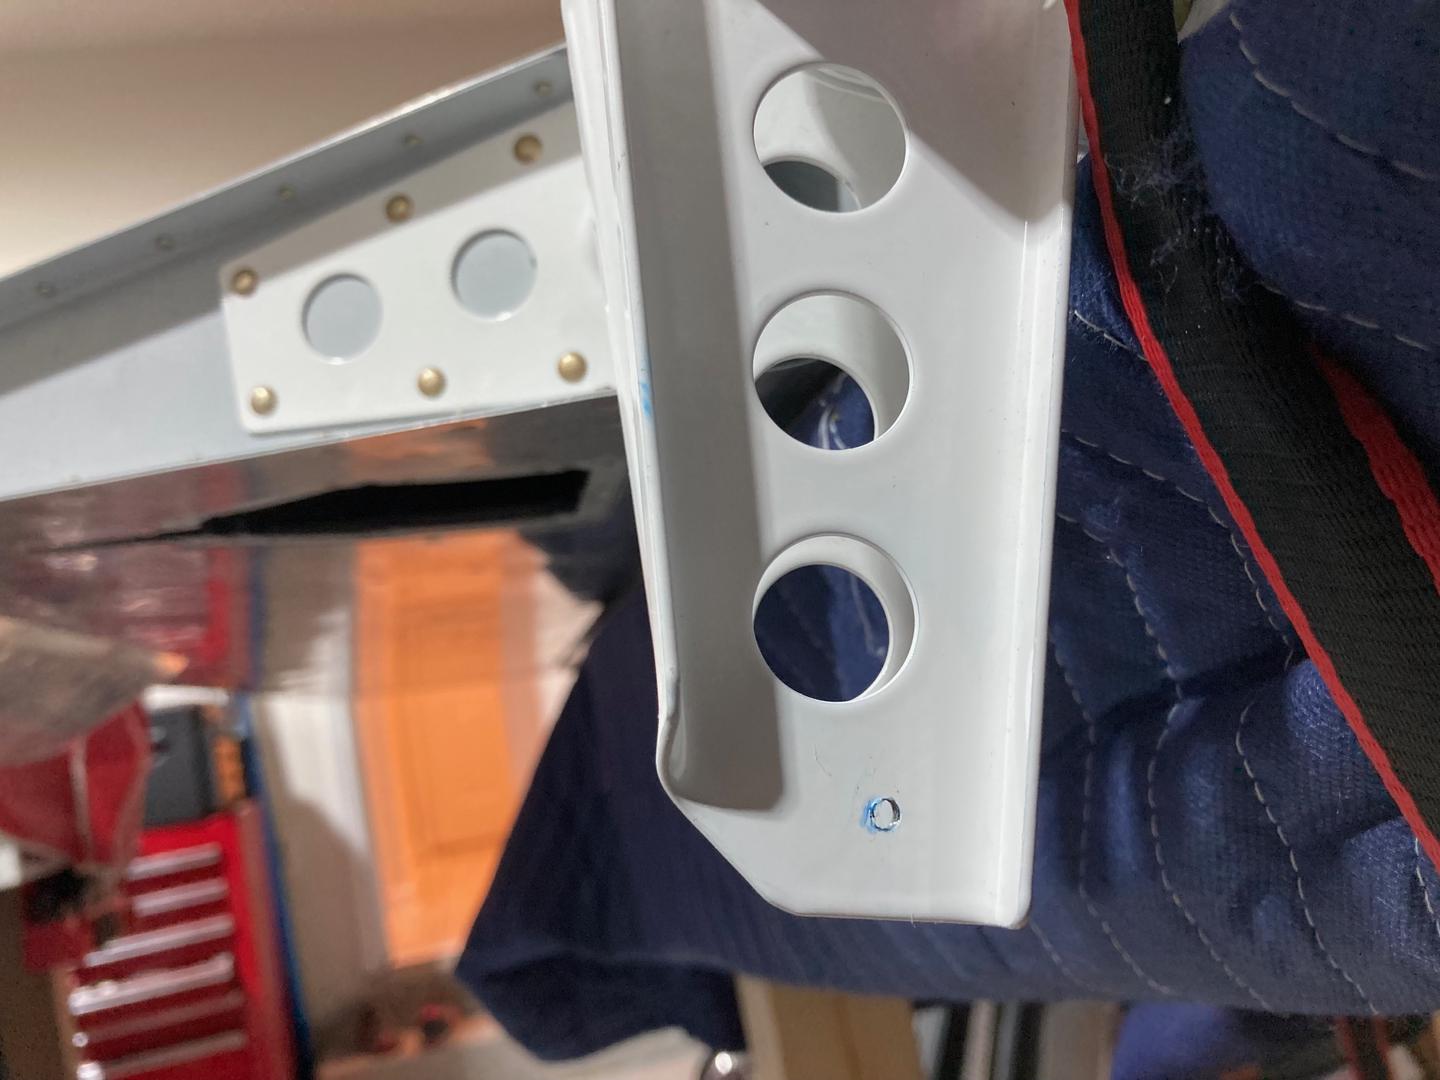
Then I positioned the stabilizer, measured everything many times, and drilled the two outermost holes. The well-known issue with these holes is that they need to be centered on the longeron, and if the F-710B angle is too short, you won't get a good edge distance there.
The important edge distance is the one on the longeron, and it seems like for the angle the answer is that the load is mostly in tension, not in shear.
My F-710B angle was kind of okay. It was possible to make it just a tiny bit longer on one side, but the edge distances I got are good enough, I think. The best you can get is about 5/16" (since the longeron without the leg is 5/8" wide), and whatever you lack in "nesting" will reduce that distance even more.
This is what I got in the end.
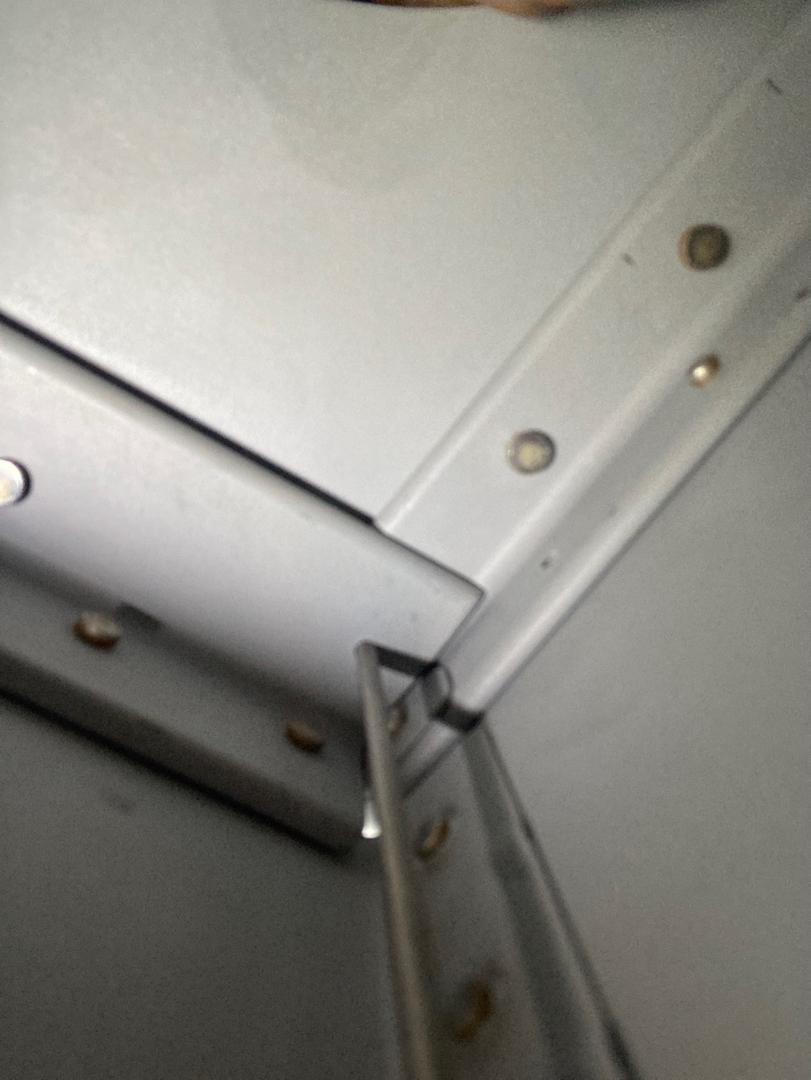
The final-sized holes look like this.

And with a temporary nut installed.
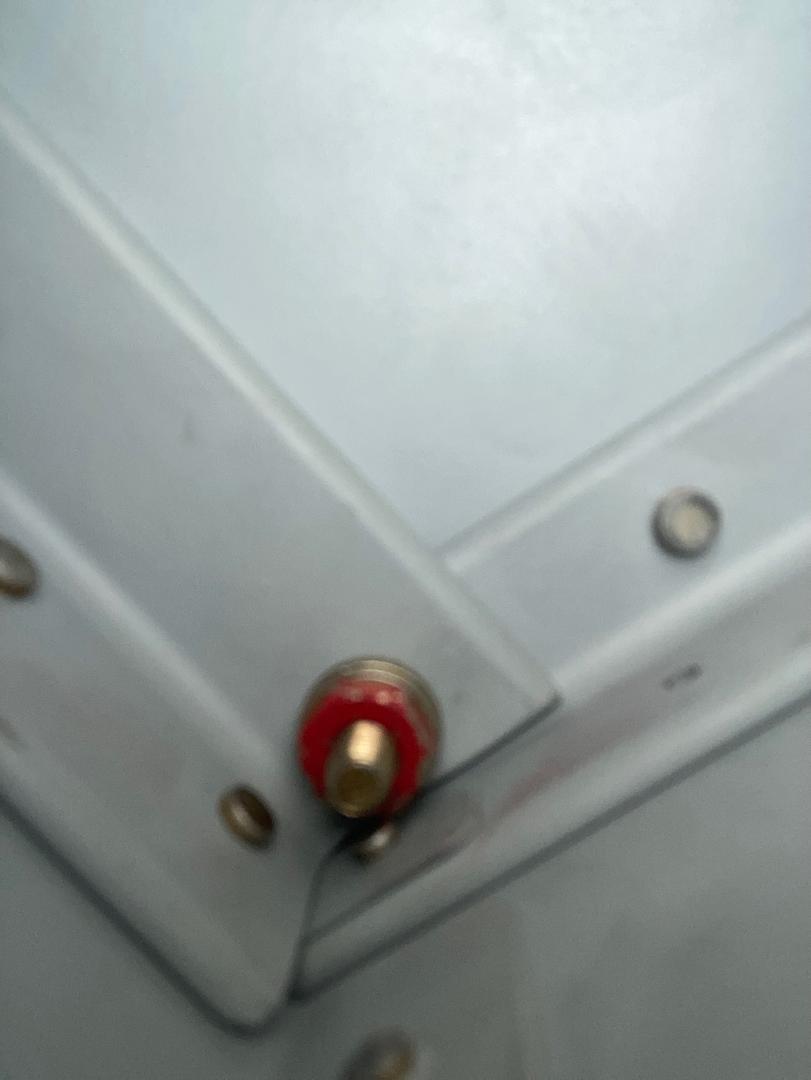
Tightening this nut is kind of hard, but possible. I guess, I can always use a smaller MS21042 nut if I really want to.
That was it for the day, these two holes, plus the one in the hinges were way too stressful to drill.